Hello! Happy Friday To keep up with all of our DIY projects, be sure to FOLLOW us on Instagram and Pinterest!
Well, my house is in the middle of some BIG changes. One of my daughter’s is turning 10, and we have decided to close off a space upstairs to give her a new bedroom for herself. I’m so excited about this space, and can’t wait to show you guys progress next week. I have also been doing some work on my youngest daughter’s room at the same time. You may remember her bed I made a few weeks back. I just finished the matching nightstands for that bed, and I can’t be more pleased. Look how cute they turned out!
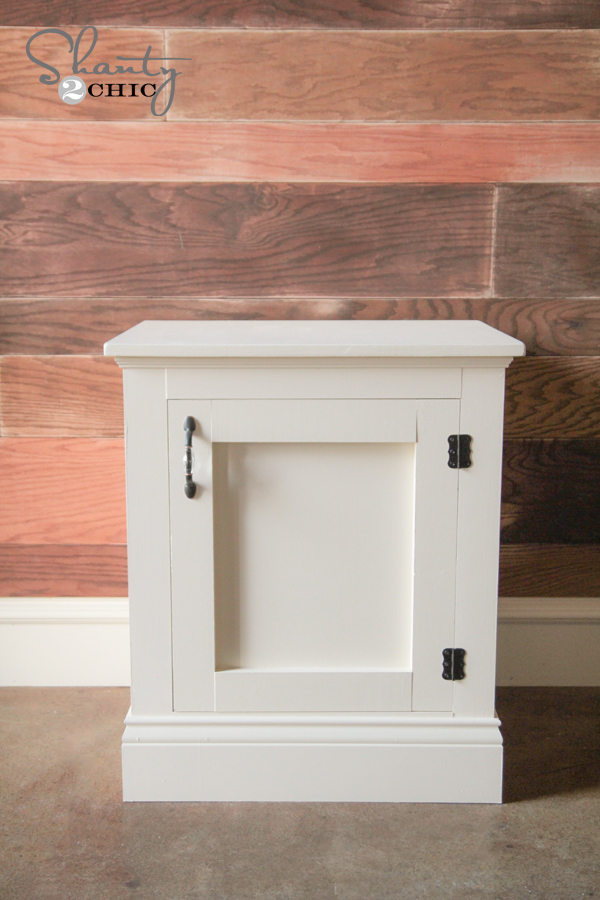
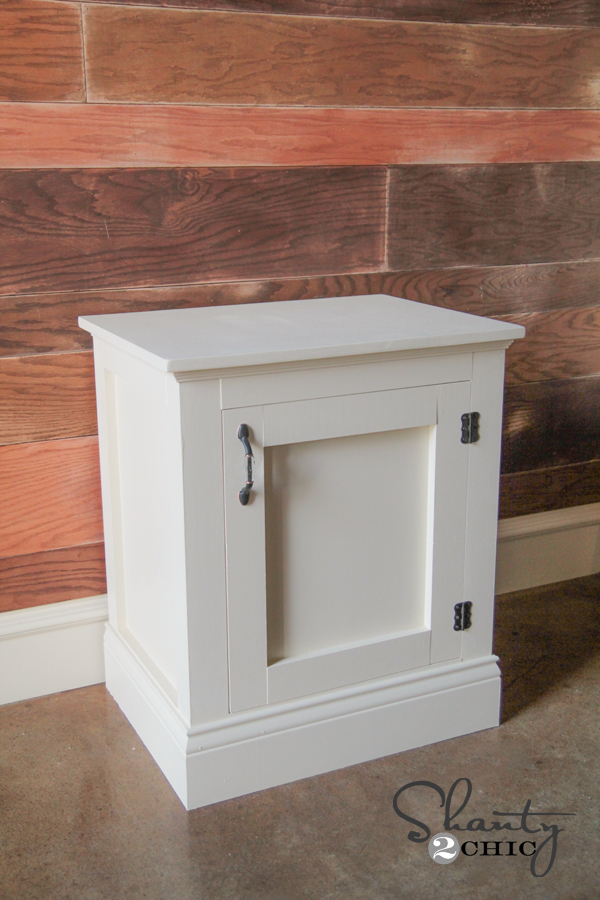
Bahhhh. I love them! I made two for her room, but until I get that space ready, you get to see them here on my DIY plank wall !
I teamed up with my sweet friend Ana to design these. I told her how much I love the DIY nightstands I did for my son a while back, and I really thought we should do a ‘girly’ version of them. I love the storage these provide and that it’s hidden! That’s the best part. Plus, they are an EASY build, I promise! As always, you can download the full set of FREE plans over on Ana’s site, and I will share a very detailed tutorial with you here to help you tackle those plans.
Here we go!
So, for the frame of these tables, I chose to use primed finger joint pine boards from Home Depot. I knew I wanted to paint them, and these are cheap but nice and straight boards. They come primed white making painting easier as well.
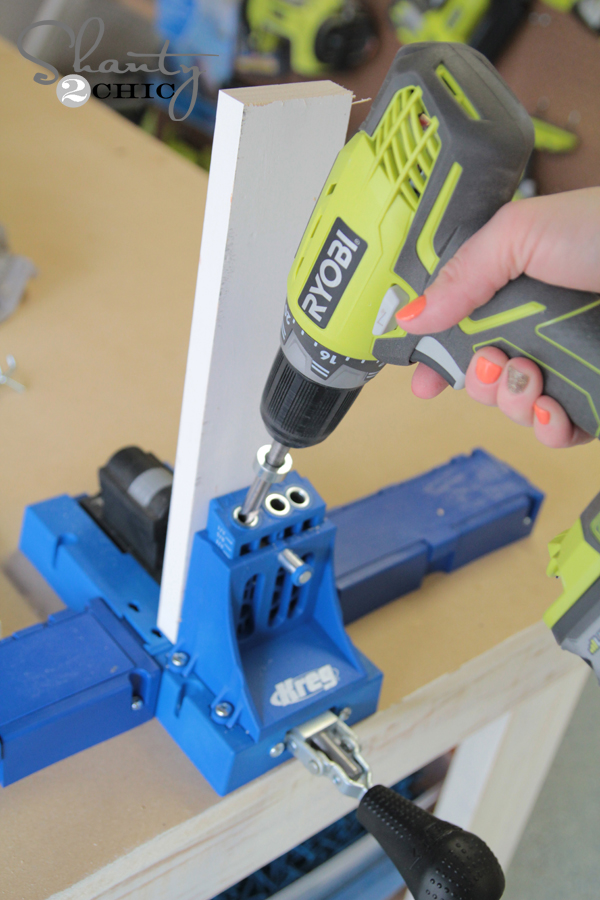
I used my ever so AWESOME Kreg Jig
to build them. I use the Kreg Jig
K5 model, which is so worth the extra few dollars it costs. You can get it on Amazon HERE!
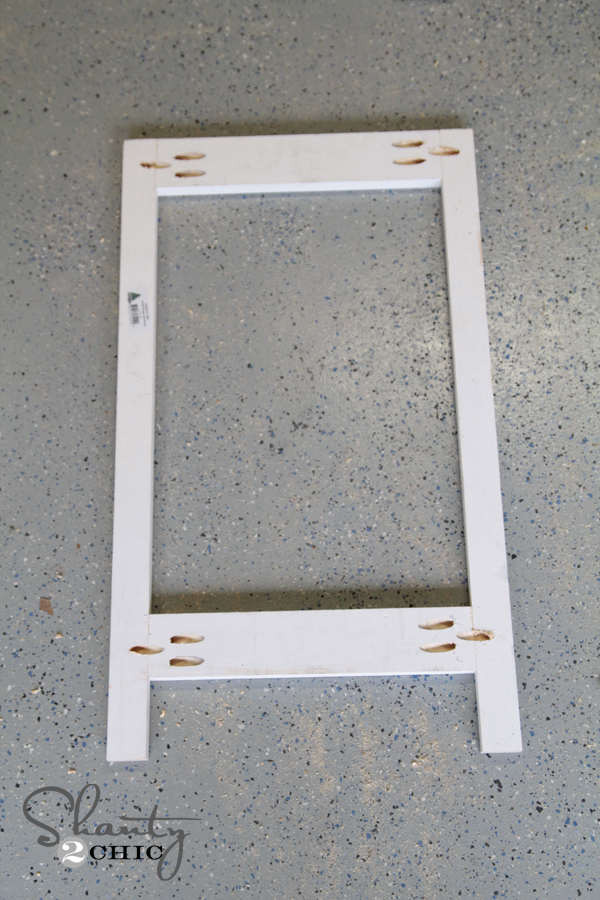
I started by adding 3/4″ pocket holes in my smaller pieces to build the frames. When using the Kreg Jig, you will also need a drill to do the attaching. I use a Ryobi 18V drill. This thing is the BOMB and the battery fits all my other Ryobi tools. Plus, they battery charges in under 30 minutes. Go check the ratings on Home Depot yourself… This drill is awesome. I actually have 2 of them I use so I don’t have to change out my Kreg bit and driver


Skinny frames look like this…
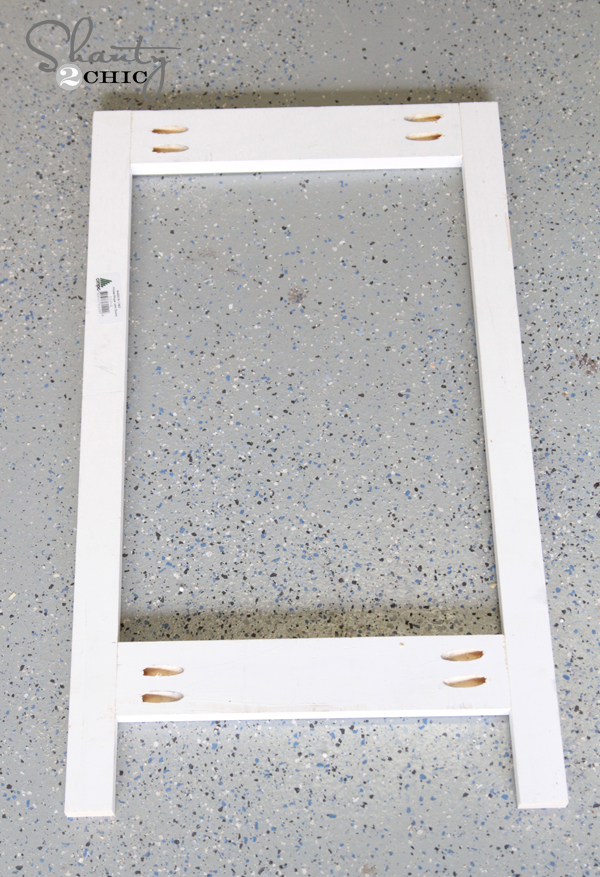

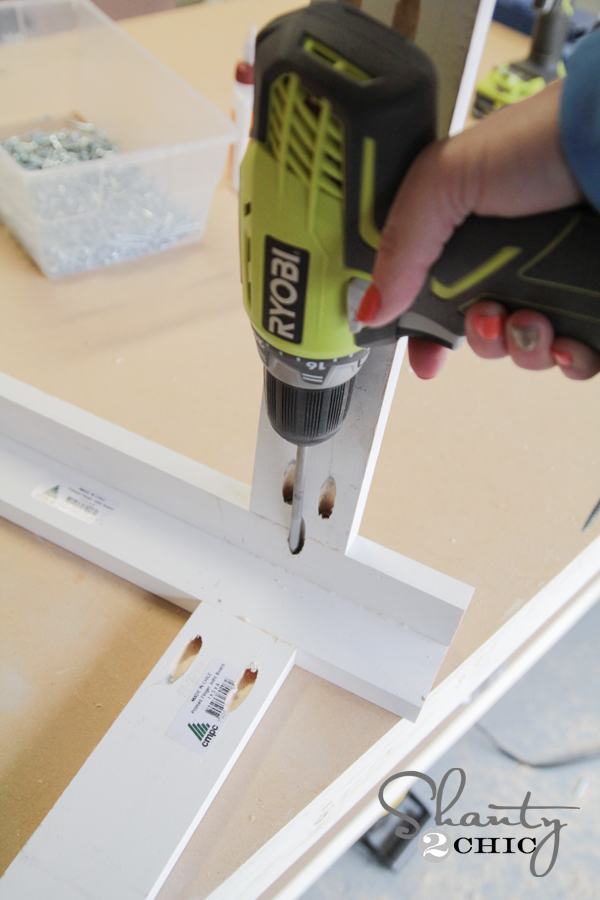
Once those are built, you just attach them. To do this, I decided to add some more pocket holes into my skinny frames. You can see here in this photo how I did that. I placed the entire frame into the Kreg Jig like this.

Next, I attached the skinny frames to the fat frames through those pocket holes I just added. I also ran a line of wood glue between the two frames.
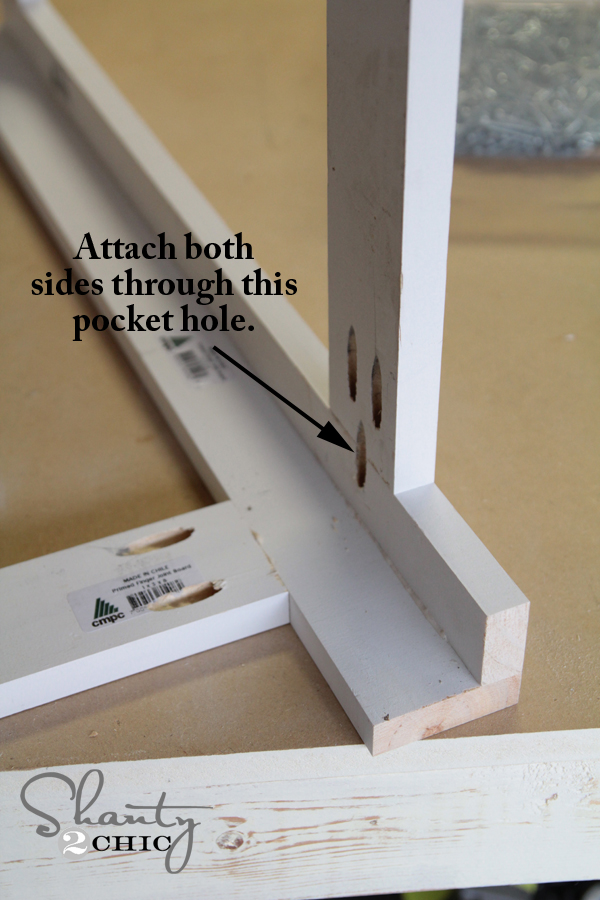
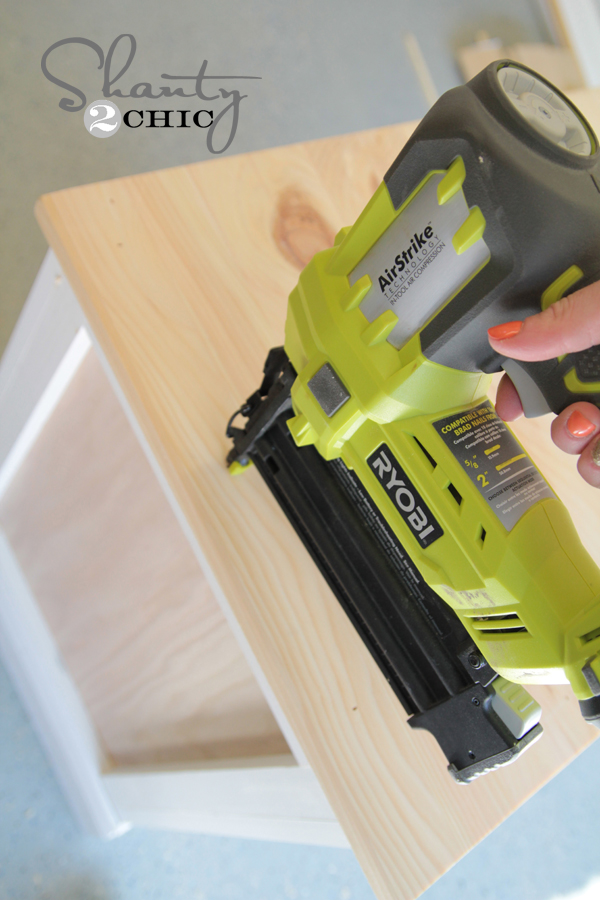
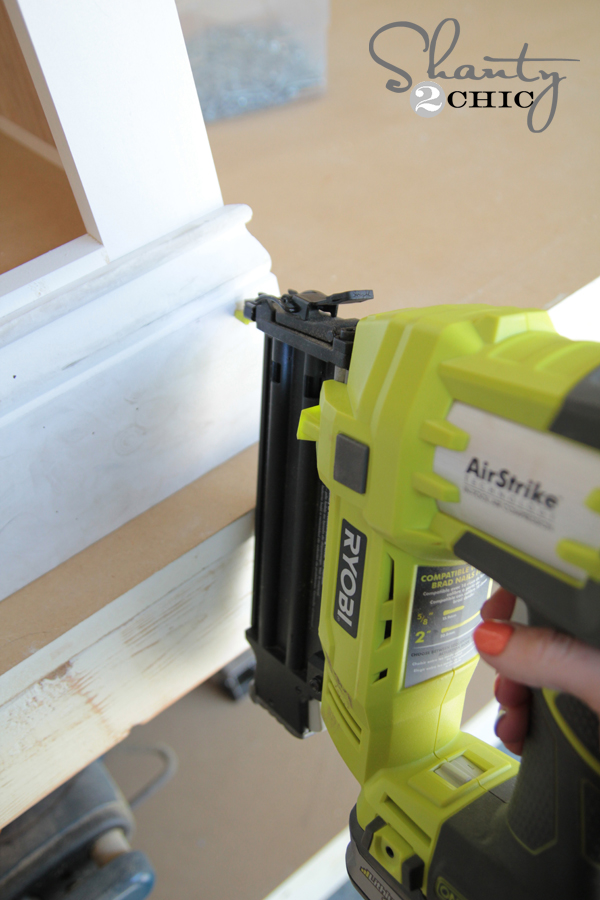
I used my Ryobi AirStrike nailer to add a few nails down the middle since I didn’t have any pocket holes there.

This is what the frames look like attached. The arrows show the pocket holes where they are attached.
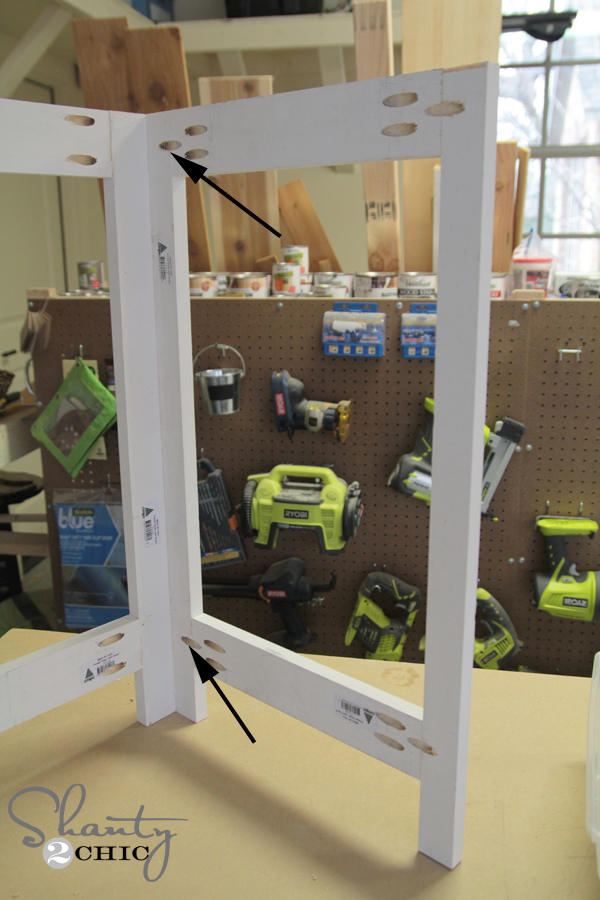
I did the exact same thing to my other skinny frame and then I had a box that looked like this!

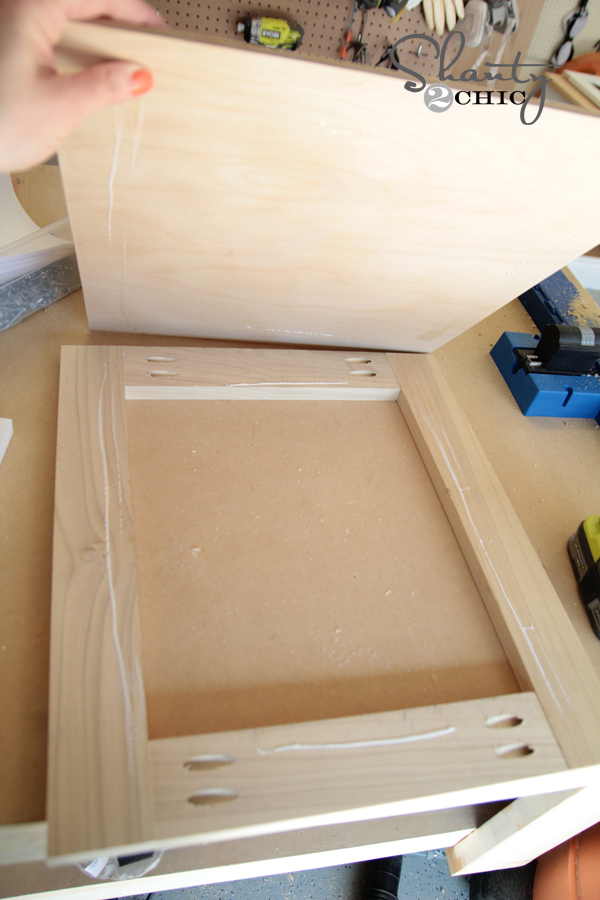
Next, you attach the base. I used MDF for mine because I had lots leftover. I added 3/4″ pocket holes around the entire base piece.


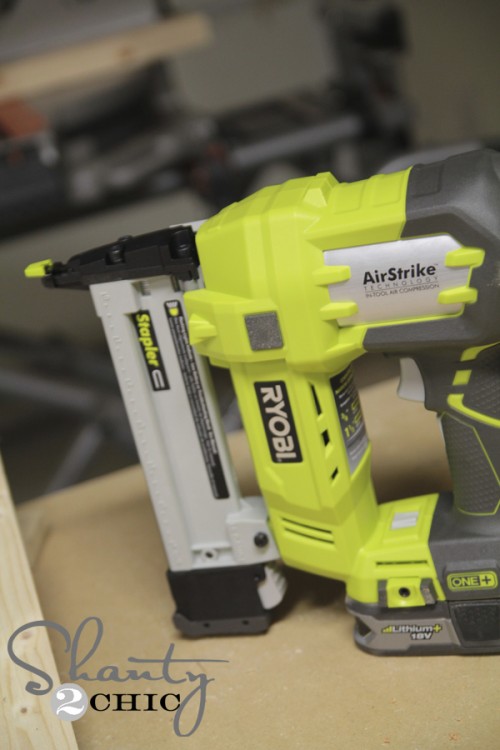
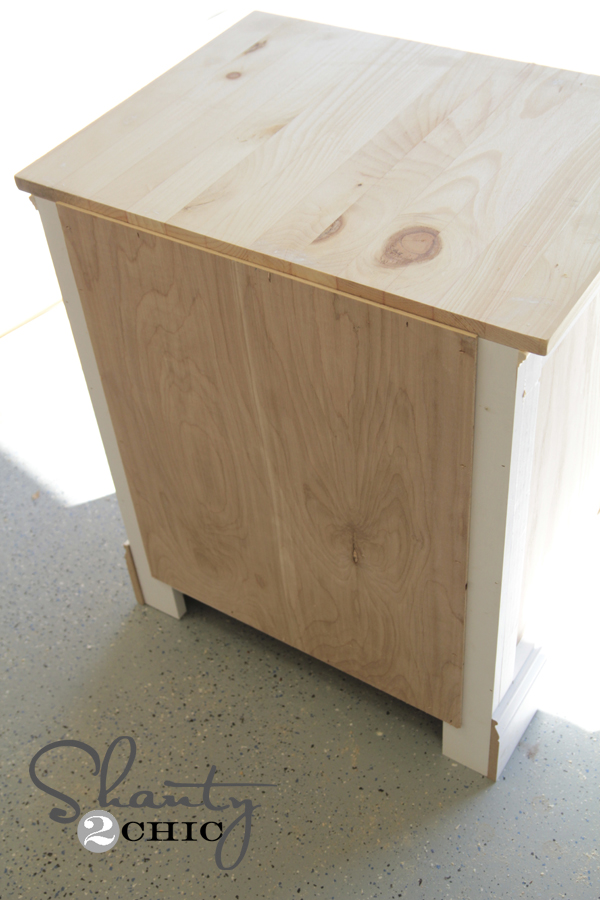
For the panels of the table and the door I used 1/4″ Purebond hardwood plywood. It has a smooth finish when it’s painted, so it’s perfect for this table. I added a line of wood glue down each piece and attached them using my new Ryobi Airstrike Staple gun. Friends… This gun is too legit. It is a sister to the nail gun, but uses staples instead. It’s perfect for working with thin material like this, and it’s also perfect for upholstery projects.

I attached the top next! I chose to use project panels for these, because they are smooth and paint really well. Plus, they are cheap! I used my nail gun to attach it.
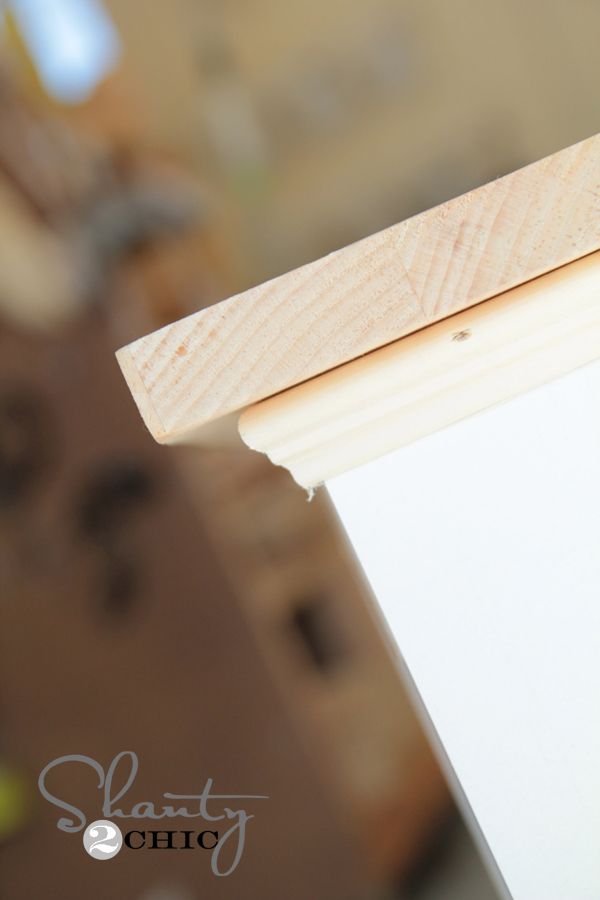
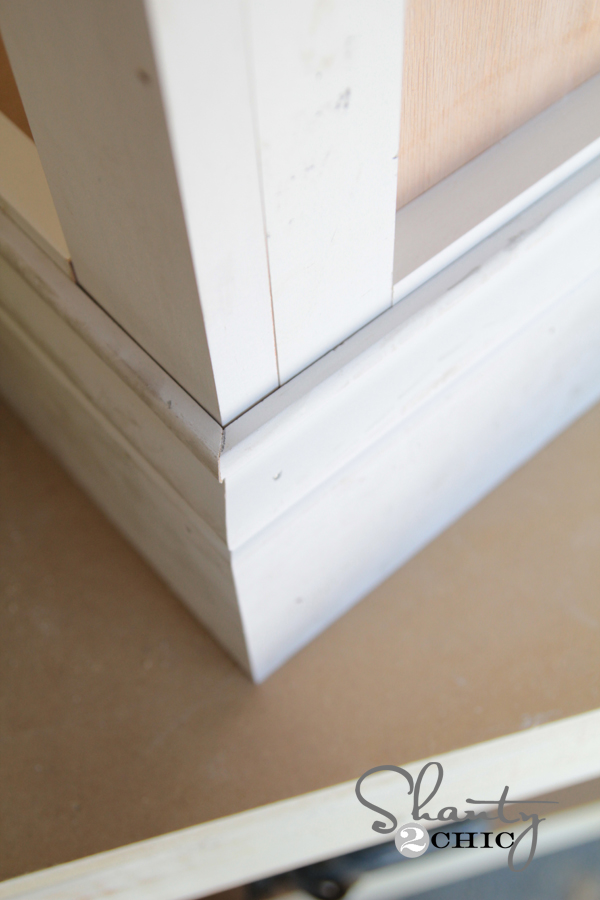
Time for trim! First, I added a small piece of decorative trim under my top using the nail gun. I cut each end at a 45 degree angle.
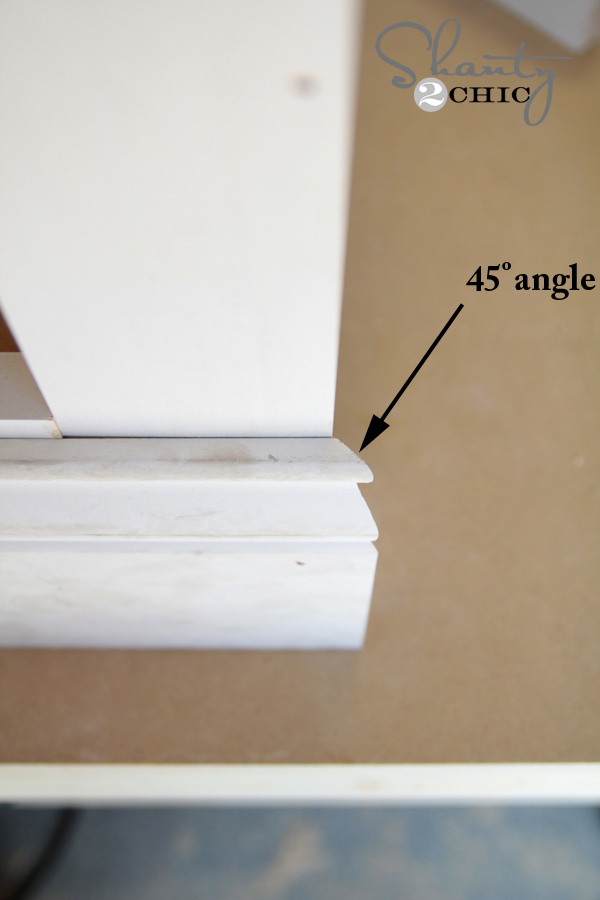
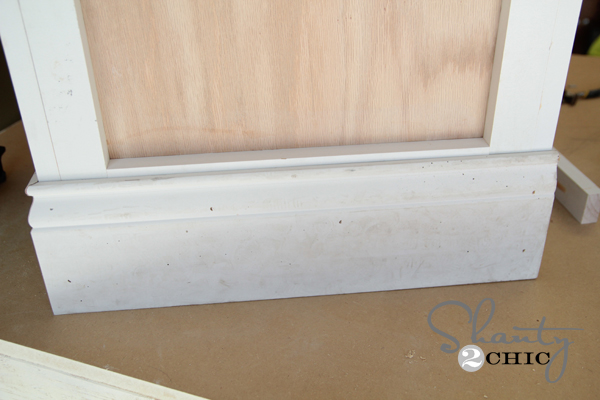
For the base, I used a 5 1/4″ primed base moulding. I used wood glue and my Ryobi nailer to attach it. I started with the front piece, and cut each end at 45 degrees.
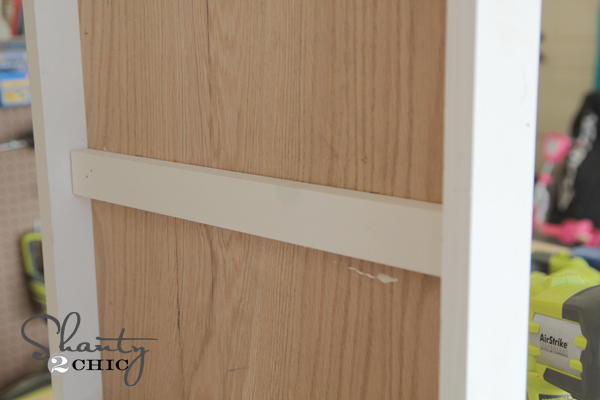
To build the doors, I built the frames from the primed pine boards. I attached them using 1 1/4″ pocket hole screws through the 3/4″ pocket holes. Once I had them built, I attached a piece of the 1/4″ hardwood plywood to the back.
I did decide to add some 1×2 to the inside of each of my tables to create a shelf. I glue and nailed these, but be sure to only add nails at the front and back where there are boards to attach them to.
I used caulk on any of my open seams and painter’s putty on all of my nail holes before painting mine.
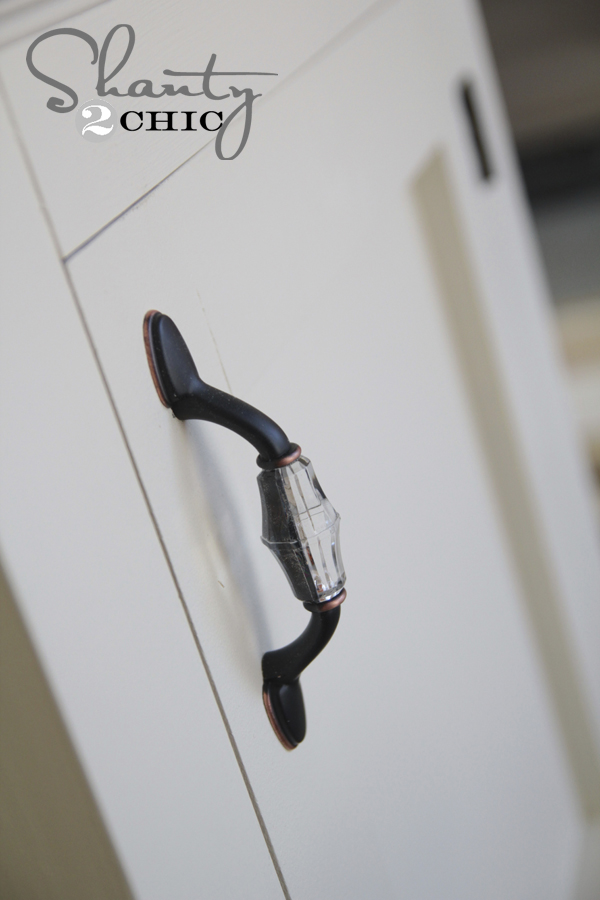
I used a paint color called Ivory Lace by Valspar. It matches her bed perfectly.
I found my pulls at Lowe’s… Aren’t they so pretty?? I love them. I found the cute hinges at Home Depot. These are so easy to attach!
I hope you love them as much as I do! Remember, you can check out the full set of FREE plans over on Ana’s site!
I would LOVE for you to PIN this and share it with all your friends!
Let me know if you have any questions at all!
Happy Friday!
Whitney
Sponsored Links
.
Lower My BillsPay Off Your House At A Furious PaceLower My Bills
Stormfall: Free Online GameThis game will keep you up all night!Stormfall: Free Online Game
Trend Chaser9 Out Of 10 People Can"t Get Through These Photos, Can You?Trend Chaser
Vital Reds SupplementHow To Fix Your Fatigue And Get More EnergyVital Reds Supplement

YourCreditCardsMatters.comHere Is How You Find Great Credit CardsYourCreditCardsMatters.com
BabbelHow To Learn ANY LanguageBabbel
Sponsored
Melissa"s Goodbye Note To The World
At 46, The World Loses Her Too Soon Learn More Sponsored by Pulse Envy
Original article and pictures take http://www.shanty-2-chic.com/2014/03/diy-nightstand-bedside-table.html site
>
Комментариев нет:
Отправить комментарий