пятница, 29 сентября 2017 г.

DIY Wood Toy Box or Blanket Box Shanty 2 Chic

DIY Wood Toy Box or Blanket Box - Shanty 2 Chic


Hi guys!


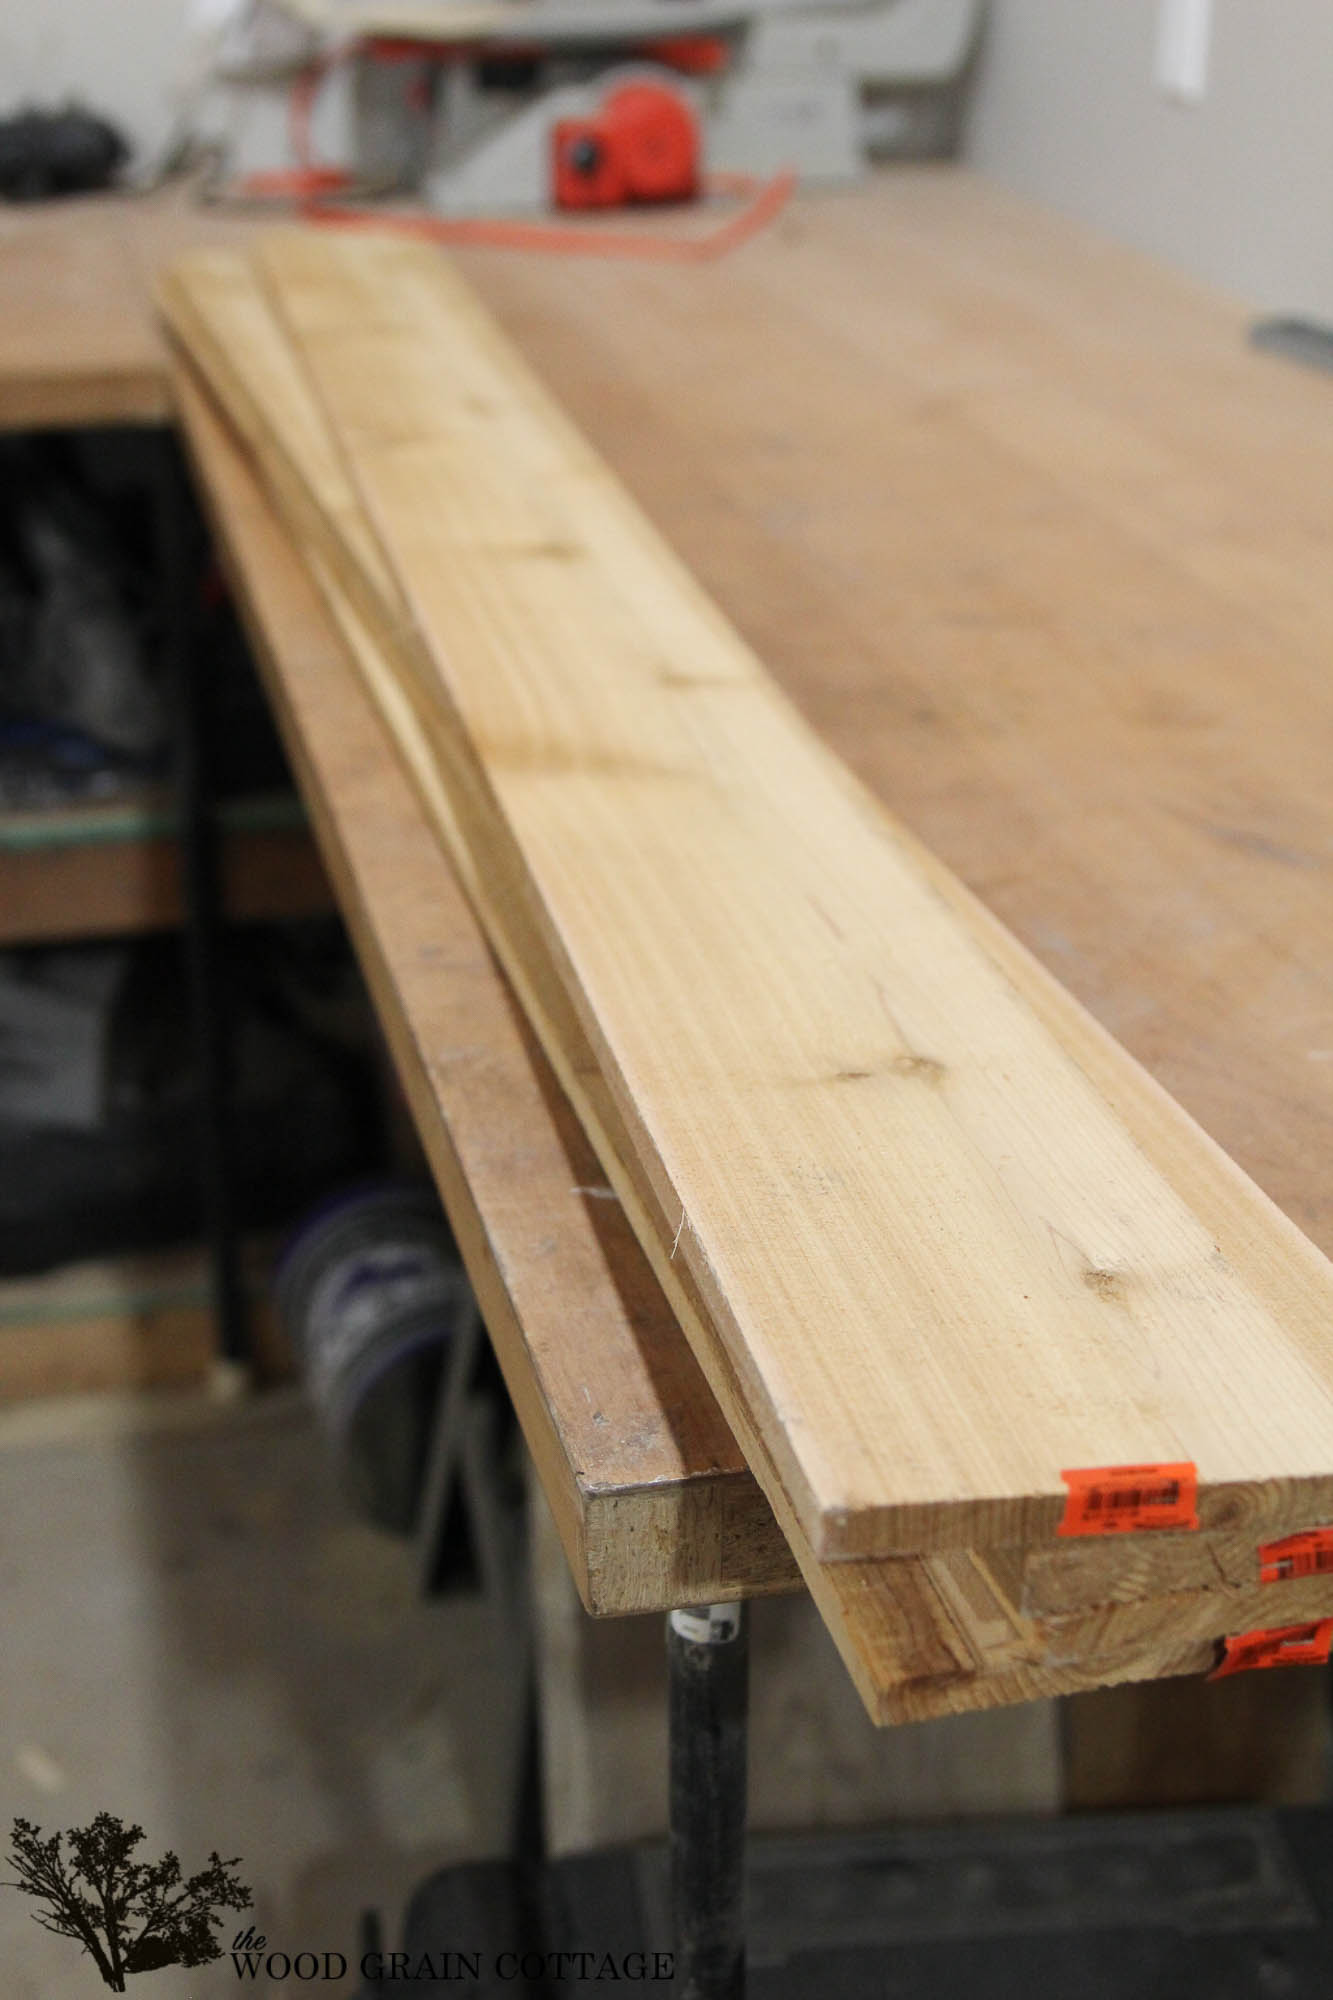
Well it was ‘Project Organization’ at my house over the weekend. I got a TON done, and managed to make a few things with my ever growing scrap pile!


I had a bunch of Purebond Plywood leftover from my son’s dresser that I built, so I decided to make a toy box for me! That’s right… For me.


Here is how it turned out…


As I mentioned, I spent the weekend organizing. This project knocked out 2 birds with one stone. I was able to shrink my scrap pile and get rid of this doozie that’s been in my room at the same time!
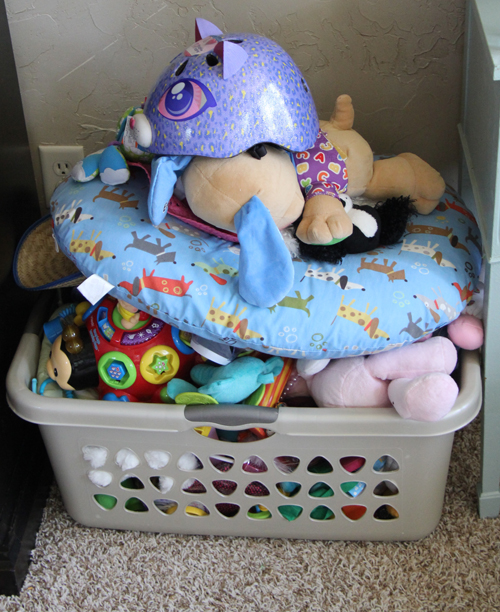
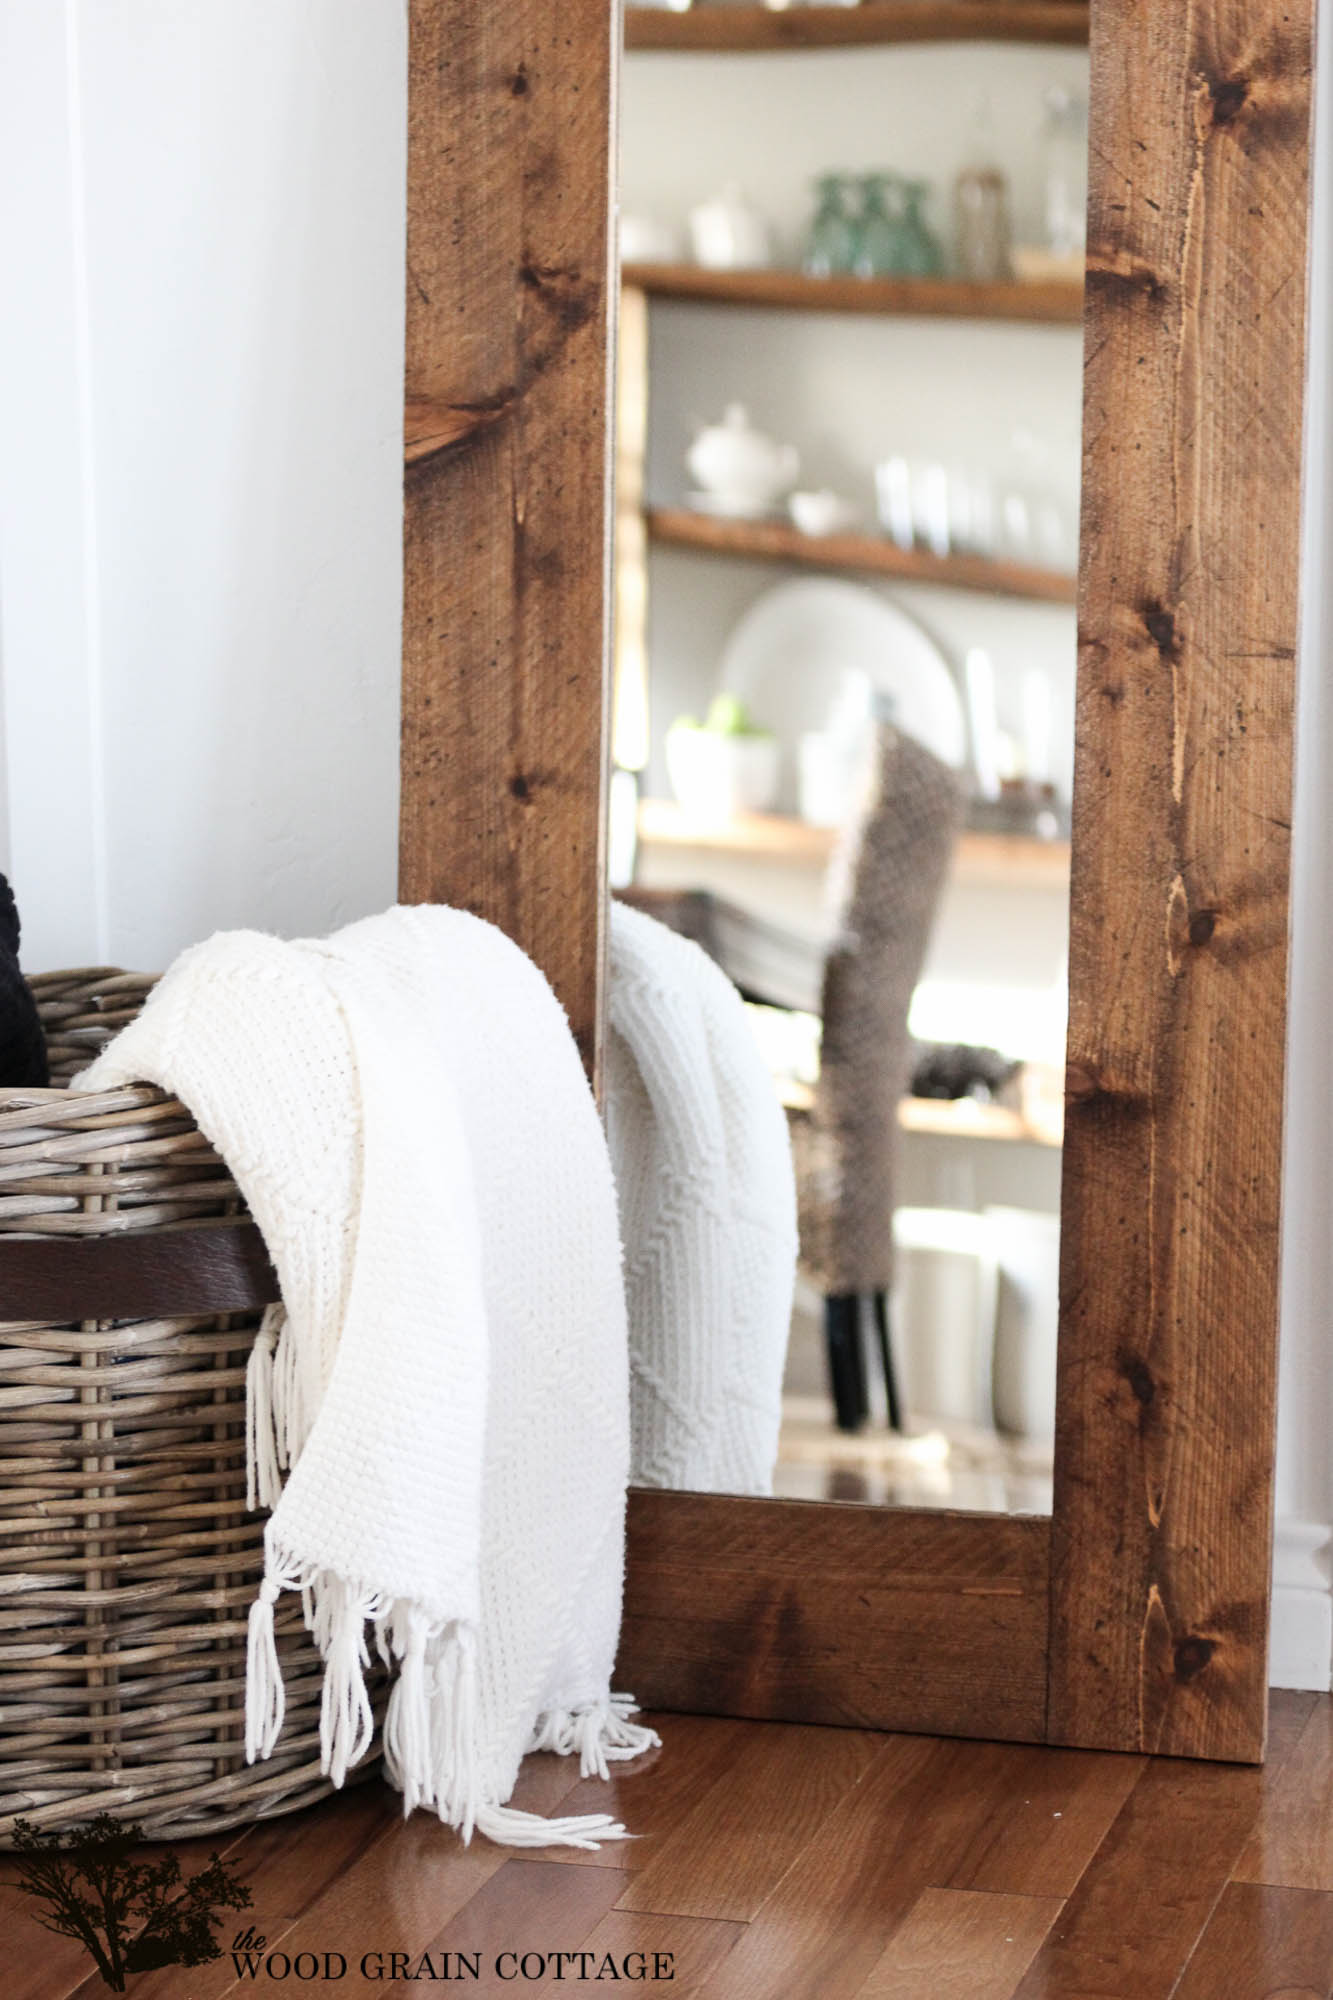
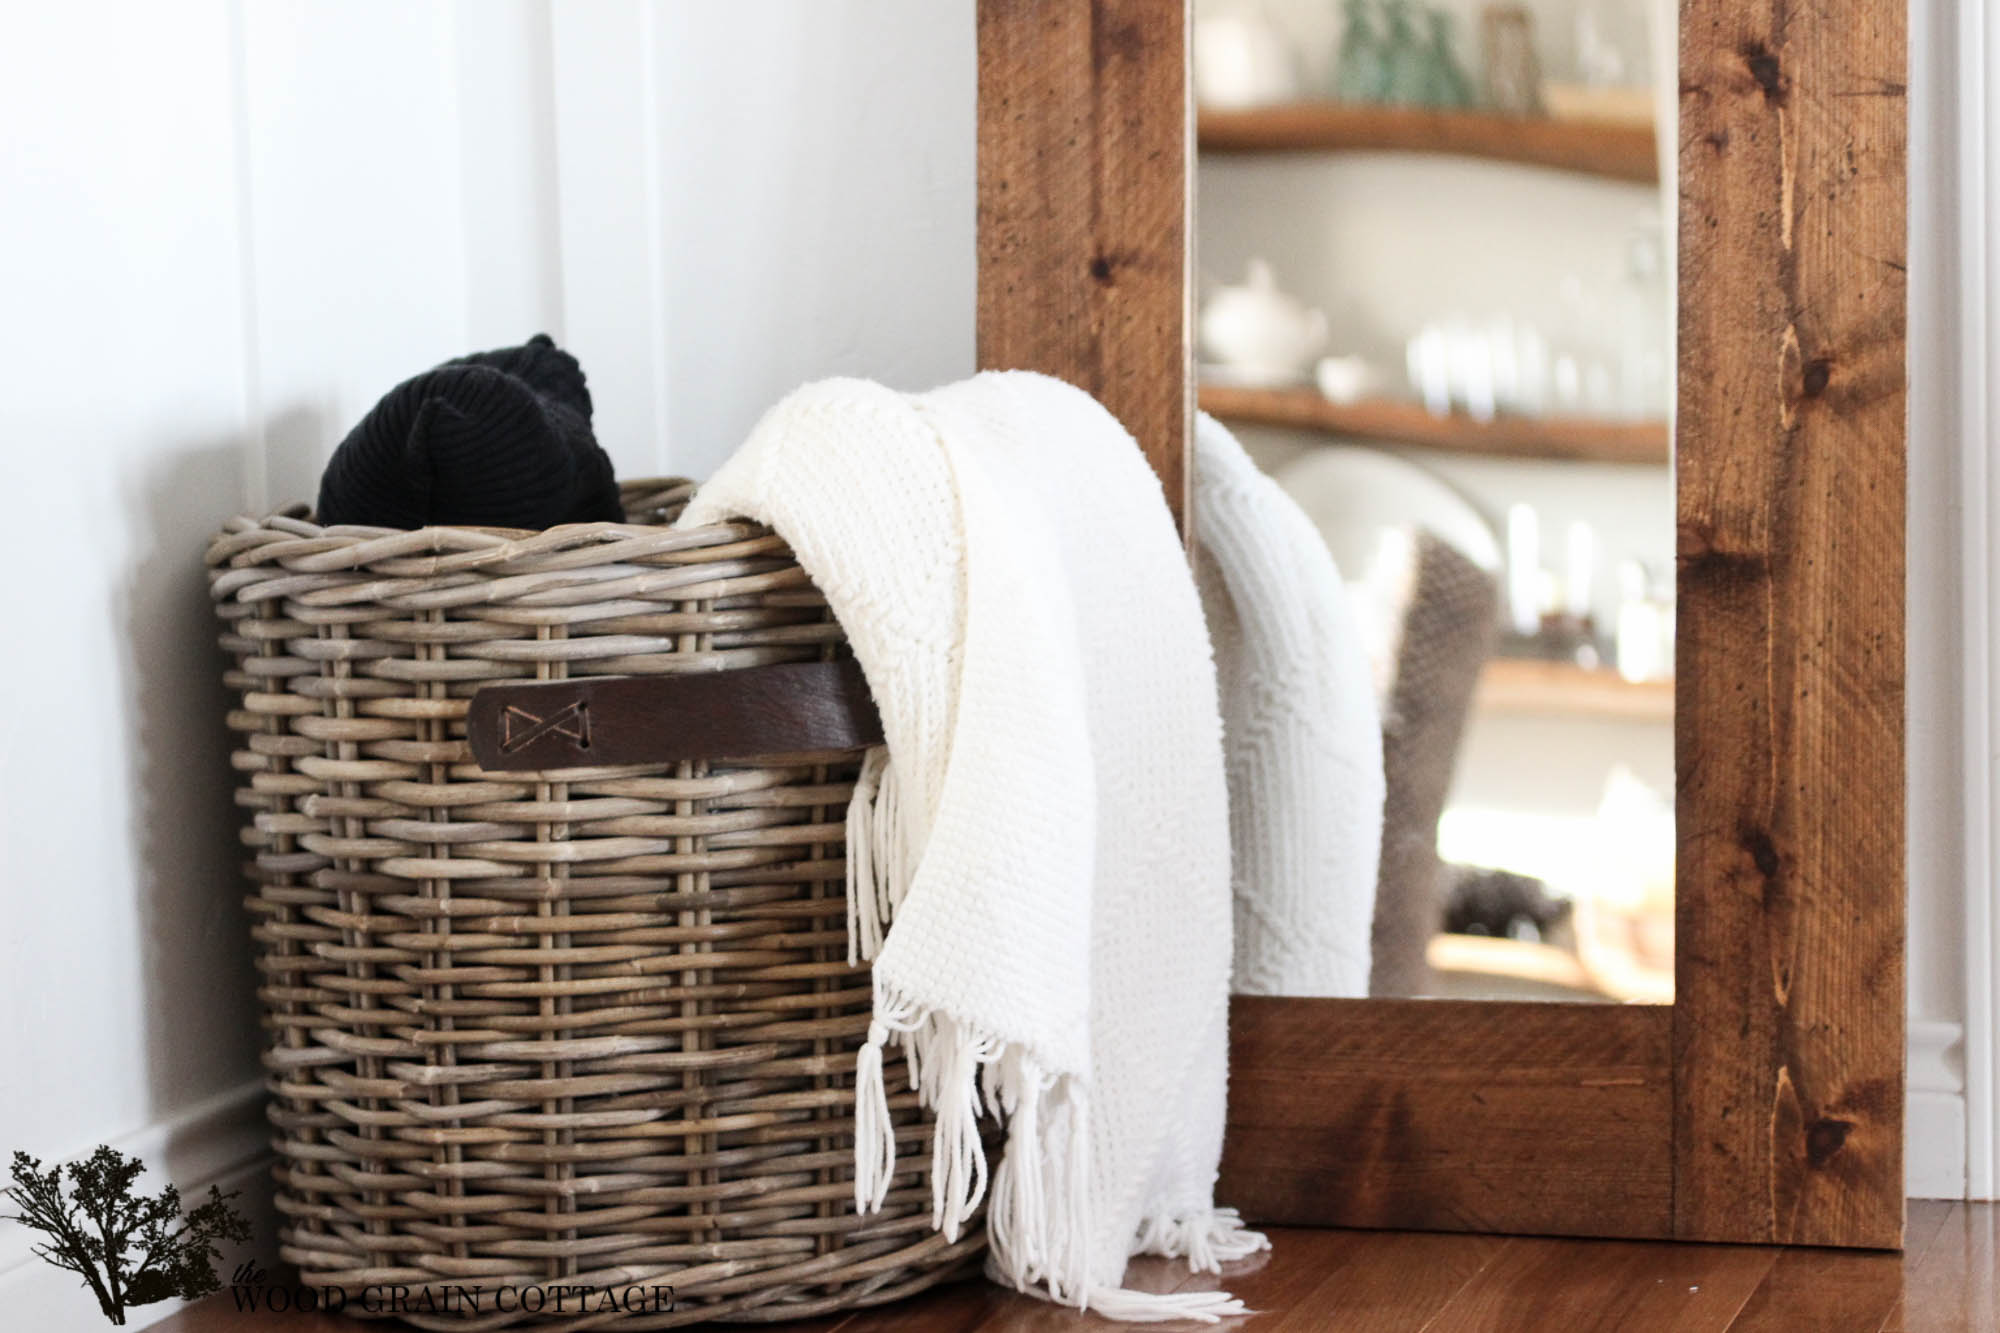

Don’t judge… Ok… You totally can

It’s bad.


But… I am proud to say that the baby’s toys have some new digs…


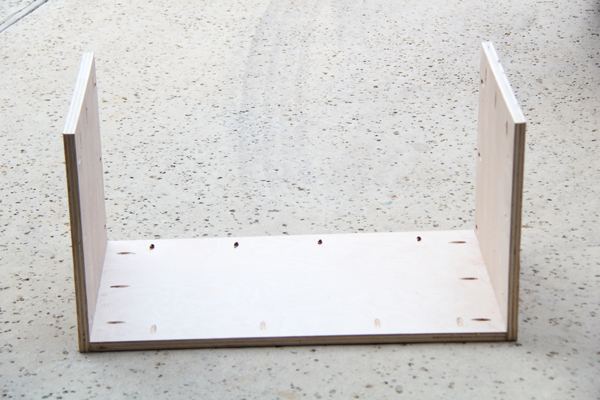
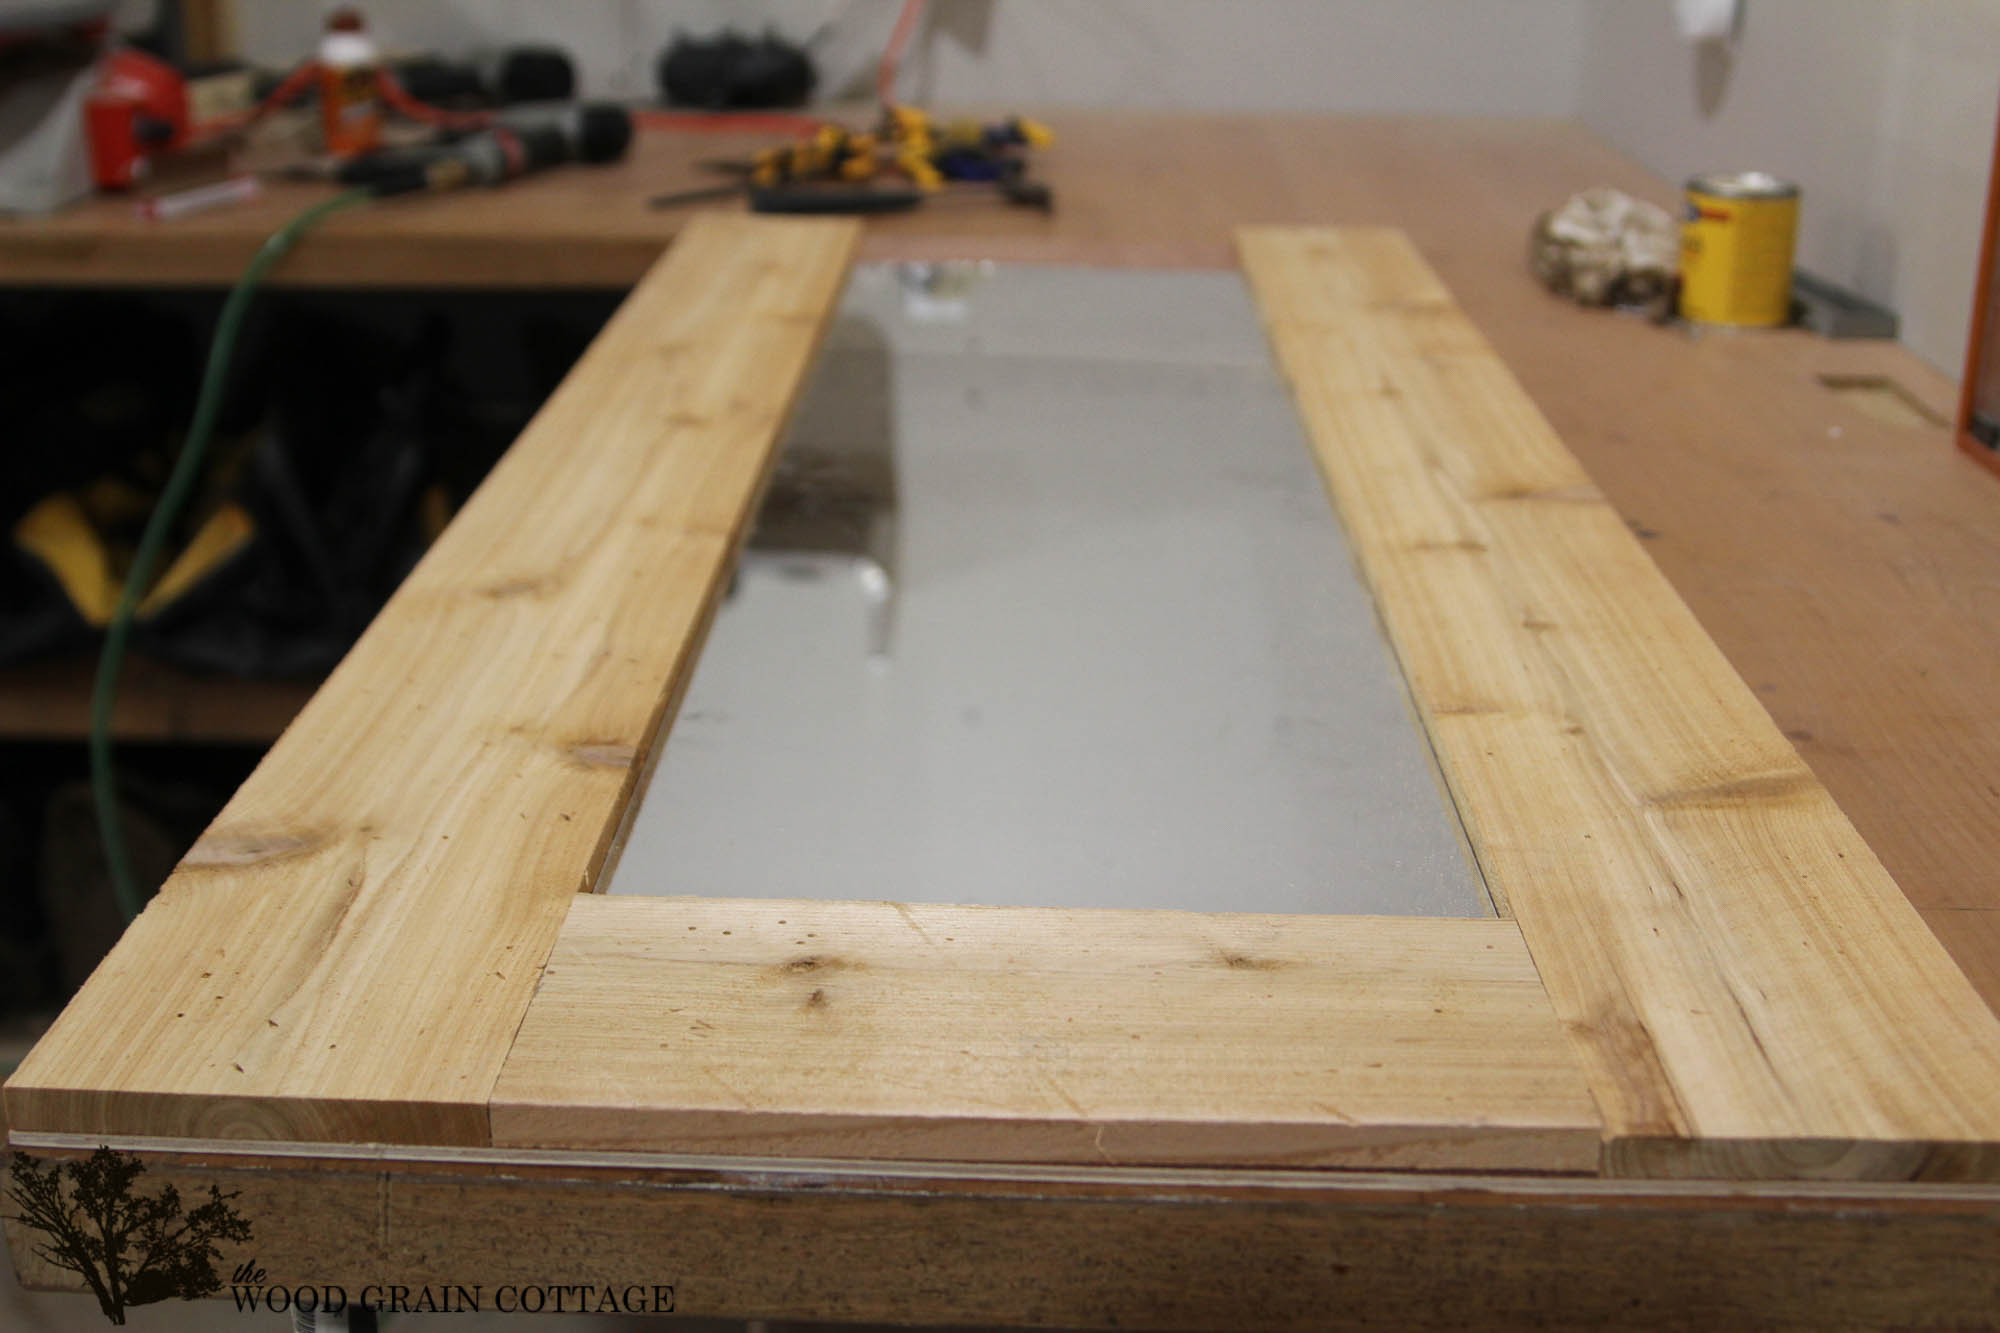
I adapted Ana’s great plan for her toy box to build mine. I loved hers, but was determined to spend no money on mine. I had to shorten it just a bit so I had enough wood.


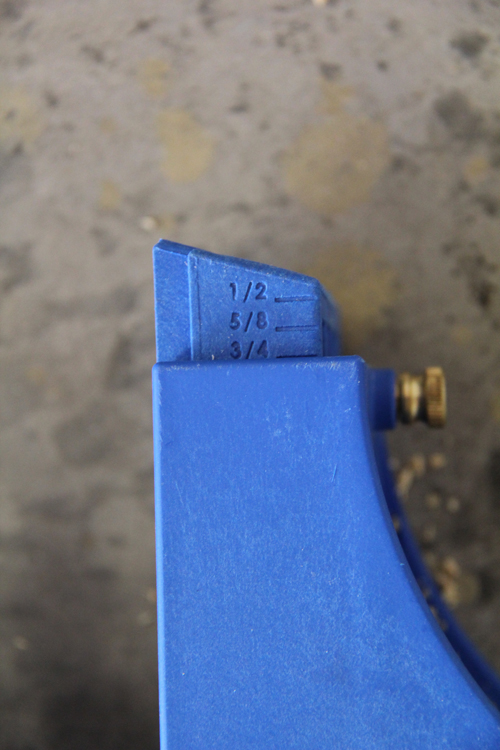
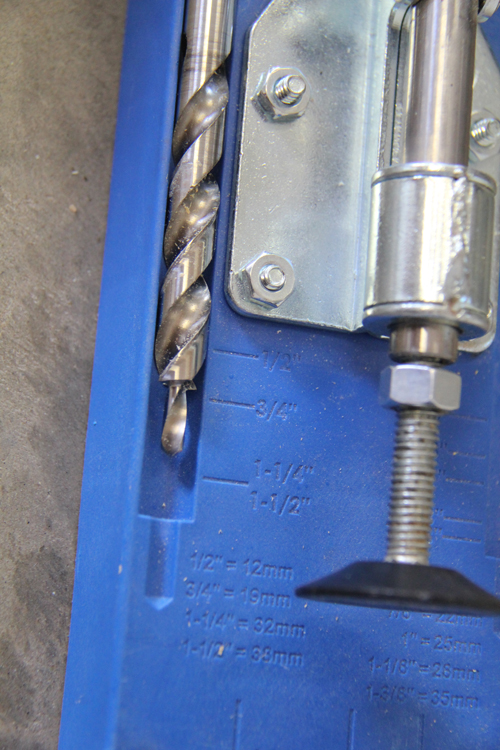
I used my incredibly awesome Kreg Jig® once again for this build. Did I mention that you all need one???


I used 3/4″ pocket holes and my settings looked like this…


These are the sides of my toy box…

And my base…


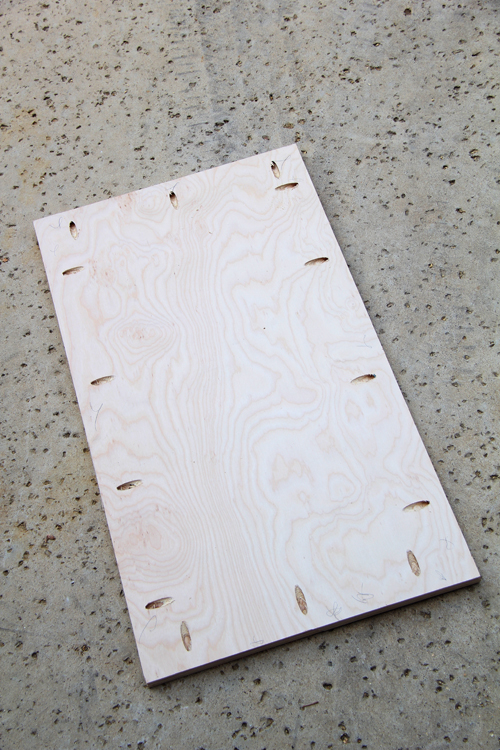
I built my box just like Ana’s instructions told me to…


How to build a wood box

To finish this baby I used a stain and latex paint.

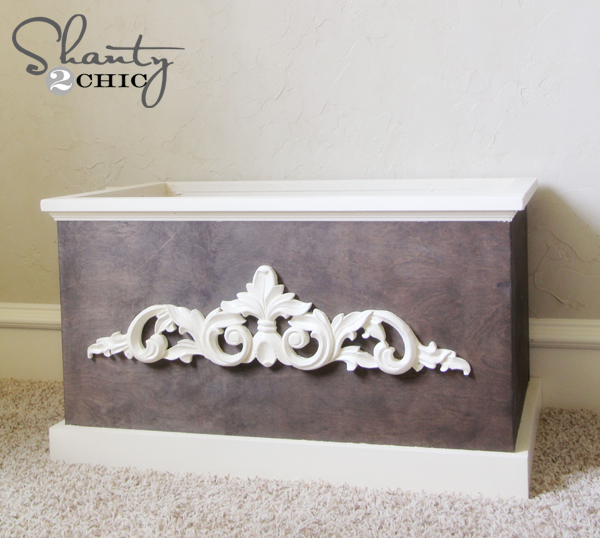
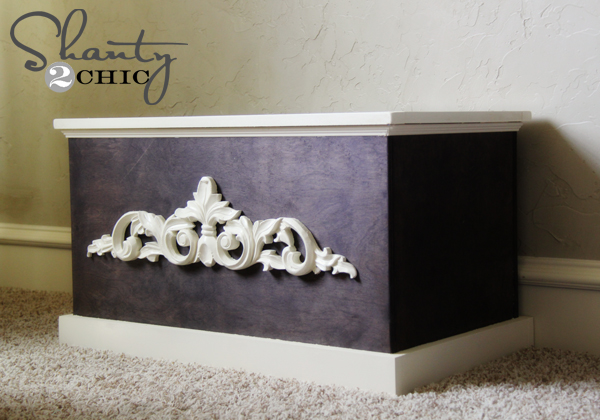
I first stained the box using Rust-Oleum Ultimate Wood Stain in Kona. LOVE.


rust-oleum wood stain
rust-oleum_kona_stain

For my trim pieces I used MDF scraps that I had. You can also use cheap furring strips for almost nothing!


Once I attached them I taped off the stained box and painted the trim with a cream latex paint.


My last step was adding a wood scrolly… Pretty sure they have a name, but that’s what we will call it You can buy these at Lowe’s and Hobby Lobby also have great

metal ones that would be super cute and cheap!


Mine was leftover from a different project. I just painted it with my latex paint and nailed and glued it to the front of the box. That’s it! So simple… And just a little bit prettier than the old clothes basket!


Oh I love me some scraps…


diy toy box_edited-1

diy toy box

toy box

I figure when it doesn’t hold toys anymore it will also make a great blanket basket!

So… What have you made with your scraps?? I would love to hear about it!


Remember you can see the full tutorial on these easy, peasy boxes over at Ana-White.com!


Thanks so much for stopping by!! Have a great Tuesday!


~Whitney


Sponsored Links


.


Stormfall: Free Online GameDon"t let this game slip through your fingers!Stormfall: Free Online Game


TheDailyHeel.comAmazing Time lapse From 1986 (Photos)TheDailyHeel.com


YourCreditCardsMatters.comHere Is How You Find Great Credit CardsYourCreditCardsMatters.com


Lower My BillsPay Off Your House At A Furious PaceLower My Bills


ParkRiverAuto.comSearch for Great Luxury Car Deals!ParkRiverAuto.com


Adobe7 Tips To Appeal To Digital NativesAdobe


Sponsored


Melissa"s Goodbye Note To The World


At 46, The World Loses Her Too Soon Learn More Sponsored by Pulse Envy


Original article and pictures take http://www.shanty-2-chic.com/2012/07/diy-wood-toy-box-or-blanket-box.html site


>

DIY Wood Shed With Critterproof Foundation

DIY Wood Shed With Critter-proof Foundation

shed with critter proof foundation, diy, how to, outdoor living, storage ideas, woodworking projects, The shed is 16 feet long and 4 5 feet wide
The shed is 16 feet long and 4.5 feet wide.

We had to squeeze in some usable shed space on our narrow side yard. At 4.5 feet wide and snugged up to the property line, it left a scant 4 feet between the face of the shed and our AC unit.


  • shed with critter proof foundation, diy, how to, outdoor living, storage ideas, woodworking projects

I didn"t want critters taking up residence in any kind of cavity under the foundation, and we have a few around -- mice, rats, skunks, and raccoons. the answer? A no-space foundation. Pressure-treated 6x6s rated for ground contact embedded directly into the ground.


  • shed with critter proof foundation, diy, how to, outdoor living, storage ideas, woodworking projects

We filled the spaces with 3/4-minus gravel with fines -- it compacts like cement but provides drainage. This is the floor of the shed -- no joists. The floor will be flush with the surrounding ground. Metal clips help hold the corners in place.


  • shed with critter proof foundation, diy, how to, outdoor living, storage ideas, woodworking projects

Wall framing directly on the 6x6s. The bottom plate is also P-T. We snuck in a few pieces of used wood. The design is a simple shed roof over separate 3 compartments.


  • shed with critter proof foundation, diy, how to, outdoor living, storage ideas, woodworking projects

Short overhangs -- keep it compact and not extending into the neighbor"s property. Local codes let us build a shed right on the property line if it will be contiguous with a fence. This one will -- next project!


  • shed with critter proof foundation, diy, how to, outdoor living, storage ideas, woodworking projects

Roofing with standard 3-tab asphalt shingles. The hammer

balancing act would be more impressive if I did it on my nose.


  • shed with critter proof foundation, diy, how to, outdoor living, storage ideas, woodworking projects

  • shed with critter proof foundation, diy, how to, outdoor living, storage ideas, woodworking projects

We used T-111 plywood siding. It"s cheap but it looks great and takes stain like a champ.


  • shed with critter proof foundation, diy, how to, outdoor living, storage ideas, woodworking projects

The final product. You can see the fence coming in from the right. (BTW, what do fences say about your personality? http://goo.gl/S3IdBZ)


  • shed with critter proof foundation, diy, how to, outdoor living, storage ideas, woodworking projects

The west end is a shelter for our bikes. It"s open on two sides for easy access. The roof catches quite a bit of rain so we added a gutter on the low side and channeled the water into a rain barrel.


  • shed with critter proof foundation, diy, how to, outdoor living, storage ideas, woodworking projects

The middle compartment is completely closed in and locked. I"d show you what"s inside but right now it"s full of "stuff that doesn"t have any other home." There"s camping gear in there and plastic tarps and an old drain snake. I think.


  • shed with critter proof foundation, diy, how to, outdoor living, storage ideas, woodworking projects

The east end is three-sided and houses garden tools, the lawn mower, the gas can, and things like deer repellent. You just grab the mower and go -- the floor is flush with the ground around the shed. Additional weather protection from the 20-inch eave.


  • shed with critter proof foundation, diy, how to, outdoor living, storage ideas, woodworking projects

#shed


Original article and pictures take http://www.hometalk.com/7437101/shed-with-critter-proof-foundation site


">

четверг, 28 сентября 2017 г.

DIY Wood Framed Mirror The Wood Grain Cottage

DIY Wood Framed Mirror - The Wood Grain Cottage

DIY Framed Mirror- Perfect Touch of Farmhouse!- by The Wood Grain Cottage

Please note: Some of the links in this post are affiliate links, which allows us to make a small commission from your purchase, but your purchase price stays the same. Thank you for helping support our blog! We greatly appreciate it!


I love how it turned out, and it was inexpensive to boot! Here’s how we made it:


I started with a basic cheap mirror from Walmart, this one is similar…


DIY Framed Mirror- Perfect Touch of Farmhouse!- by The Wood Grain Cottage

I removed the frame and backing, leaving just the mirror…


DIY Framed Mirror- Perfect Touch of Farmhouse!- by The Wood Grain Cottage
For the frame, I decided to use my stand by, cheap fence pickets…

DIY Framed Mirror- Perfect Touch of Farmhouse!- by The Wood Grain Cottage

One of the reasons I love the fence pickets, is because they are rough cut. It gives them a bit more character, which I love. In this case, I wanted them to be a bit more distressed, so I used a combination of a hammer and nail setter to add random marks to the boards…


DIY Framed Mirror- Perfect Touch of Farmhouse!- by The Wood Grain Cottage
Then, I roughed them up a bit more by using our hand saw to make random cut marks in the wood…

DIY Framed Mirror- Perfect Touch of Farmhouse!- by The Wood Grain Cottage

Once they looked right, Anthony and I ripped down a piece of 1/4″ underlayment for the backing of the mirror…


DIY Framed Mirror- Perfect Touch of Farmhouse!- by The Wood Grain Cottage

Then, we cut the fence pickets to length…


DIY Framed Mirror- Perfect Touch of Farmhouse!- by The Wood Grain Cottage

Once we knew all the edges were flush, we applied glue to the underlayment…


DIY Framed Mirror- Perfect Touch of Farmhouse!- by The Wood Grain Cottage

Then, we added the fence picket and clamped it down. With it clamped in place, Anthony used our nail gun to attach the two together…


DIY Framed Mirror- Perfect Touch of Farmhouse!- by The Wood Grain Cottage

We did the exact same thing to the other side…


DIY Framed Mirror- Perfect Touch of Farmhouse!- by The Wood Grain Cottage
With the sides done, we cut the end piece and made sure the mirror would sit tight on all sides…

DIY Framed Mirror- Perfect Touch of Farmhouse!- by The Wood Grain Cottage

Once the end piece was attached, we lifted the mirror off and I stained the boards with Early American by Minwax…


DIY Framed Mirror- Perfect Touch of Farmhouse!- by The Wood Grain Cottage
Once the stain was dry, we applied silicone to the mirror area…

DIY Framed Mirror- Perfect Touch of Farmhouse!- by The Wood Grain Cottage

DIY Framed Mirror- Perfect Touch of Farmhouse!- by The Wood Grain Cottage

Just as a warning, liquid nails is not for use on mirrors. It will bleed through the mirror backing, making spider web looking marks all over the mirror. The clear silicone works perfectly and adheres to wood and mirrors.


Once the silicone was in place, we carefully added the mirror and added equal, but firm pressure to the mirror…


DIY Framed Mirror- Perfect Touch of Farmhouse!- by The Wood Grain Cottage
Then, once we knew the mirror was tightly fit against all the edges, we added the last end piece…

DIY Framed Mirror- Perfect Touch of Farmhouse!- by The Wood Grain Cottage

And to make sure the mirror adhered well to the silicone, we applied equal wight and let it set overnight….


DIY Framed Mirror- Perfect Touch of Farmhouse!- by The Wood Grain Cottage
The next day I removed the boxes, waxed the frame, and it was ready to use…

DIY Framed Mirror- Perfect Touch of Farmhouse!- by The Wood Grain Cottage

I love the thick frame. It totally makes the mirror, and so does the distressing, which is a bit easier to see in person…


DIY Framed Mirror- Perfect Touch of Farmhouse!- by The Wood Grain Cottage

I can’t wait to attach it to our bathroom door.

It will be the perfect addition, and a great motivation to keep making progress…


DIY Framed Mirror- Perfect Touch of Farmhouse!- by The Wood Grain Cottage

DIY Framed Mirror- Perfect Touch of Farmhouse!- by The Wood Grain Cottage

And, don’t worry about quality assurance, we have two little helpers who like to make sure they get the final say on things…


DIY Framed Mirror- Perfect Touch of Farmhouse!- by The Wood Grain Cottage

Luckily, they approved…


DIY Framed Mirror- Perfect Touch of Farmhouse!- by The Wood Grain Cottage

These type of DIY projects really are the best. They look great and serve a purpose. Now all I need to do is make one big change! A new paint color is in order… and it’s only been in the works for about 3 years now.


In the midst of prepping for the online shop and the Utah Vintage Whites Market, it may have to wait just a bit more. It will happen though, 2015 is the year. I can feel it.


Original article and pictures take http://www.thewoodgraincottage.com/2015/02/06/diy-wood-framed-mirror/ site


>