
Disclosure: Post sponsored by Rockler but all opinions are my own. Please see below for additional disclosure.
It only happens once in a while. Maybe every three years or so. I come up with what I think is a brilliant storage solution (like this one). Silhouette® owners, get your vinyl rolls ready for a DIY Vinyl Storage Solution!
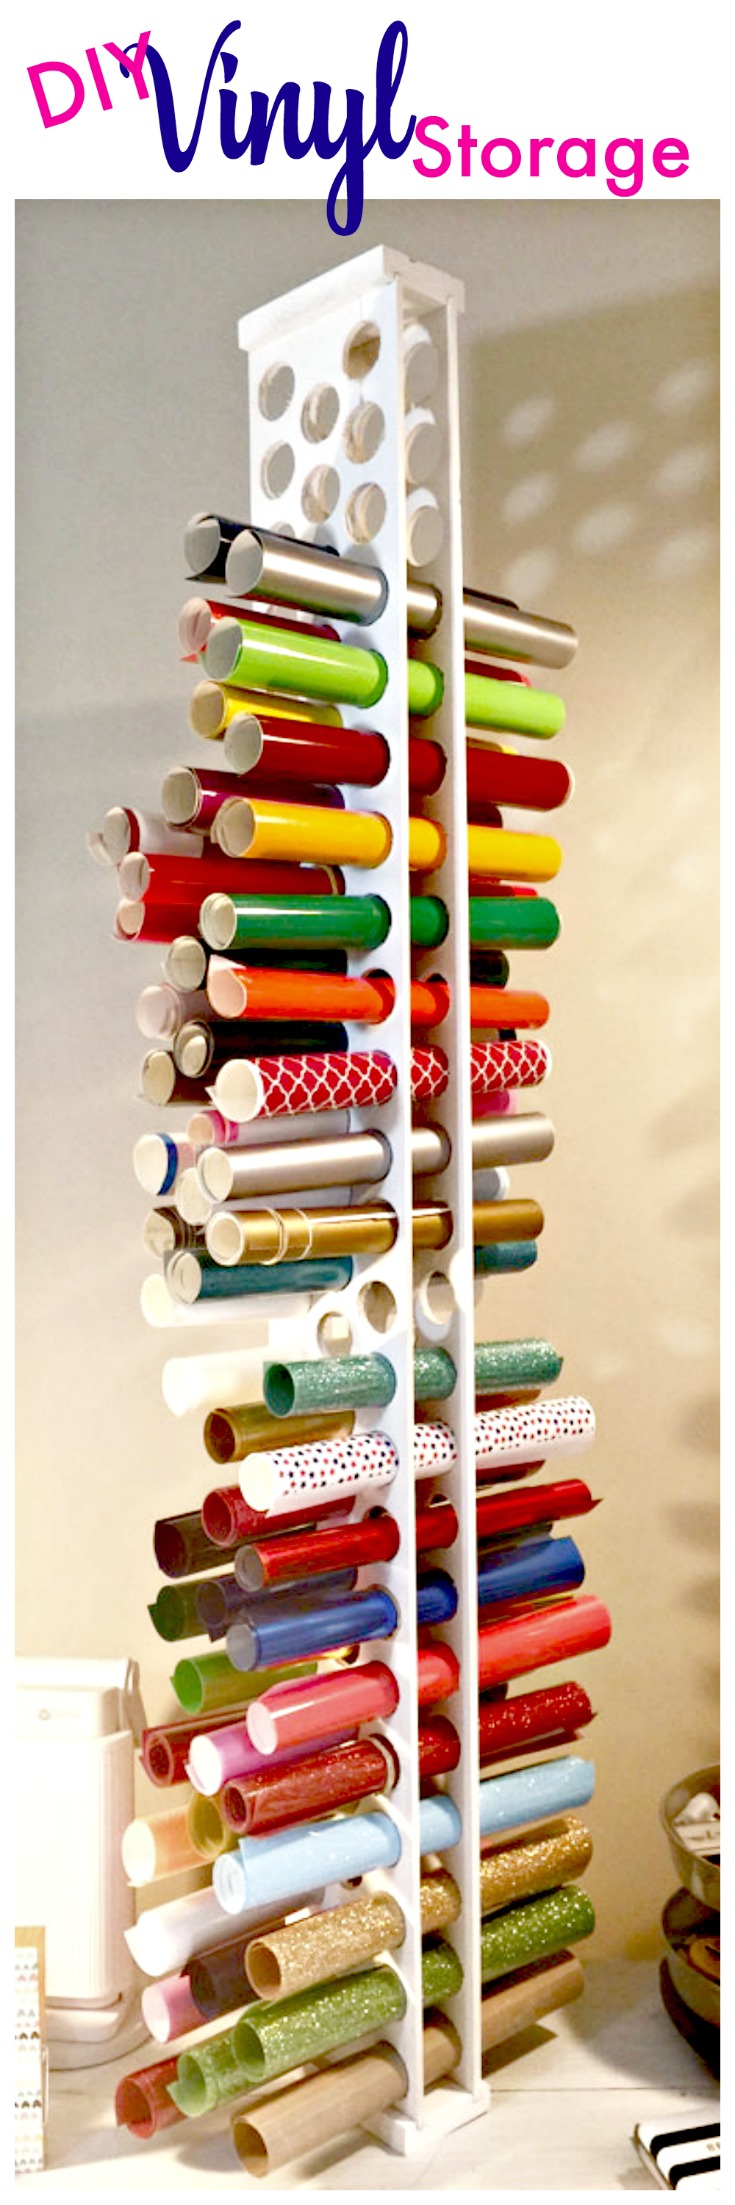
This DIY wooden vinyl storage rack is really easy to make. Want to see how to make your own?
Materials:
Visit your local Home Depot and head down the wood aisle and look for the hobby boards. In my Home Depot they are located right next to the stair parts, across from the pine boards. Get two pieces of the 1/4″ x 6″ boards. They are 4′ long. Mine were $5.88 each. You’re also going to need 6″ of a 1″ x 6″ pine board. Maybe you have some scrap wood at home? If not, get a 1″ x 6″ x 6′ common board. Mine cost $6.75.
Tools I used:
- Miter saw
- Router
- Drill/driver with a 1-1/2″ hole saw bit
- Palm sander
- File
- Paint sprayer

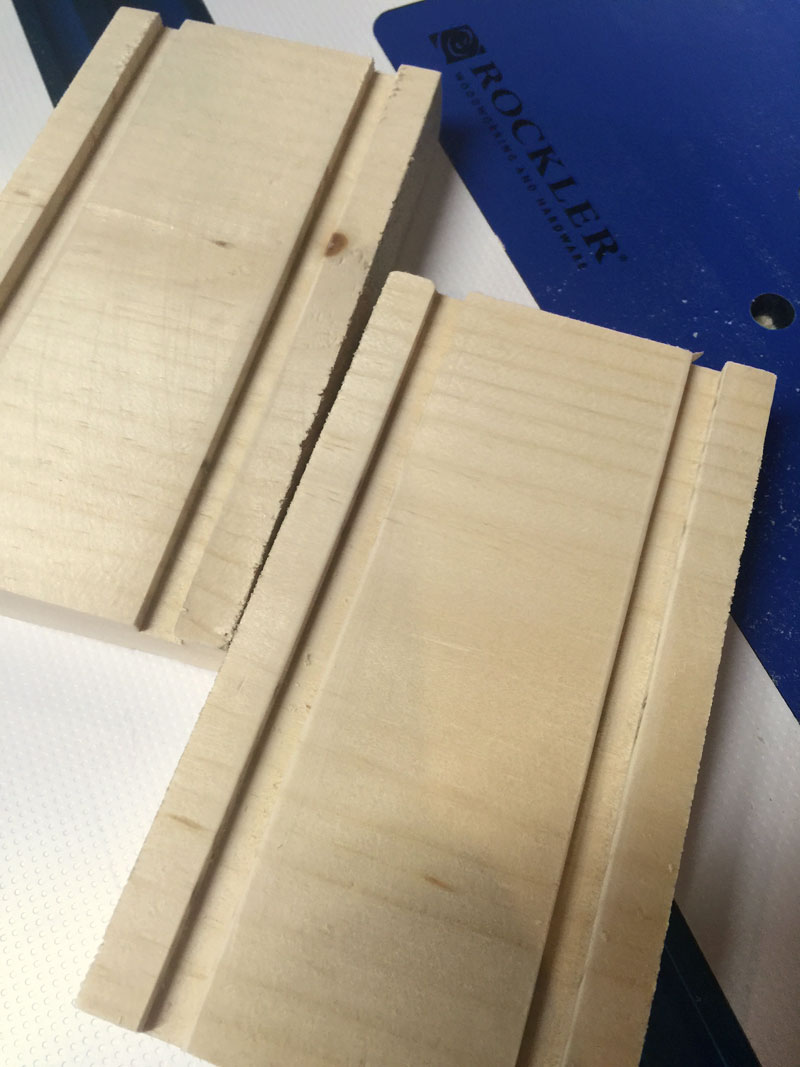
The first thing I did was cut two 3″ pieces from the 1″ x 6″ x 6′ board. These are the top and bottom pieces that will hold the two tall side pieces (the 1/4″ x 4″ x 4′ hobby boards). Since these hobby boards are 1/4″ thick, I needed to make some 1/4″ channels on those 3″ wide pieces.
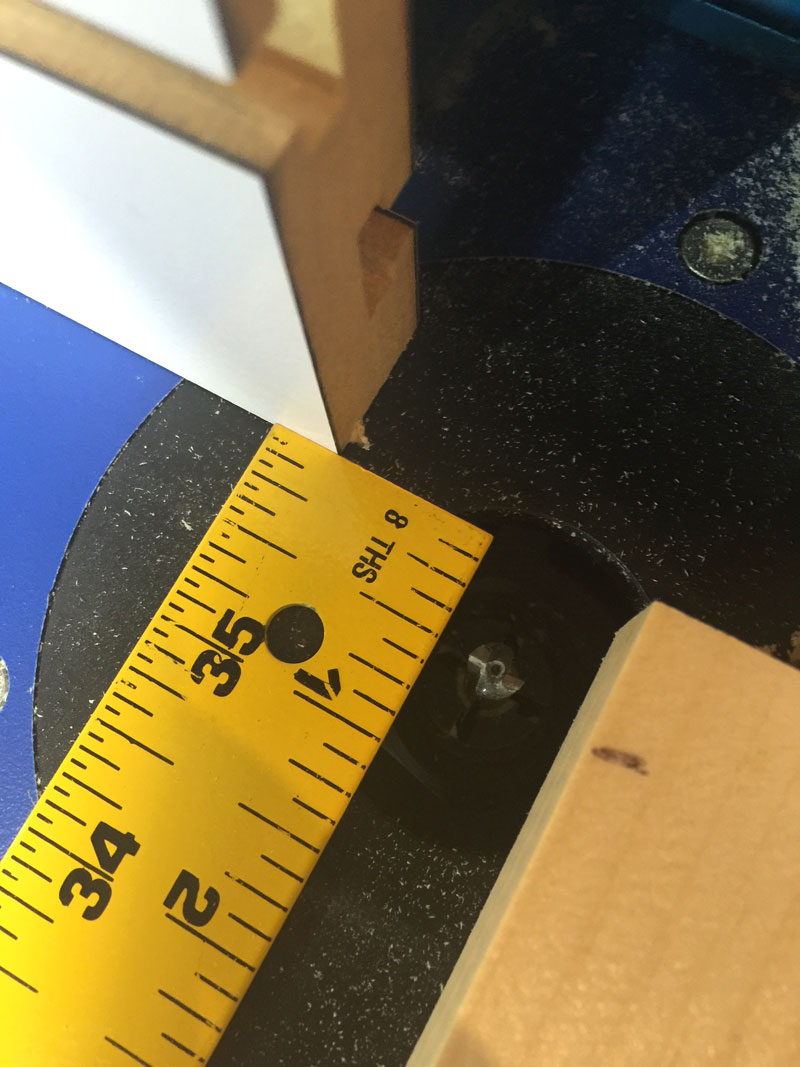
Thanks to the folks at Rockler, I got to use my brand new router and router table to make the channels. I set the fence back 1/2″ from the 1/4″ straight bit.
The image above shows the channels after one quick pass on the router table.
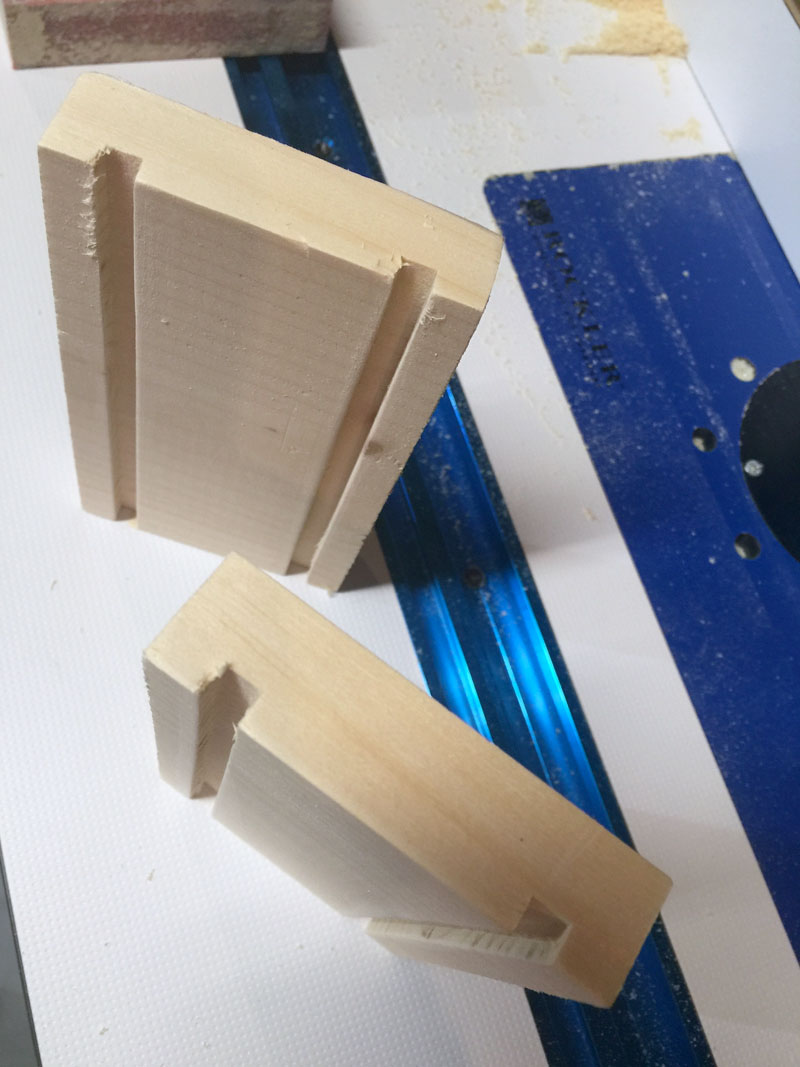
And here’s how the pieces look after the second pass. I raised the router just a bit to get a deeper channel on the second pass.
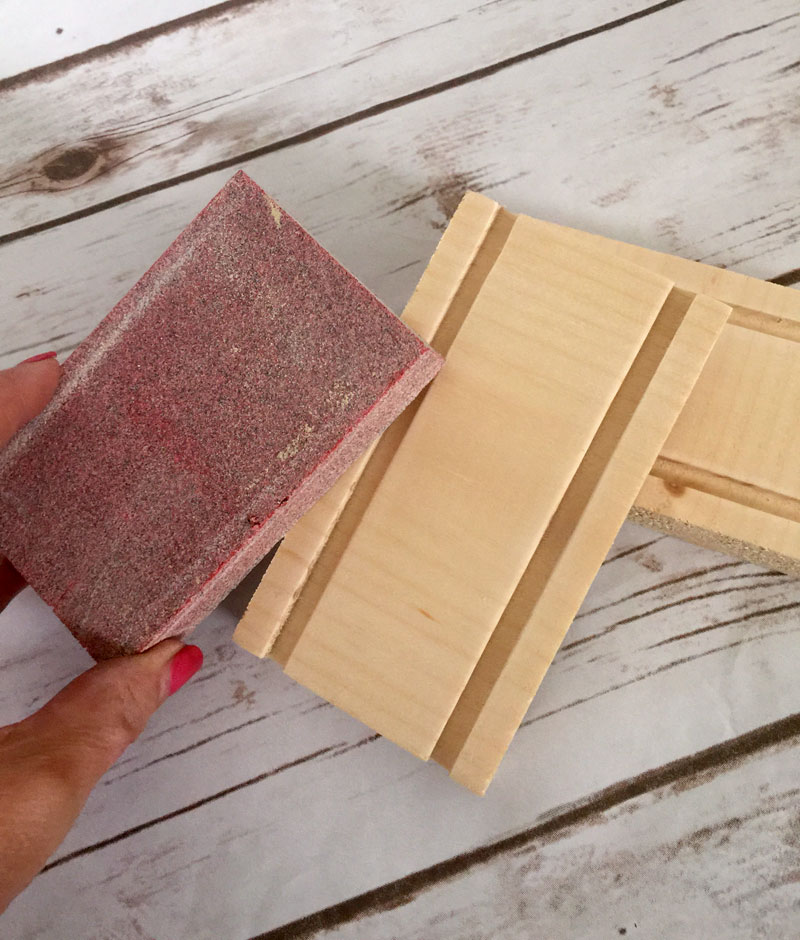
A quick once-over with a sanding sponge got rid of the wood fibers.
This was my first time using this router and router table. There is a definite learning curve to using a router but I found several helpful videos on YouTube and I can’t wait to try out the different bits and jigs!
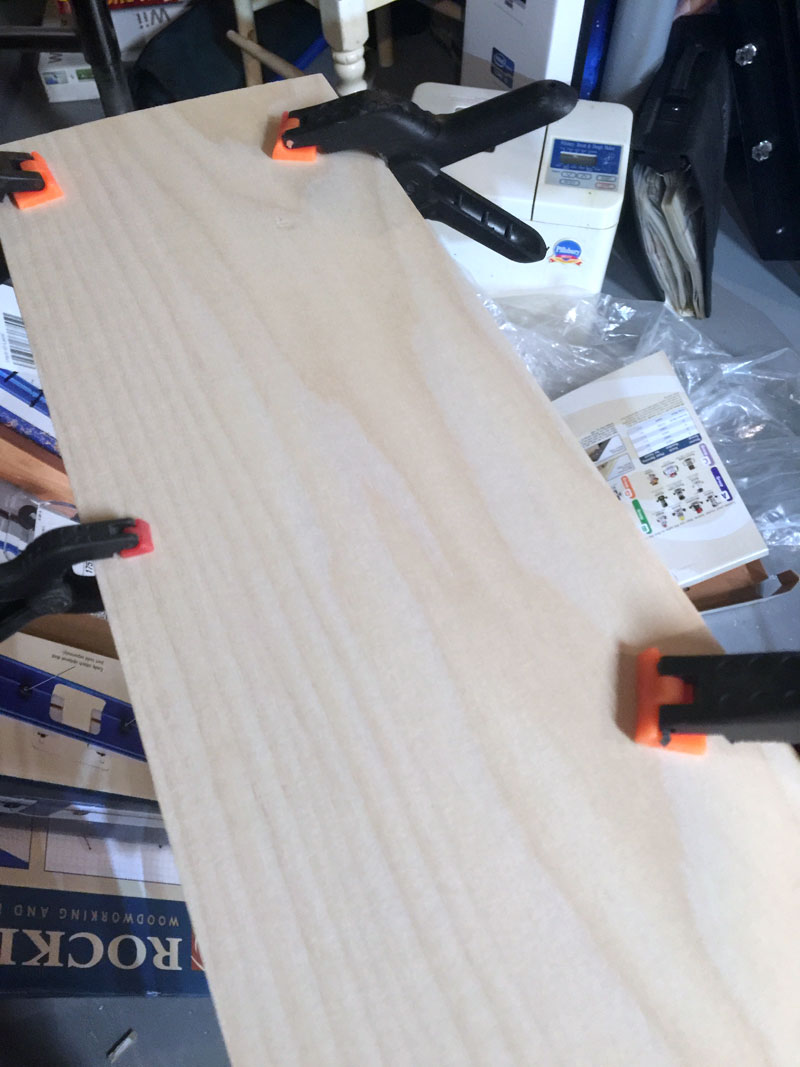
Now for the sides of the vinyl storage tower. Since wood is a natural material it is not perfect, meaning that the two boards that I bought were not exactly the same. But I needed to get them to be as identical as possible. In order to do this, I clamped them together. And I did this for two reasons. First so I could cut them to the same exact length and second so that the holes that I drilled into them would be in the same location on each board.
Here’s what I mean:
While the 1/2″

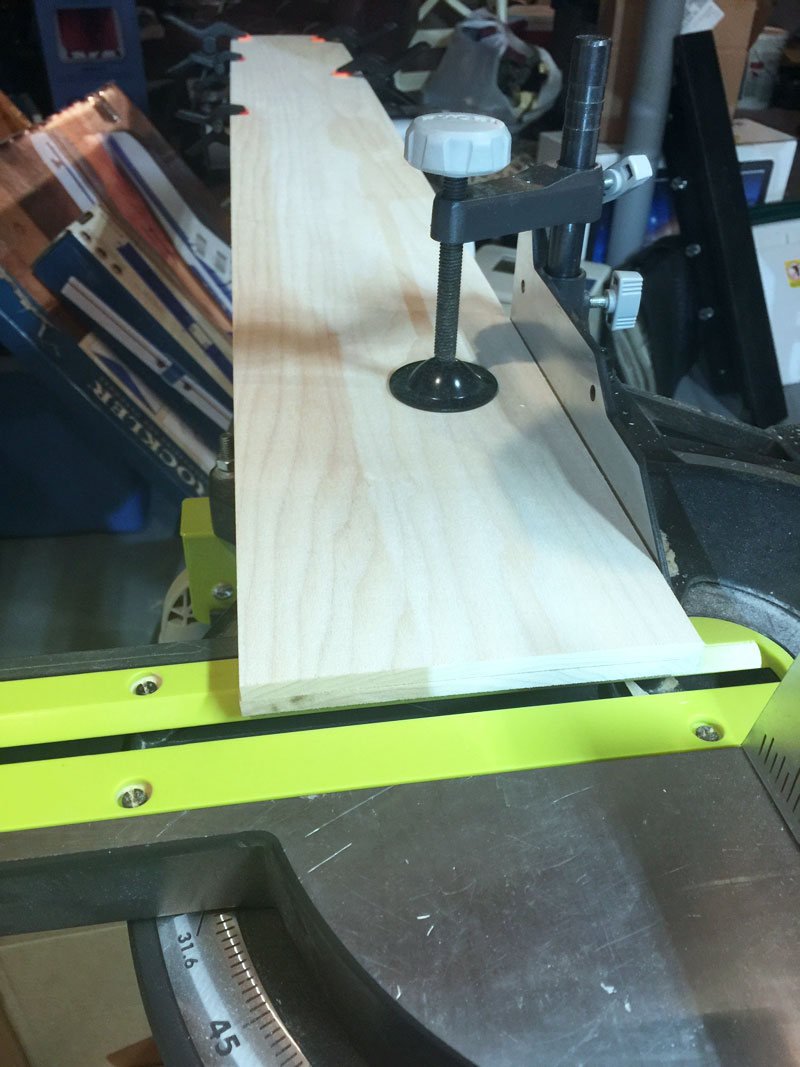
Now they were exactly the same length.
Next I need to make the holes. I knew I would use my drill/driver with a hole saw bit to make the holes. But I needed a pattern or template for the placement of those holes. Here’s what I did:
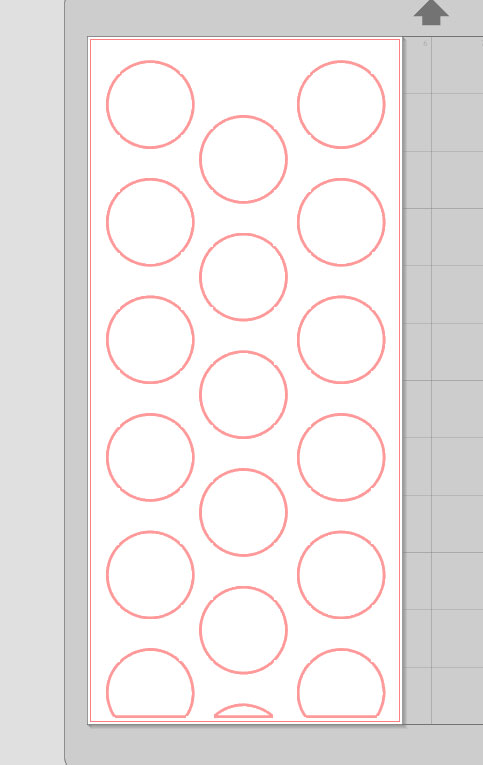
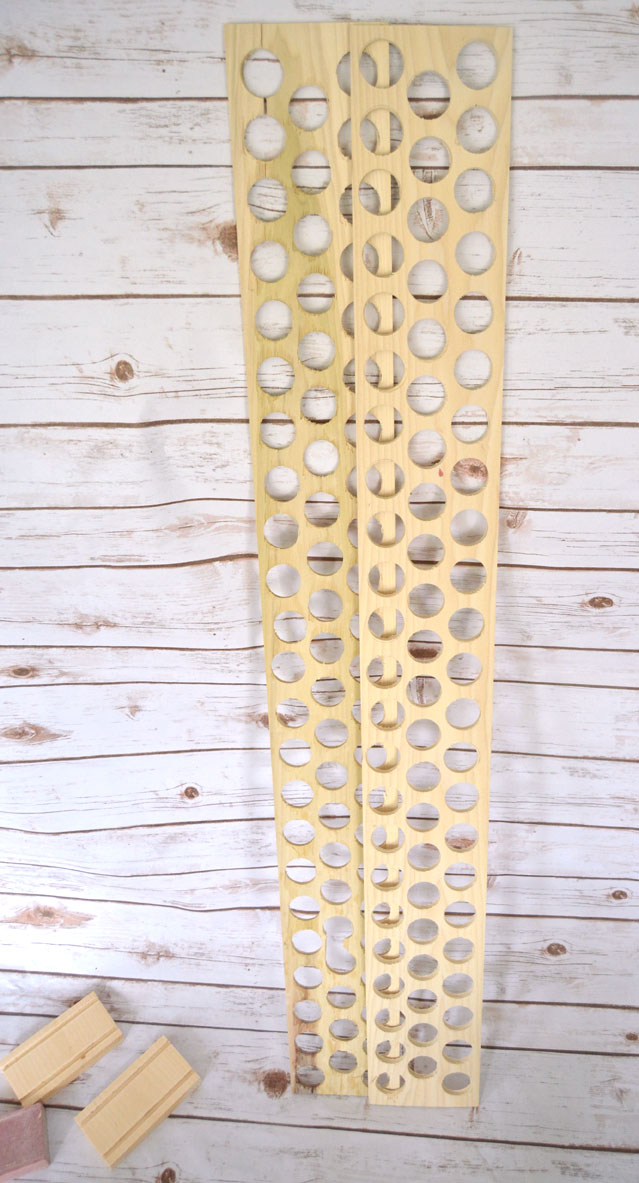
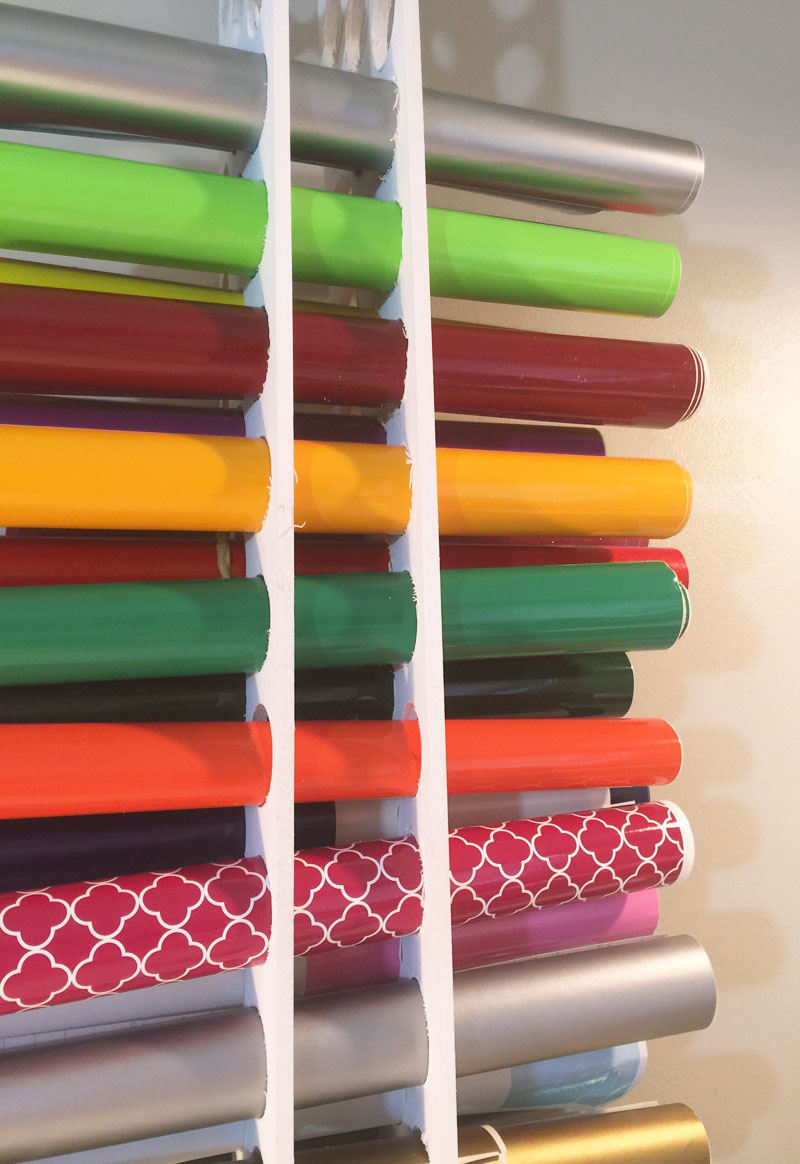
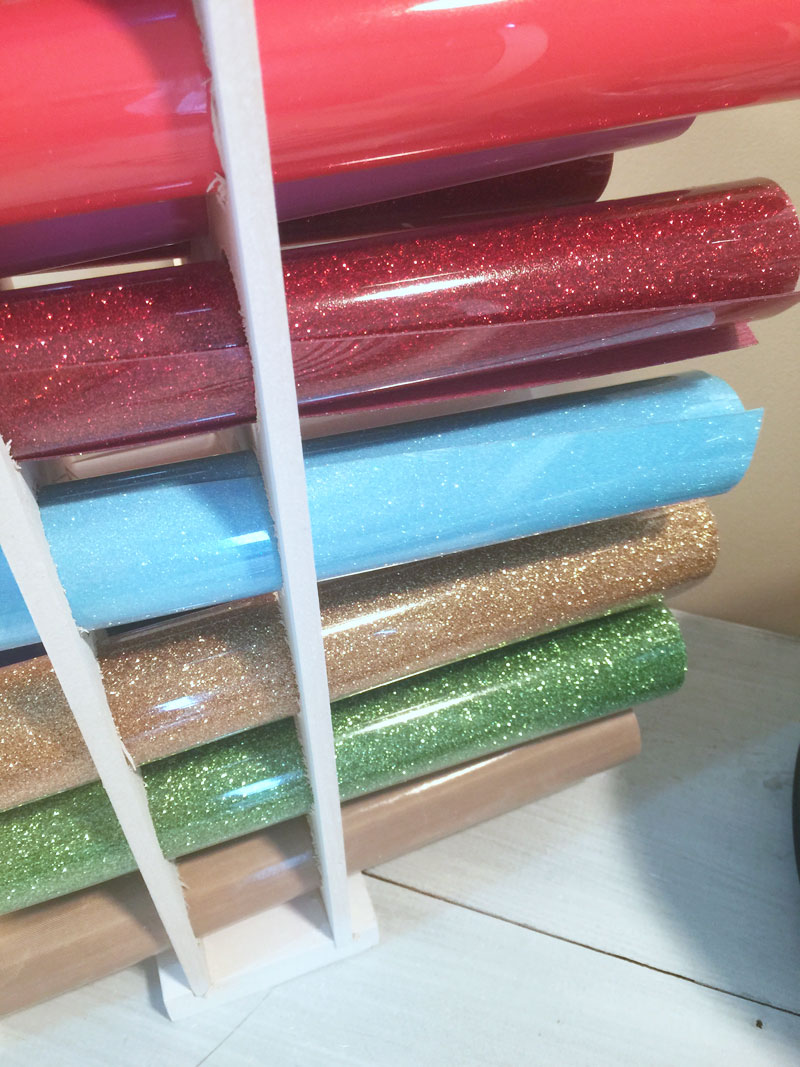
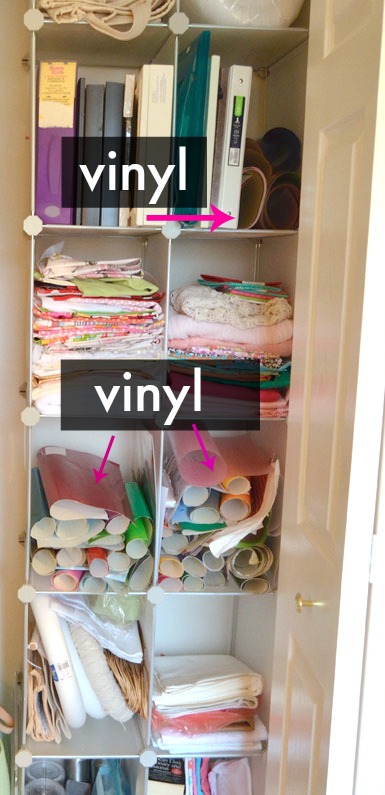
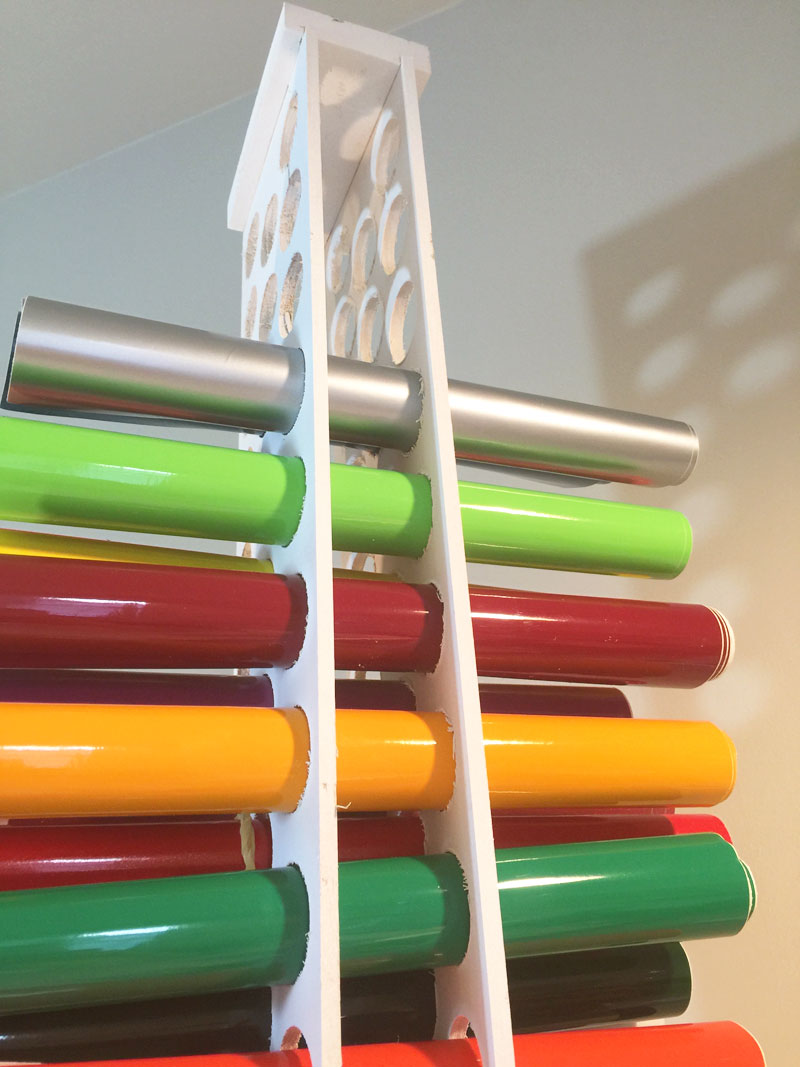
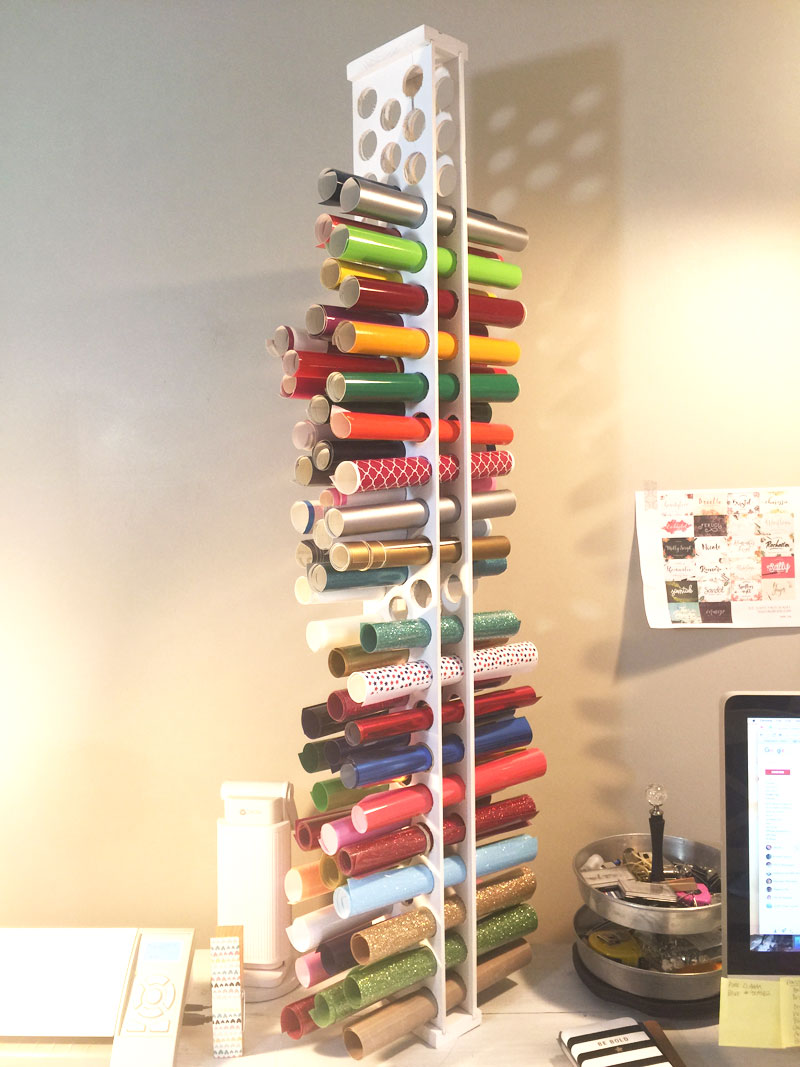
I made a template with my While the boards were still clamped together, I cut out the holes with the hole saw. If you have never used a hole saw bit before, be warned: HOLD ON TIGHT! Cutting with a hole saw can be very dangerous so be extra careful and use all safety precautions. This goes for any power tools. And always wear eye and ear protection. Having the boards clamped together ensured that the holes would line up (for the most part)! All four pieces were cut and ready to assemble. But first I used my palm sander to smooth over the rough edges. I also used a metal file around the edges of the holes. Once it was sanded smooth, I simply slid the edges of the sides into the grooves and it was ready to paint. I just used some leftover white paint that I sprayed on with my . Oh my vinyl goodness! Now I can see every color of vinyl that I own! I could easily see that I won’t need any more red glitter vinyl for a while ; ) No wonder I didn’t know what colors I had! What a mess!!! I love looking at all the vinyl goodness. It is right beside me now. On my desk between my computer and Cameo®! How do you store your vinyl? I’d love to hear from you if you decide to make one of these DIY vinyl storage towers. Linking up to these parties and Wow Us Wednesday!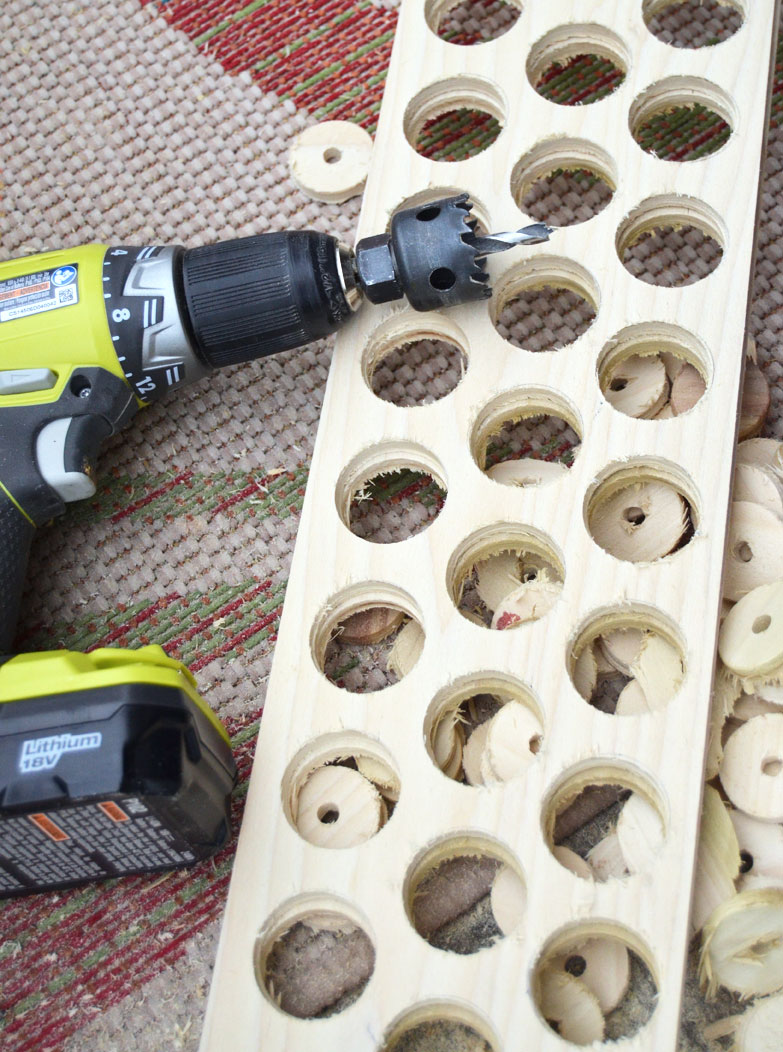

Original article and pictures take http://createandbabble.com/diy-vinyl-storage-solution/ site
>
Комментариев нет:
Отправить комментарий