Hey there!!! I am so excited to show you what I have been working on. It is GORGEOUS!!!
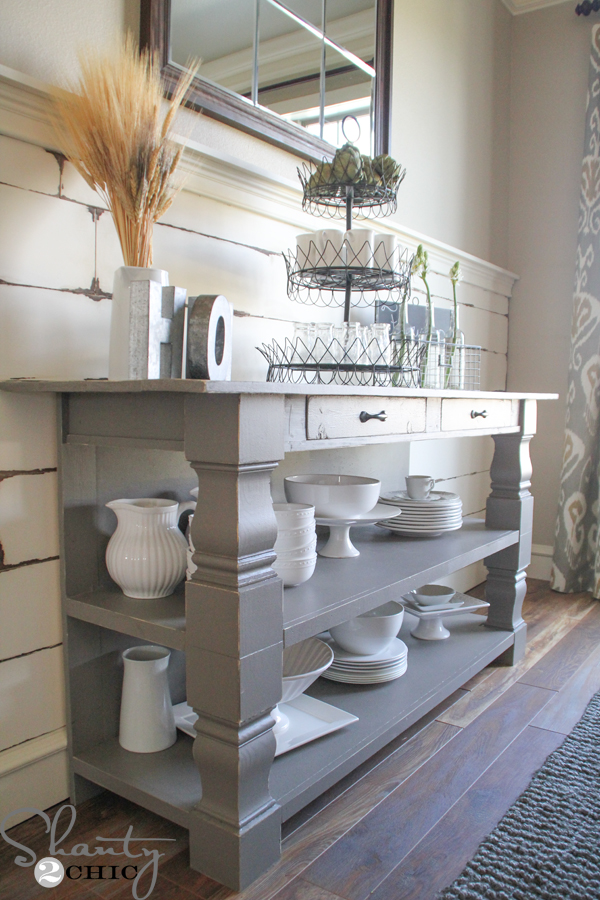
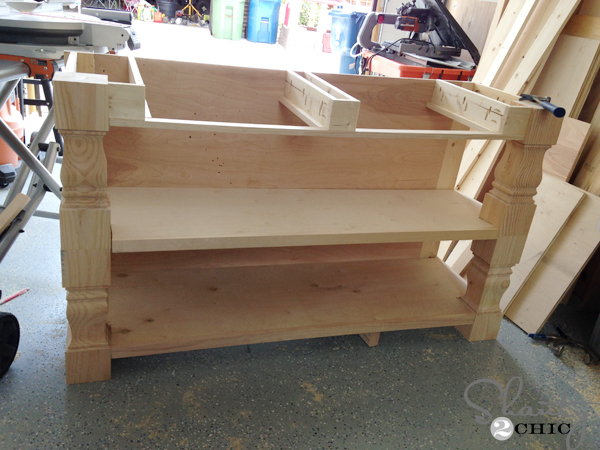
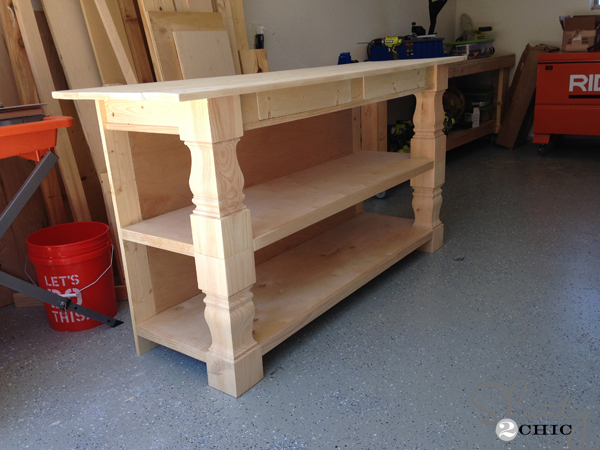
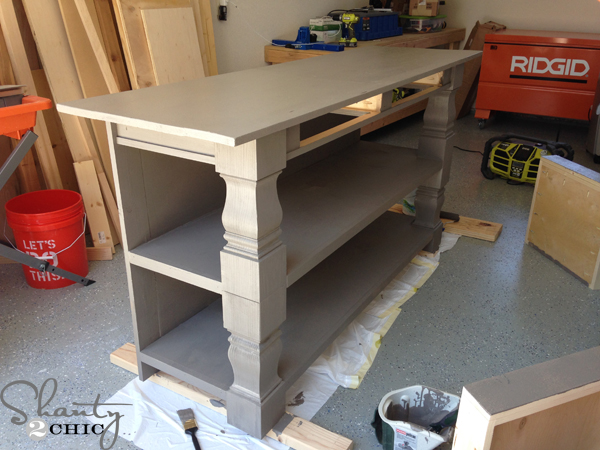
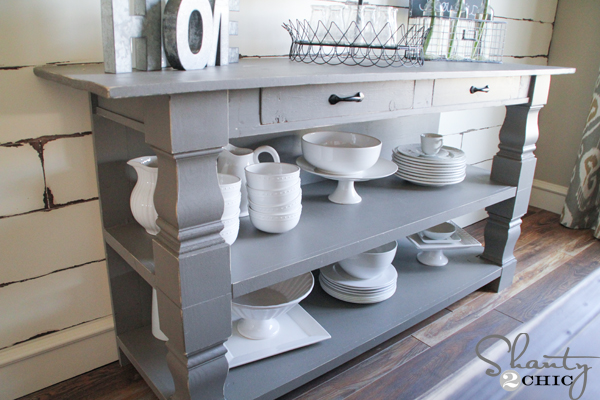
Meet the newest addition to my dining room – a DIY Turned Leg Buffet Table! I’m in LOVE! This is a 6 foot buffet table with a TON of storage space and although

Total cost for this piece was about $350 – not bad for a 6 foot buffet table! I did have some scrap left over that I will be able to use on future projects too!
As always, we have the FREE Printable Plans and a step-by-step tutorial for you! Click HERE or the image below to print the plans.

A special thanks to our friend Jay from Jay’s Custom Creations for creating the plans! Check his site out for more awesome plans!
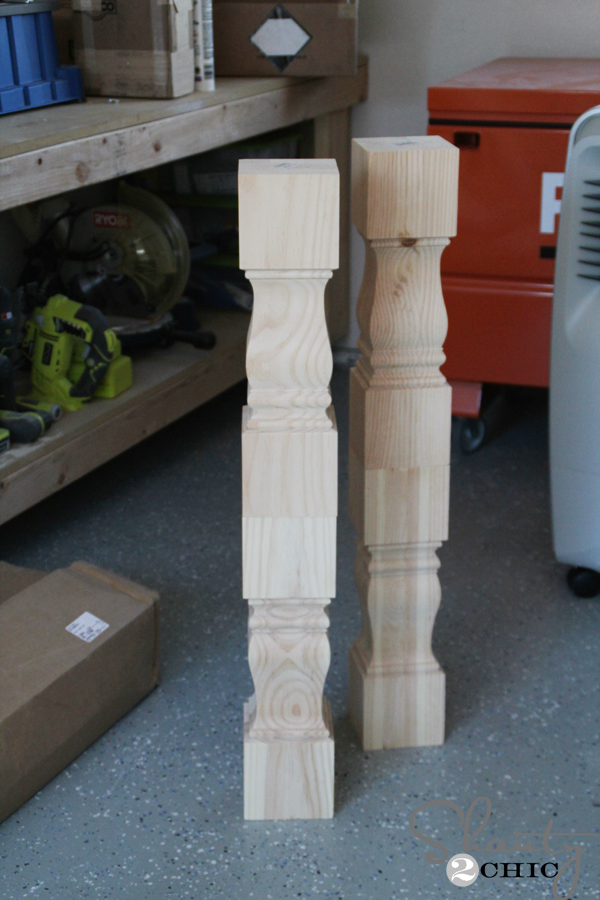
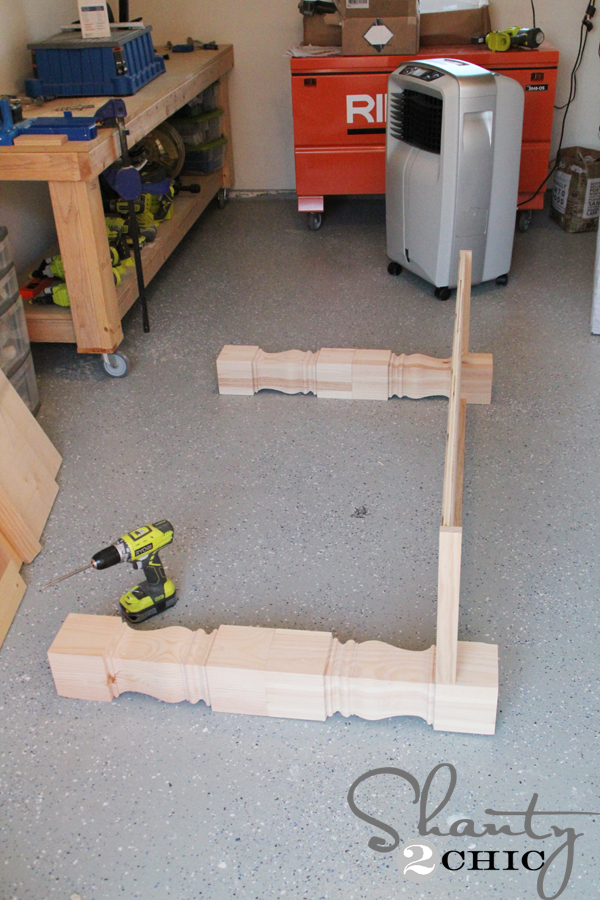
I started by gluing the 2 legs together with Gorilla Wood Glue. You can purchase the legs HERE!
While the glue was drying, I attached the back panel to the back legs. I used Purebond Plywood, in birch, for this project!

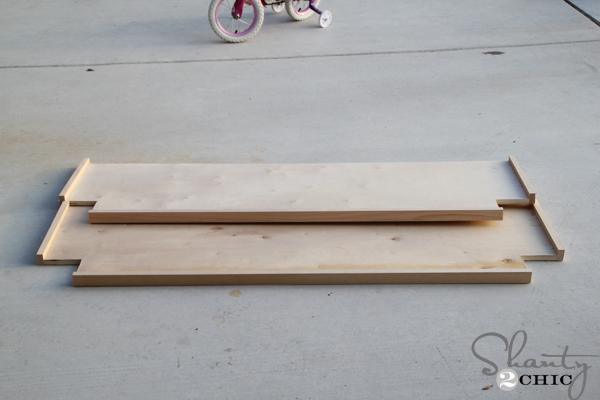
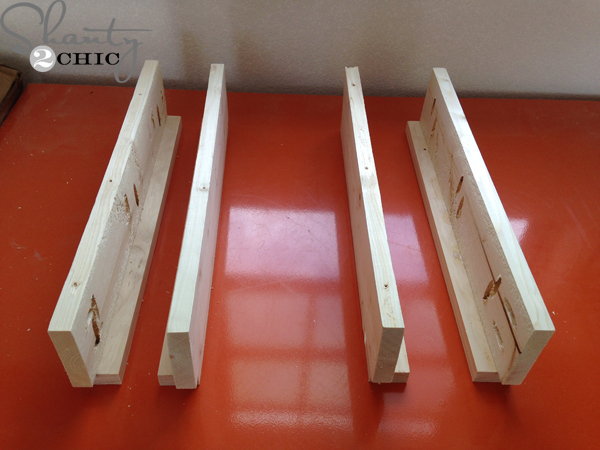
I used my Kreg R3 to drill pocket holes on the back of the shelves. The R3 is a great option for your first Kreg Jig tool. I still use mine on large pieces like this!


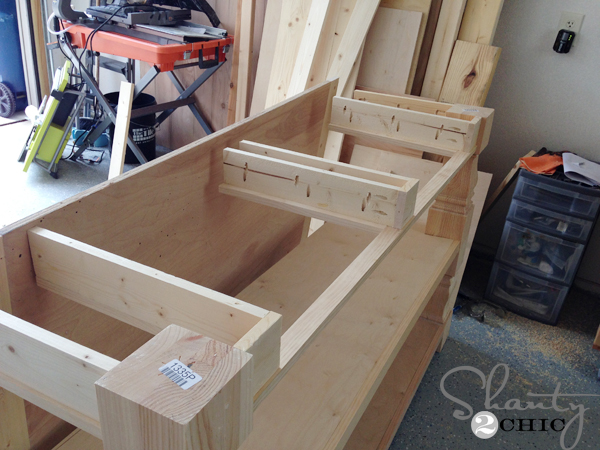
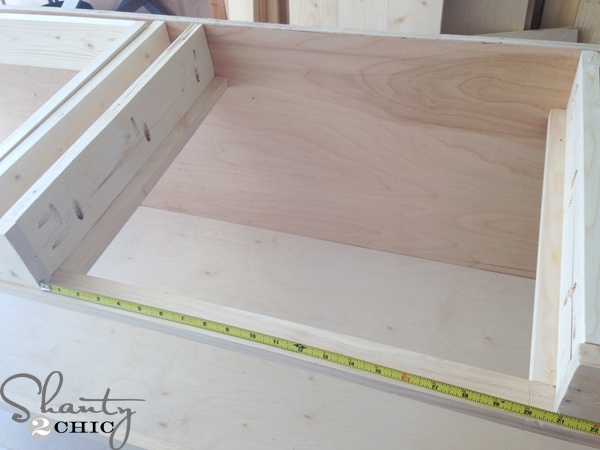
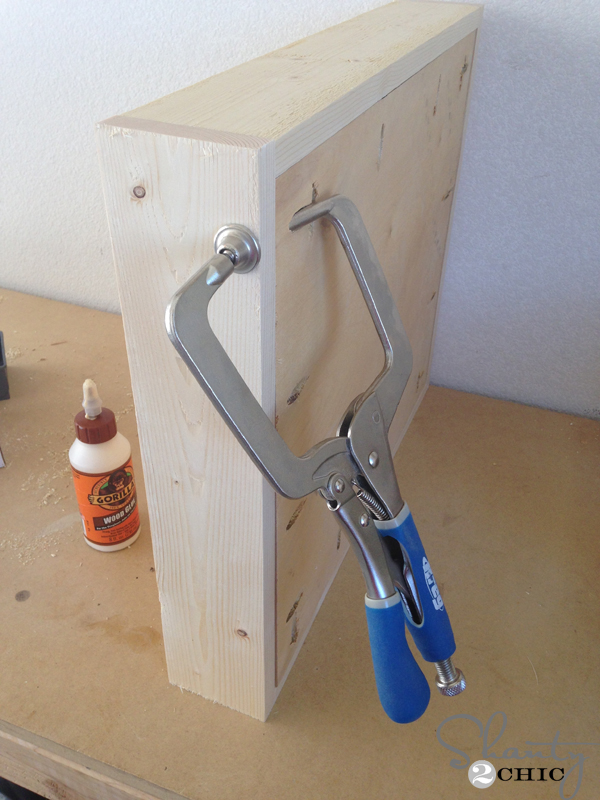
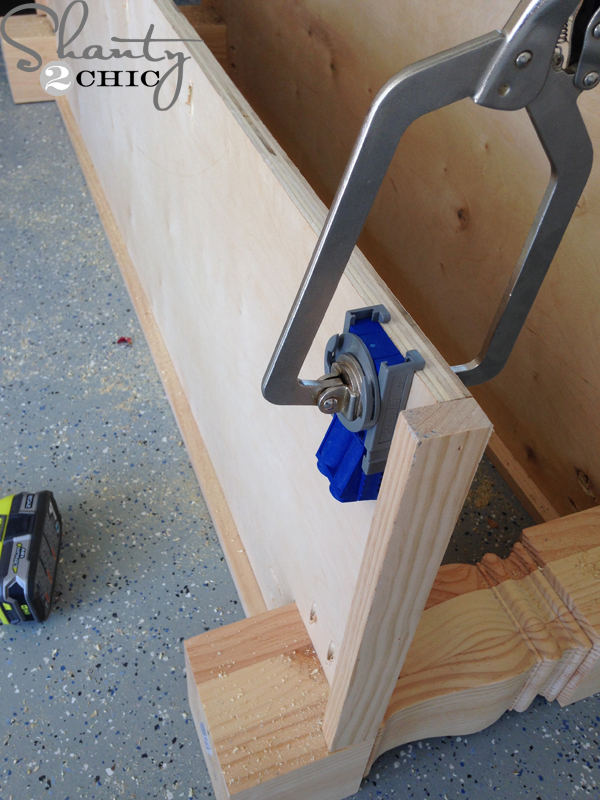
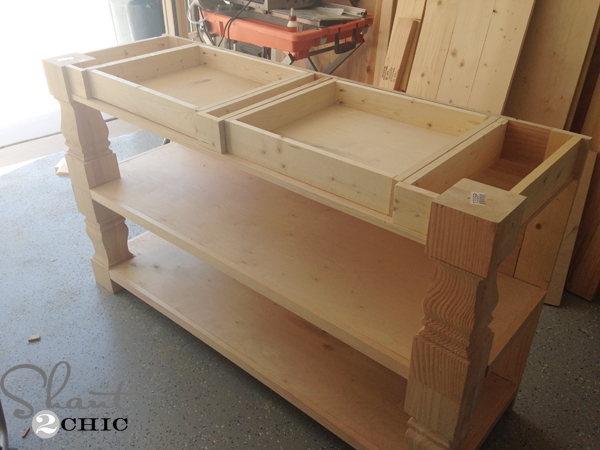
And built the drawers to fit my measurements. I like to use my Kreg right angle clamp to hold pieces while I attach them!
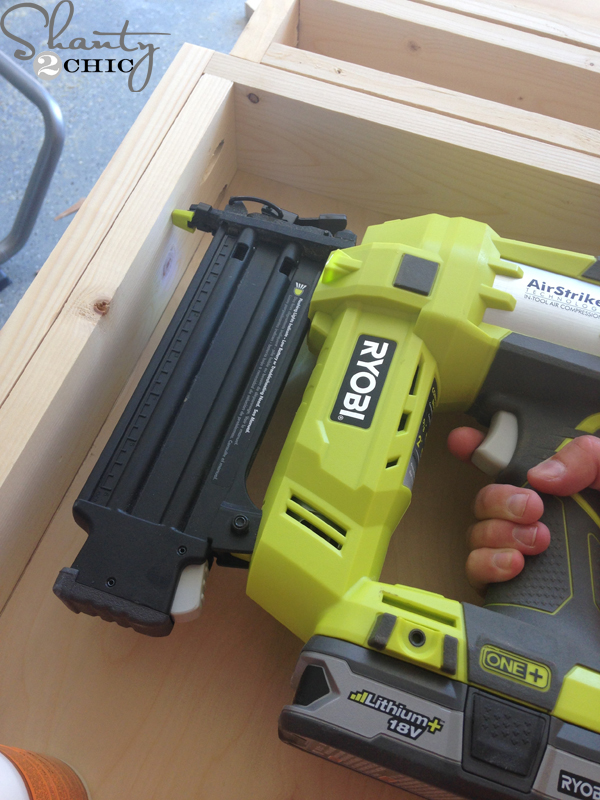
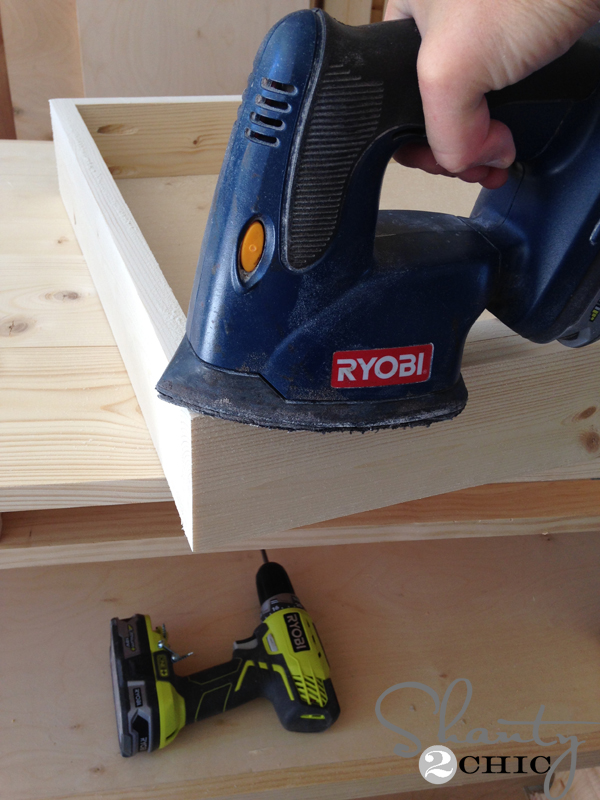
The final step on the drawers is to sand them down so that they slide easily. I used my Ryobi Corner Cat with 50-grit to sand the edges.
That was it!!!!
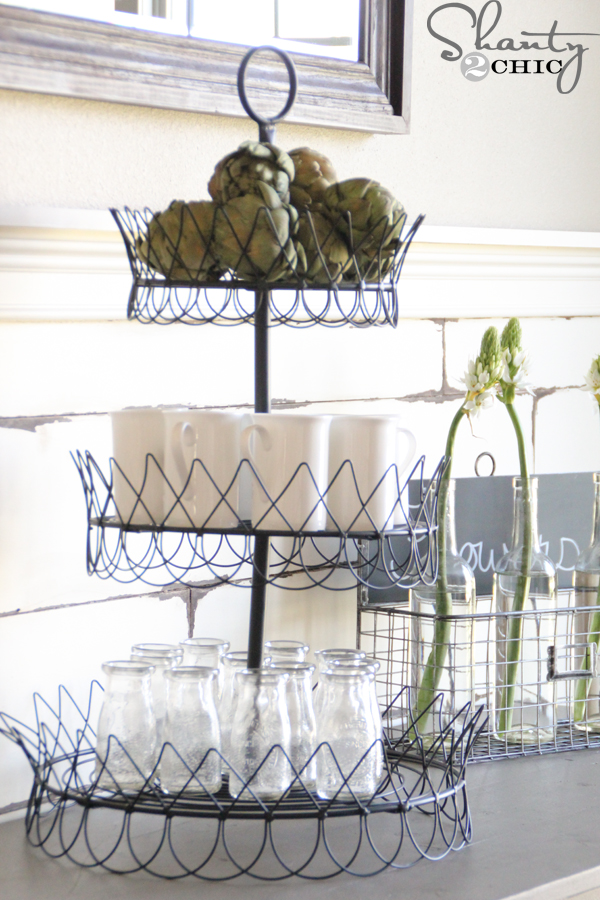
I added a few goodies from Save On Crafts! This is a great online store with so many inexpensive and cute accessories! I ordered this Tiered Serving Tray, the Glass Bottles and the cute Dried Artichokes and they arrived at my house in about a week!
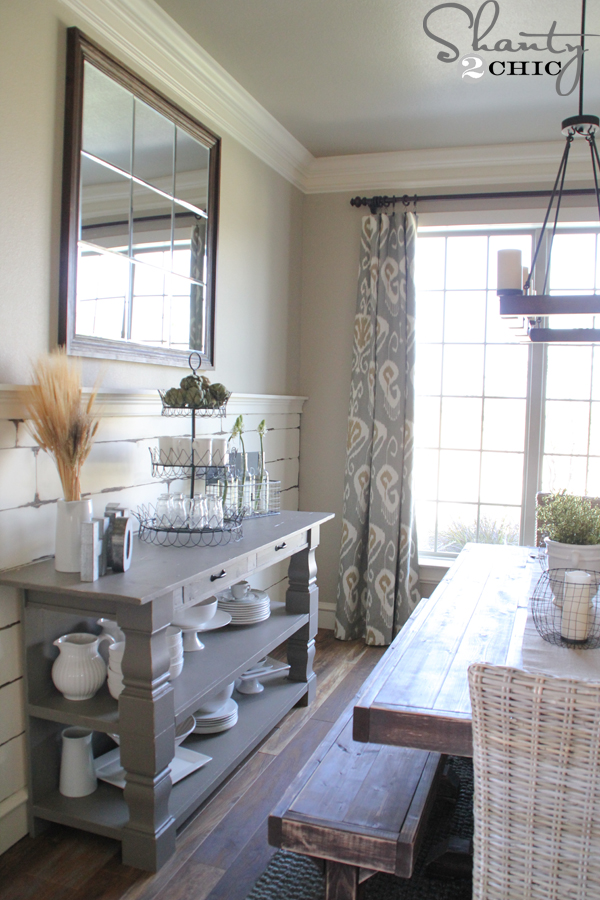
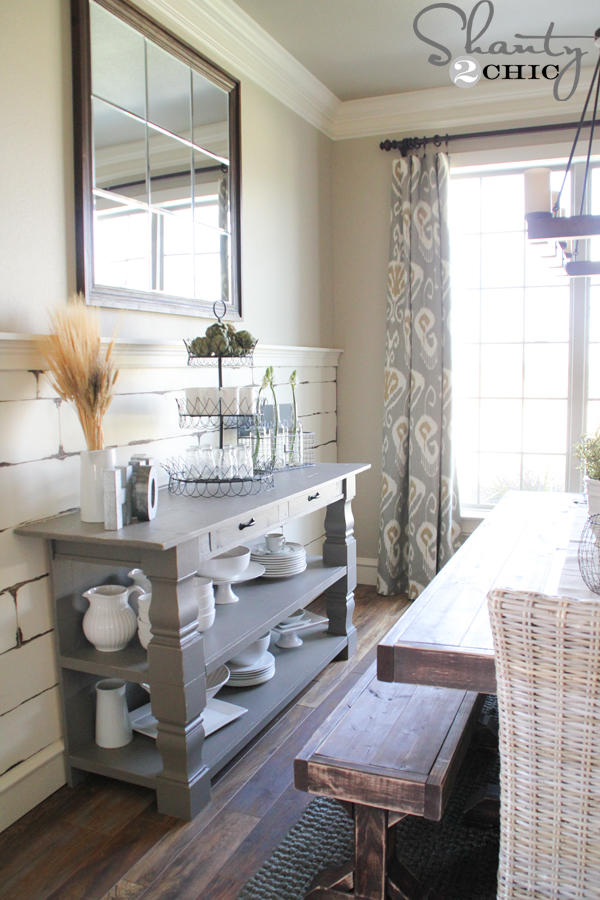
I am really LOVING how my dining room is shaping up! I DIY’ed EVERYTHING in this room so far (minus the Chandelier and the Rug)! Here is a list with links to everything you see in the room!
Thanks so much for stopping by!!!!
~Ashley
Original article and pictures take http://www.shanty-2-chic.com/2014/10/diy-turned-leg-buffet-table.html site
>
Комментариев нет:
Отправить комментарий