wood at least 1/2″ thick – barn wood, pallets or new wood
wire
3/8″ dowel – optional
2″ x 4″ wood – optional
ribbon – optional
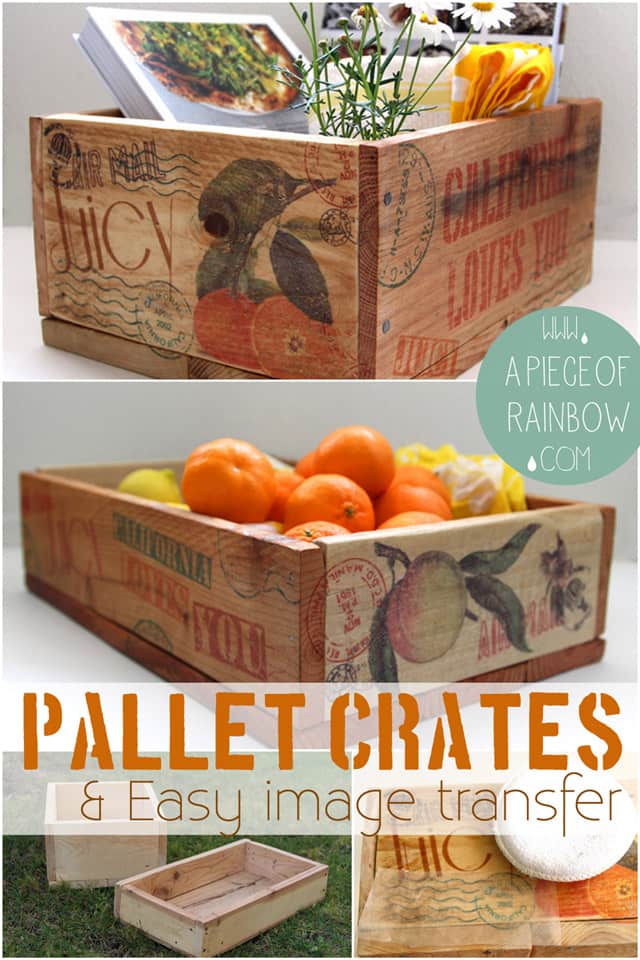
The star pattern includes 2 sizes of stars. The large star is about 13 1/2″ wide, the small star is about 7 1/2″ wide. Print out the Patchwork star pattern, when printing make sure your print settings are on 100%, not ‘fit to page’. Cut
out the diamond pattern(s). Trace 5 diamonds on a piece of wood for each star that you’d like to make.
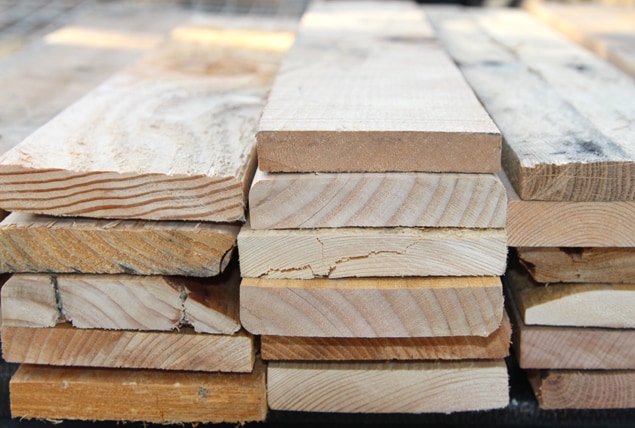
Use a jig saw, band saw, scroll saw or even a hand saw to cut out the diamonds. I love working with weathered wood. Look at all of that natural character!
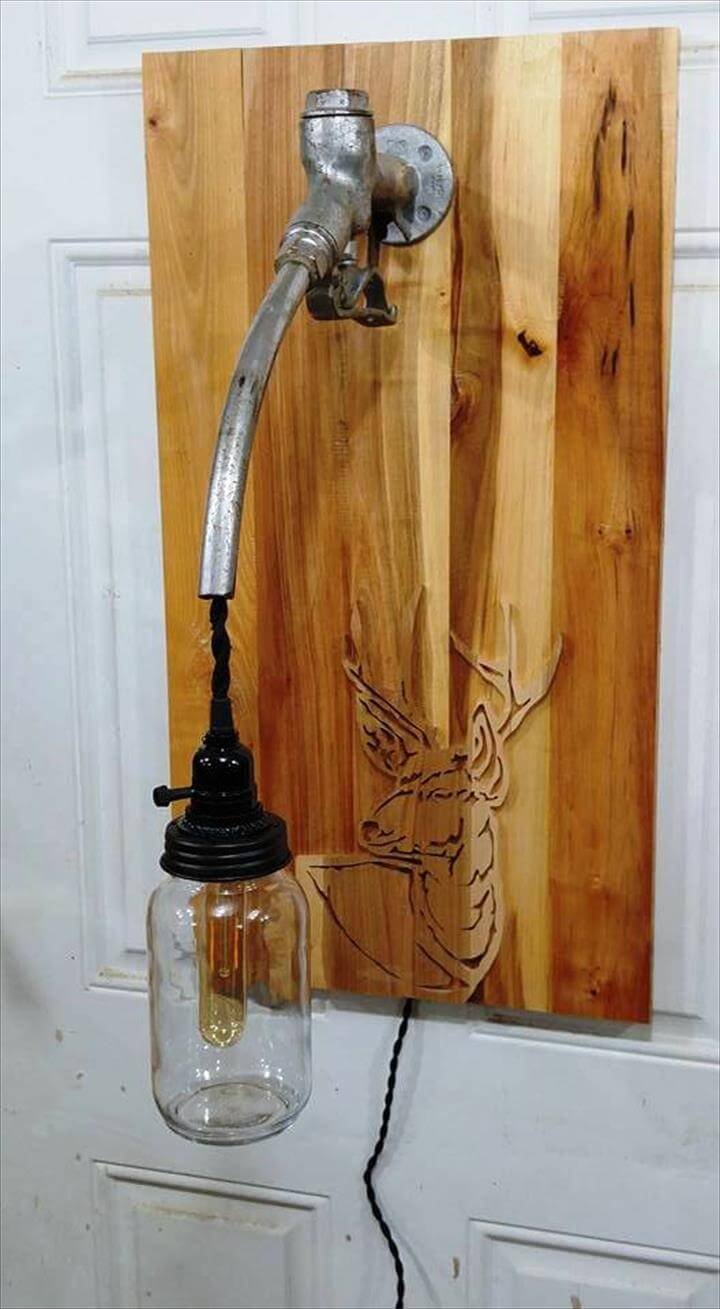
The gauge (size) of the wire used to tie the star pieces together isn’t very important. Grab a drill bit that is slightly larger than the size of wire. Drill adjacent holes for each joint. I only made one set of holes, you may want to add a second set of holes closer to the center.
Thread the wire through the adjacent holes and twist it together tightly. Repeat for each set of holes. To make the rustic stars an ornament, drill a hole through the top of one of the star points and add a loop of wire.
I wanted to make some of the rustic stars free standing, for a table decoration. I drilled a 3/8″ hole about 1″ deep through the bottom of the star. Cut a piece of 3/8″ dowel according to the height you need. Cut a small piece of 2″ x 4″ wood and drill a 3/8″ hole. Place the dowel in the wood block and star. Add a bow if you’d like.
The stars also make a cute vignette, or they can be used as a backdrop for your nativity set.
I hope you have a very merry Christmas! Here are a couple other Christmas projects that you might want to check out:
You know how I told you that I was going to cook more fish this year?? Well, I think I’m on a roll.
And the big bag of tilapia from Costco has been helping quite a bit.
But really, I’m glad that my love of fish has been re-ignited, because it’s been fun to switch things up from our normal chicken/beef/pork routine. And it doesn’t hurt that it’s good for you, too!!
To top it all off, you can have this on the table in 20 minutes. The thing that took the longest was waiting for the oven to preheat. I’d say a short list of ingredients and a short timeline is reason enough to try this. I even got the thumbs up from the 5 year old. She is becoming quite the fish lover!!
I know that we will be eating in tonight for Valentine’s Day, and this Parmesan Crusted Tilapia would actually make a great dinner in idea. I always feel a little fancy when we eat fish at home, so serve this with some Vanilla Bean Rice Pudding with Raspberries and Salted Caramel, and your date night in is planned!!
Press play to see how easy it is in the how-to video below!
279K+
Like what you see here? Make sure you are following Taste and Tell for more recipes and ideas!
The metallic doors and shelter idea with glass framework of windows for ultimate and last longing durability. The roof in flat horizontal alignment would also be in dazzling groove for focal stimulation.
Simple and wide ledges and arranged mantelpiece pallet shed interior for outdoor lovers, with chevron wooden roof through wood reclaiming and recycling.
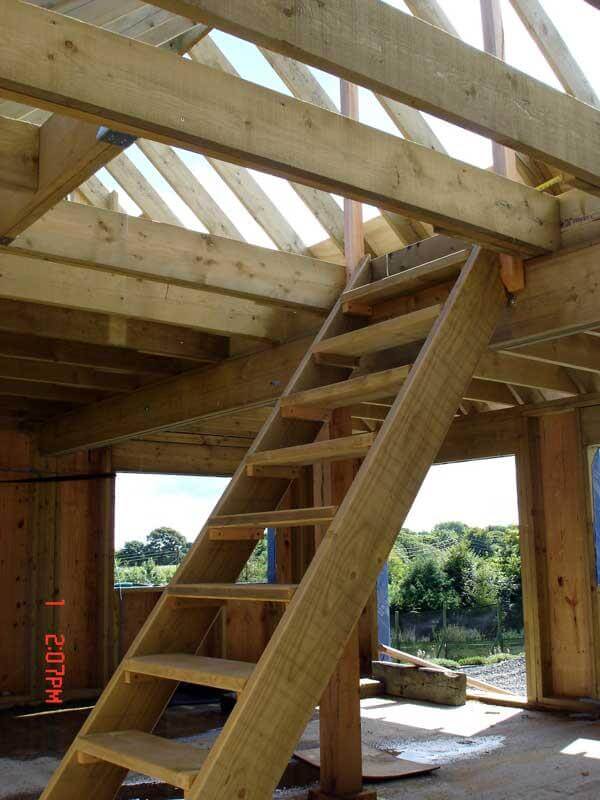
The interior can be designed in countless ways, we just have small inspiring motive for you of this pallet stair at interior to link up two inner stories or rooms.
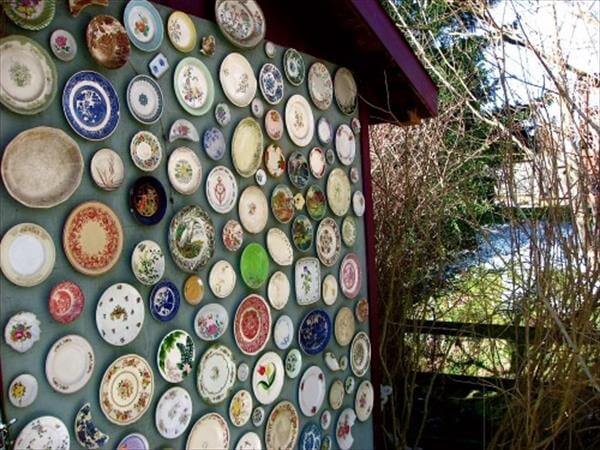
This is another most conventional wall texture fad for exterior dwelling decorations and trimming. The old plates with classical pattern are adhered to give
a prehistoric crisp to walls.
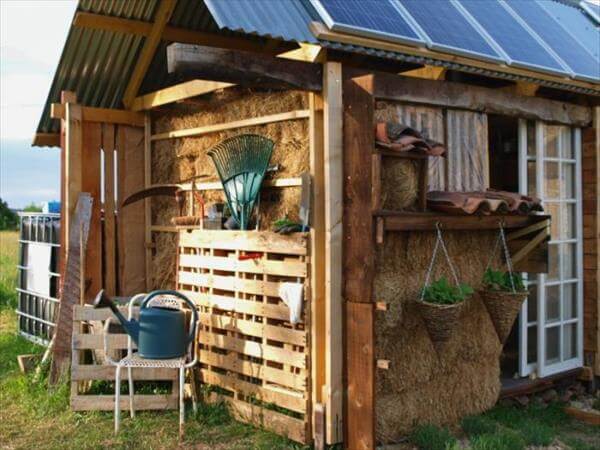
The leftover pallet after the construction of your outdoor refuge can gain many mantelpiece shapes like your garden tool rack. Various watering and sweeping tools can be setup in this vertical pallet rack.
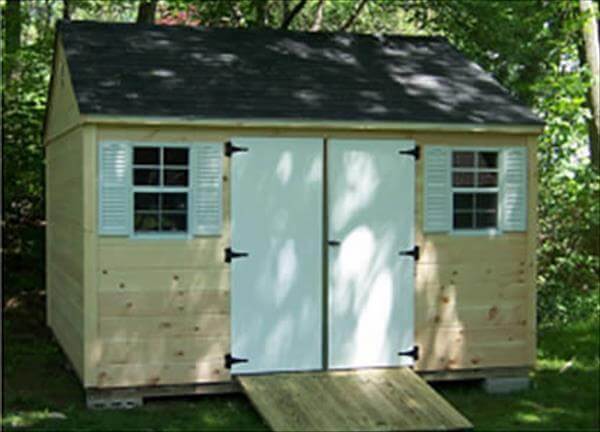
The cloudy grey windows and hinged door with wooden slip at main entry point will also be a sizzling and engrossing pallet idea for exterior decoration for DIY pallet shed.
Original article and pictures take http://www.99pallets.com/pallet-houses/pallet-shed-instructions-to-build-your-own/ site
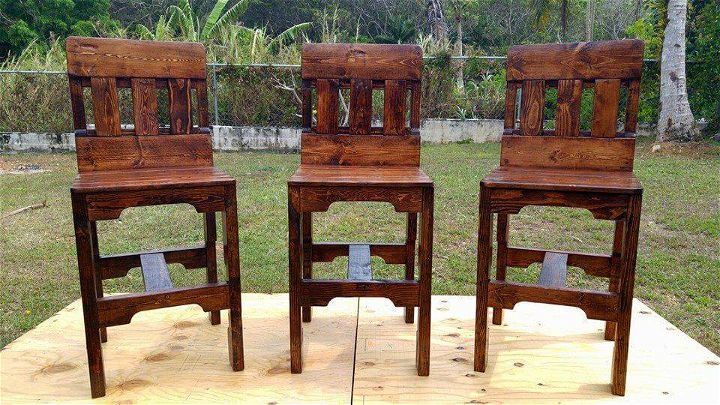
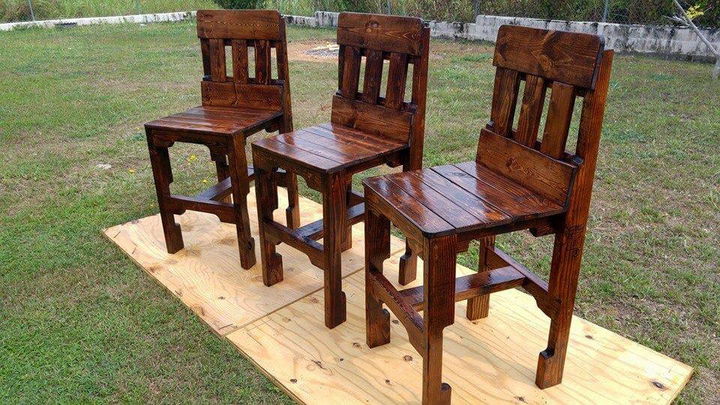
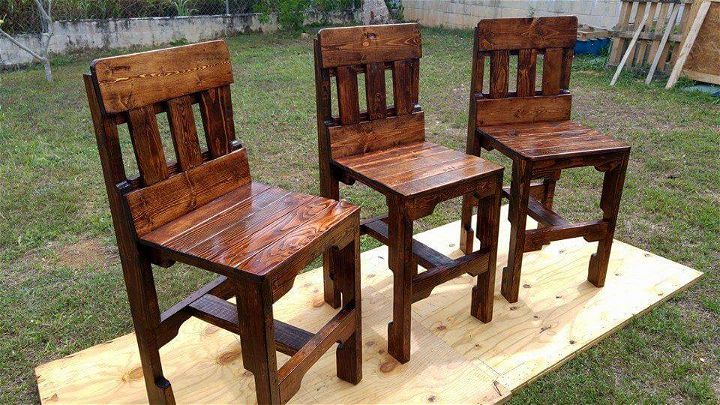
These lovely and stylish looking chairs are no less than any market bought chair set which comes with hefty price tags but surprisingly these pallet chairs have been installed from the recycling pallets at zero cost.
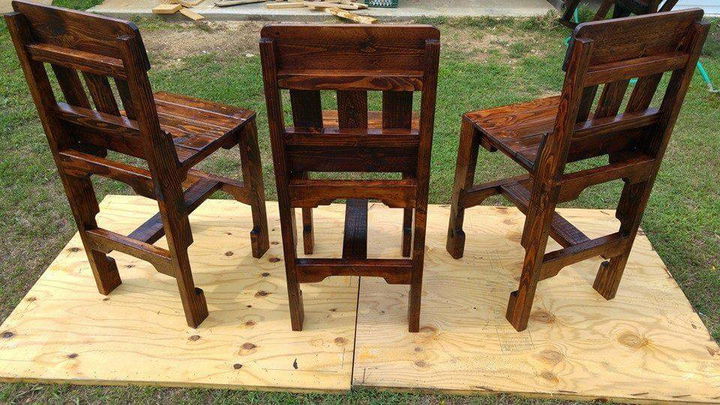
The wooden furniture looks best in the traditional form and design that is these chairs have also been treated with the traditional cuts and
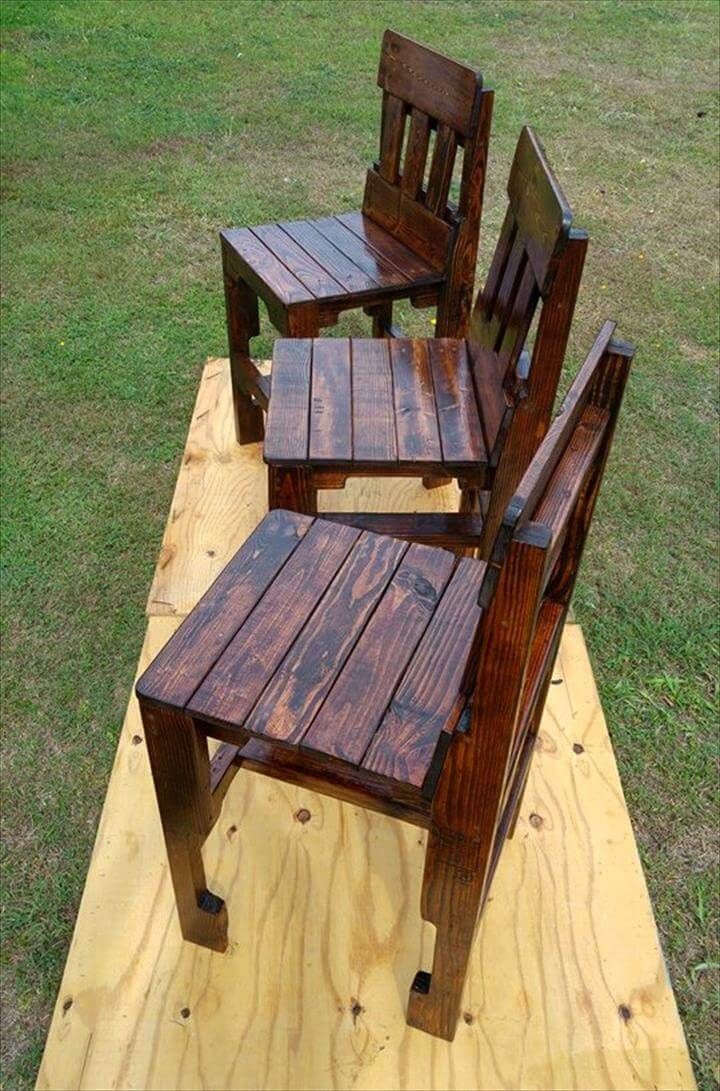
joints at the back and the leggy support so that you enjoy a beauty set. The chairs have been gained from the custom cut pallet slat pieces used all over the chair structure as getting stacked for the backrest, tightly packed for the seat and plank pieces used for the leggy support with braces between. The chairs have been sanded well after the composition and then the dark choc brown shade have been selected to them all painted so that they look awfully classy and traditional in their looks to enhance your home decor.
The pallet chair with the counter height and straight back would make a very suitable and fit placement in the kitchens for the kitchen counters, in the bar area along the bar station and can also be used with the dining table when there are impromptu guests.
Made by: Guam’s Pallet Guy
Original article and pictures take http://www.99pallets.com/pallet-chairs/pallet-kitchen-counter-chairs/ site
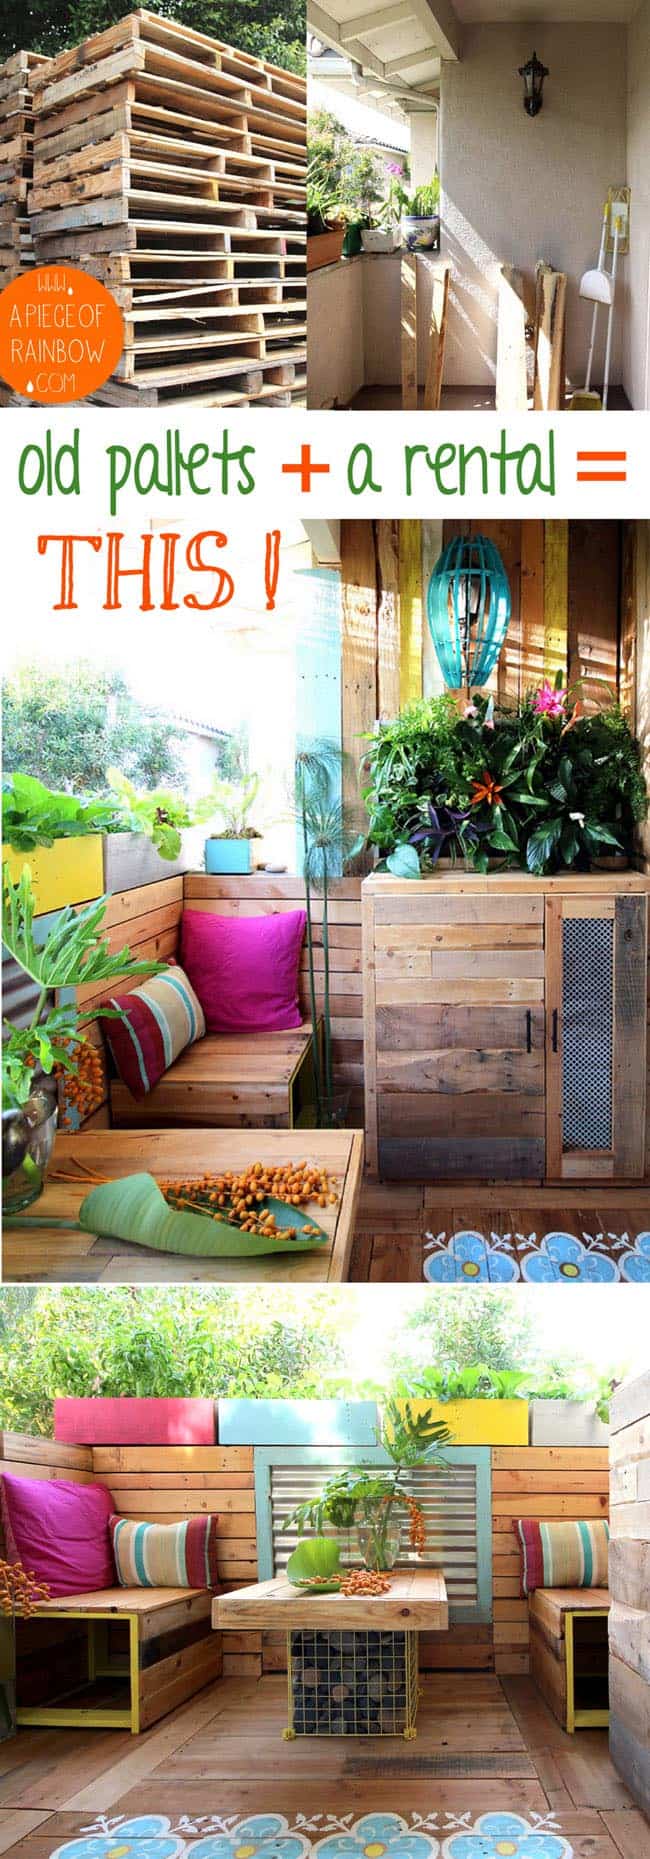
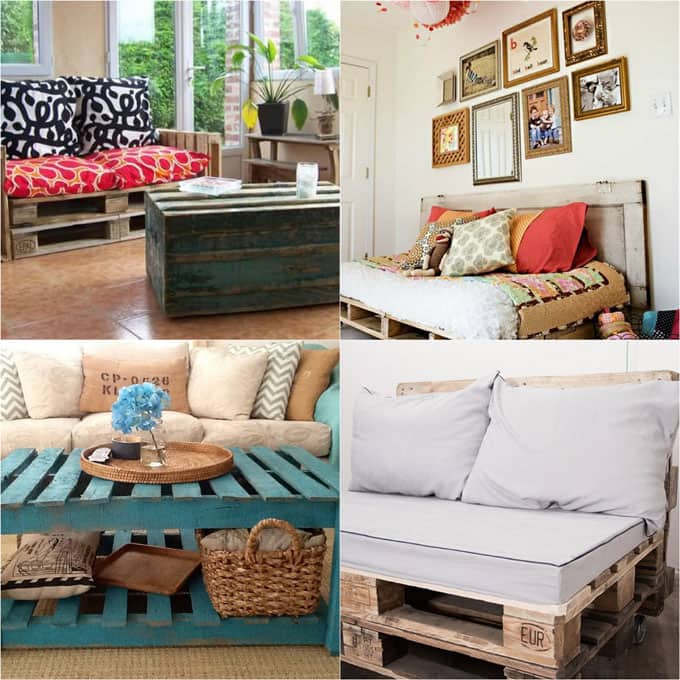
Before my first pallet project, I would DROOL over every pallet project on Pinterest, and wonder about the same question!
Then I realized they are everywhere, especially the places I visit often for my design work!
These are also the most clean places, which means no toxic spills on the pallets – tile and stone showrooms, masonry supply stores – places that sell boulders, rocks, pavers etc, and wood and carpet flooring stores. I also see them behind wine shops and grocery stores.
Garden nurseries, especially wholesale nurseries, often have pallets too. Just make sure they look clean and have no signs of sprays!
When you see a stack of pallets outside these places, just ask nicely whether they plan to reuse them or just discard them. And the answer I get every time is ” You want them? They are all yours!” Yay! Not so hard, right?
2. What to look for when selecting pallets?
Not all pallets are made equal.First thing to look for is the HT stamp, which means the pallets are heat treated vs chemical treated. So far all the pallets I have seen are HT pallets. They seem to be the majority which is nice.
Next, look closely at the boards – are they cracked, or warped? If yes, they would be very challenging to work with, so don’t waste all that time and sweat dragging it home and taking it apart, move on!
Also pay attention and check if anything has spilled on them. If it looks contaminated, move on!!
3. What’s the best way to take apart a pallet?
There are many articles and videos on different ways to disassemble a pallet.
Our favorite method is with this tool – a Duckbill Deck Wrecker we got on Amazon . If you plan to do a lot of pallet projects, then it’s worth considering. It will pay for itself in no time.
This tool lifts those boards easily, and you can take out the nails with a hammer. It is 20 times quicker than any other methods. The wood won’t split as much so you get better boards. We absolutely LOVE this tool.
There are three other popular methods to take apart a pallet, and a few very important things to consider! Continue to next page –
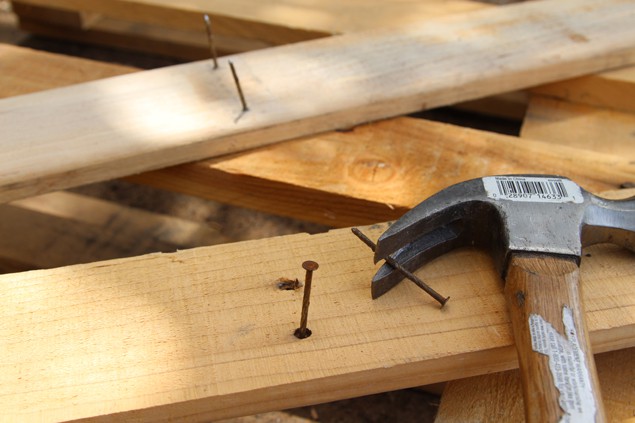
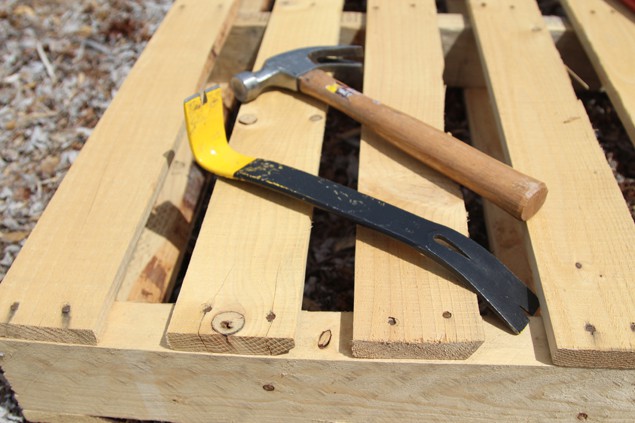
Method 2: If you don’t have a Duckbill Deck Wrecker , another method is to use a hammer and a pry bar, which was what we did before we got our Duckbill Deck Wrecker . It’s more work and takes a lot more time. But it’s the least expensive way to start.
Actually, I could not do this myself -don’t have enough muscle! – hubby used this method and it worked good: from Sarah on Youtube –
The third method we have used it to cut the board along the 2 side rails with a cordless circular saw or jig saw , and use a hammer and pry bar to lift it the middle rail. This is an easy and quick method, especially when the boards already have cracks on the ends.
Another way is to use a reciprocating saw , cut through the nails. This method intimidates me, and we have not tried it. But I know others who like it. Just be careful and take the time to learn how to use the tools
safely!!
4. Challenges when working with pallet wood ( VERY IMPORTANT)
The beauty, and the challenges of pallet wood lies in its variations. Never assume the boards are the same thickness or width, even if they are from the same pallet!
When you buy wood from hardware stores, they are finished to the specified thickness, and all the edges are straight, and squared, but not pallet wood!
For example: if we want to build a pallet bench and want the top to be flat, we need to either carefully select boards of same thickness, or adjust how we build it.
Or if we are making a table top, we want all the slats to line up nicely, then we need to select boards that are straight all the way. You will be surprised how many of them are not!
If you do have a planer, and want to plane the edges straight, or plane the surface to a thickness, make sure to use a metal detector! Some hidden old nails can ruin the blade of your planer.
5.Design , planning and finishing considerations
When planning to build something with pallet wood, one of the first things to consider is where it needs to be accurate, vs where it’s more forgiving and you can keep the rustic character. It’s more forgiving where it’s rustic. Area that need to be accurate, such as table legs, or a square picture frame, will need more planning ahead, and selecting boards that are relatively straight and even.
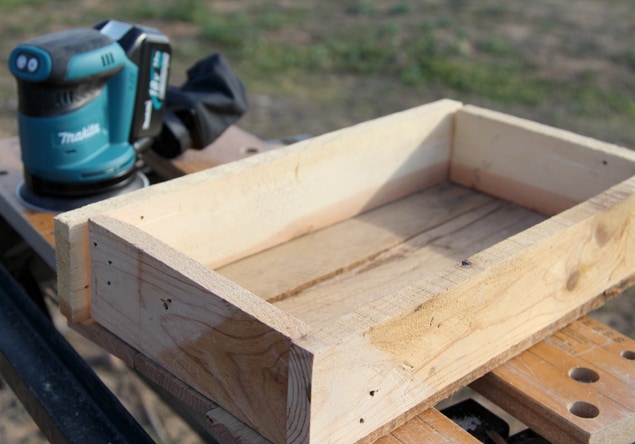
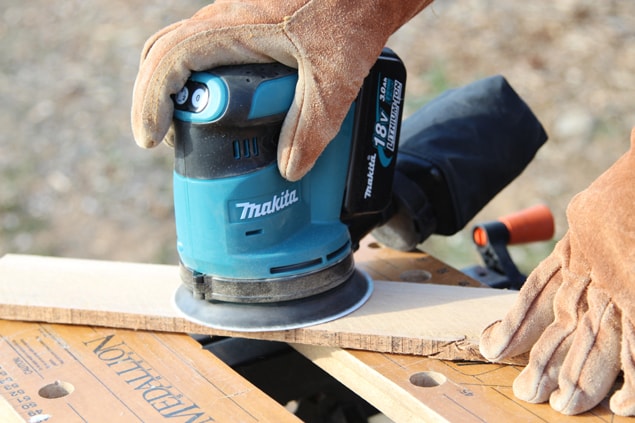
When it comes to sanding and finishing, if it’s something you touch often, such as a crate, or a table top, you will want to sand the wood more, start with 80 grit sand paper, then go to 120 or even 220. In other places we can just sand a little bit with 120 grit to make sure the wood is free of splinters, and still keep the character of the wood surface.
Because of those nails and splinters, please ALWAYS wear gloves and eye goggles when working with wood!
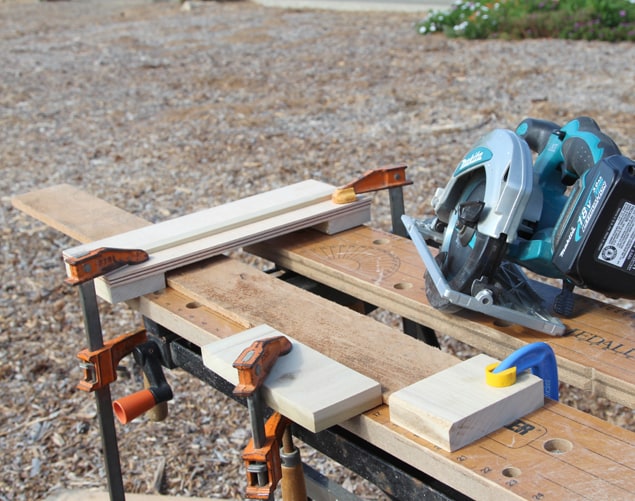
Before you turn on any power tools, first get a sturdy work surface – a work bench, or even a sturdy old table will do, and some wood clamps! Properly clamp the wood while cutting is one of the most neglected safety practices. Can I repeat myself 100 times here – CLAMP IT!
That’s it for now! Be safe and have lots of fun creating with pallets!!


 In the beginning...