
Pallets are so versatile and so full of character!
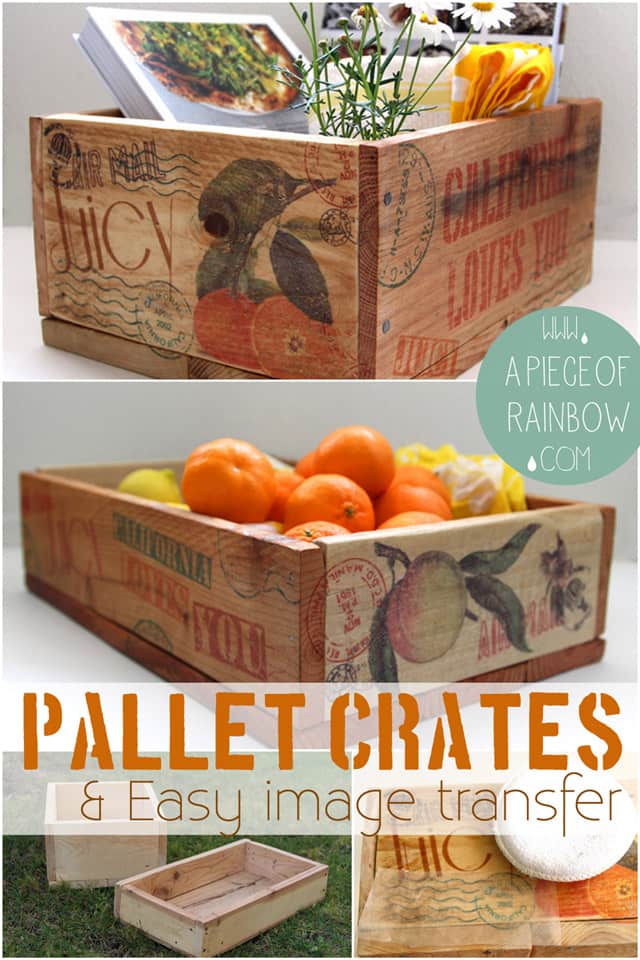
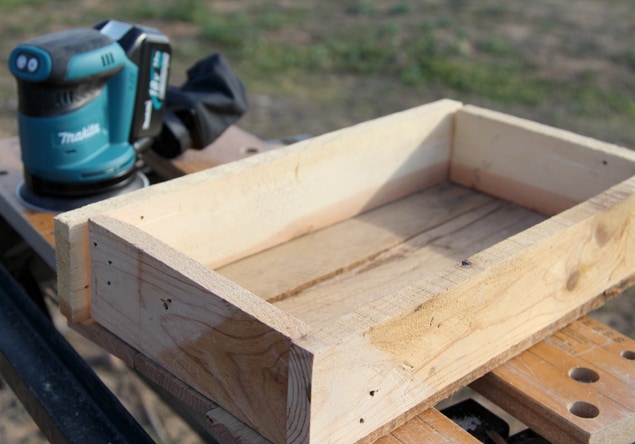
You can start with making something as small and simple as these crates, which are inspired by vintage farm orchard crates, and decorated with an easy image transfer technique.
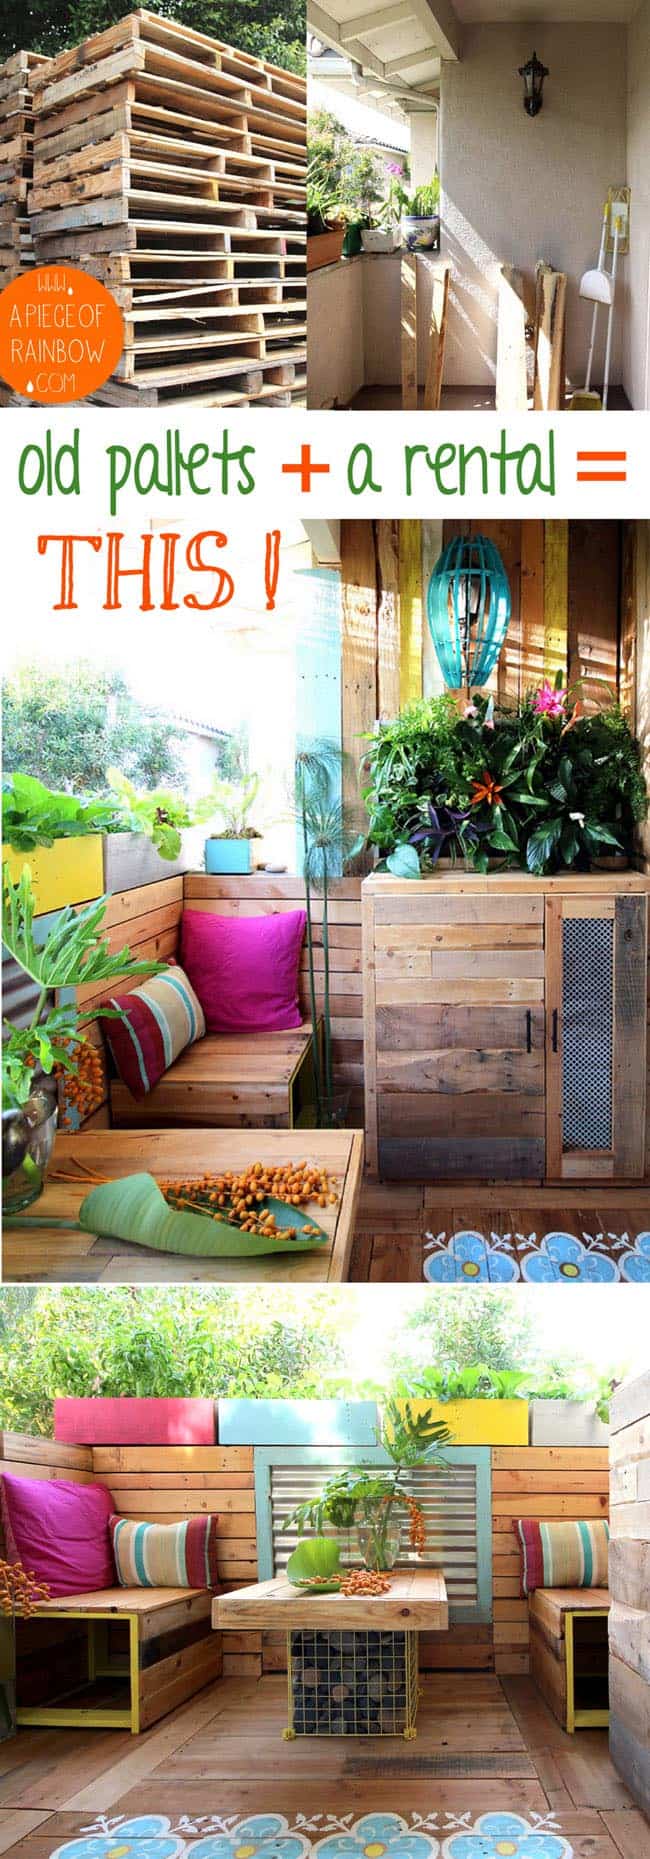
Or something ambitious, such as an entire makeover! We turned a rental patio into a tropical pallet outdoor room!
Pallet wood have such distinct beauty, and unique challenges when building with them, so let’s begin!
( Some of the helpful resources are affiliate links. Full disclosure here. )
1. Where can I find free pallets?
Make sure you have a pair of thick work gloves handy when picking up pallets to avoid lots of splinters !
Before my first pallet project, I would DROOL over every pallet project on Pinterest, and wonder about the same question!
Then I realized they are everywhere, especially the places I visit often for my design work!
These are also the most clean places, which means no toxic spills on the pallets – tile and stone showrooms, masonry supply stores – places that sell boulders, rocks, pavers etc, and wood and carpet flooring stores. I also see them behind wine shops and grocery stores.
Garden nurseries, especially wholesale nurseries, often have pallets too. Just make sure they look clean and have no signs of sprays!
When you see a stack of pallets outside these places, just ask nicely whether they plan to reuse them or just discard them. And the answer I get every time is ” You want them? They are all yours!” Yay! Not so hard, right?
2. What to look for when selecting pallets?

Not all pallets are made equal. First thing to look for is the HT stamp, which means the pallets are heat treated vs chemical treated. So far all the pallets I have seen are HT pallets. They seem to be the majority which is nice.
Next, look closely at the boards – are they cracked, or warped? If yes, they would be very challenging to work with, so don’t waste all that time and sweat dragging it home and taking it apart, move on!
Also pay attention and check if anything has spilled on them. If it looks contaminated, move on!!
3. What’s the best way to take apart a pallet?
There are many articles and videos on different ways to disassemble a pallet.
IMPORTANT: Make sure you have a pair of thick work gloves and wear eye goggles to protect yourself from nails that may pop out.

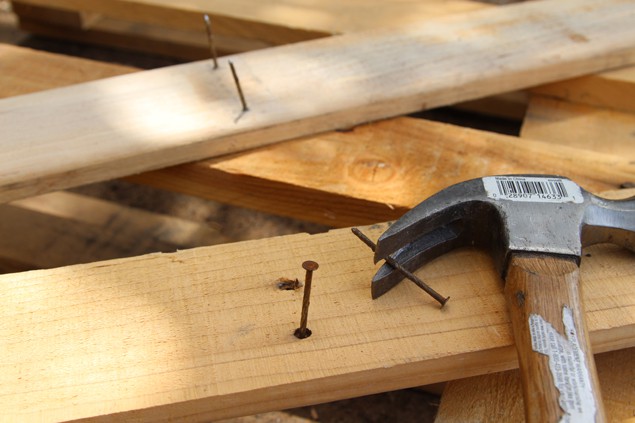
Our favorite method is with this tool – a Duckbill Deck Wrecker we got on Amazon . If you plan to do a lot of pallet projects, then it’s worth considering. It will pay for itself in no time.
This tool lifts those boards easily, and you can take out the nails with a hammer. It is 20 times quicker than any other methods. The wood won’t split as much so you get better boards. We absolutely LOVE this tool.
There are three other popular methods to take apart a pallet, and a few very important things to consider! Continue to next page –
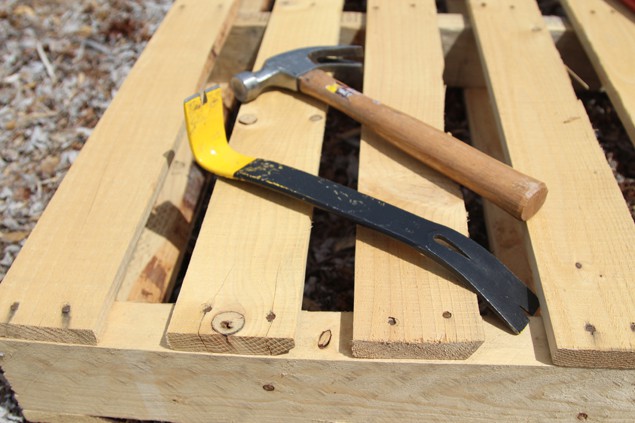
Method 2: If you don’t have a Duckbill Deck Wrecker , another method is to use a hammer and a pry bar, which was what we did before we got our Duckbill Deck Wrecker . It’s more work and takes a lot more time. But it’s the least expensive way to start.
Actually, I could not do this myself -don’t have enough muscle! – hubby used this method and it worked good: from Sarah on Youtube –
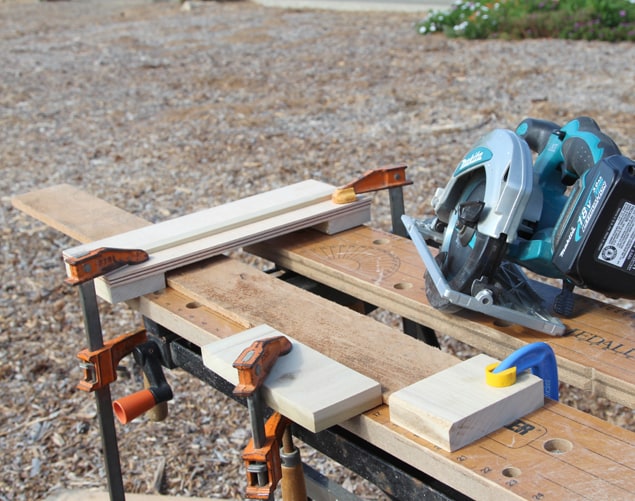
The third method we have used it to cut the board along the 2 side rails with a cordless circular saw or jig saw , and use a hammer and pry bar to lift it the middle rail. This is an easy and quick method, especially when the boards already have cracks on the ends.
Another way is to use a reciprocating saw , cut through the nails. This method intimidates me, and we have not tried it. But I know others who like it. Just be careful and take the time to learn how to use the tools

4. Challenges when working with pallet wood ( VERY IMPORTANT)
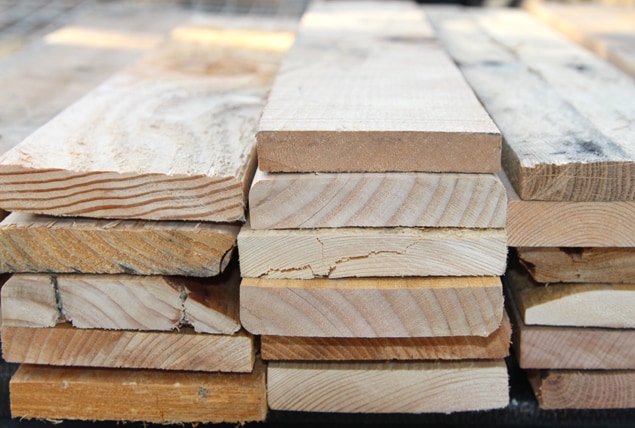
The beauty, and the challenges of pallet wood lies in its variations. Never assume the boards are the same thickness or width, even if they are from the same pallet!
When you buy wood from hardware stores, they are finished to the specified thickness, and all the edges are straight, and squared, but not pallet wood!
For example: if we want to build a pallet bench and want the top to be flat, we need to either carefully select boards of same thickness, or adjust how we build it.
Or if we are making a table top, we want all the slats to line up nicely, then we need to select boards that are straight all the way. You will be surprised how many of them are not!
If you do have a planer, and want to plane the edges straight, or plane the surface to a thickness, make sure to use a metal detector! Some hidden old nails can ruin the blade of your planer.
5. Design , planning and finishing considerations
When planning to build something with pallet wood, one of the first things to consider is where it needs to be accurate, vs where it’s more forgiving and you can keep the rustic character. It’s more forgiving where it’s rustic. Area that need to be accurate, such as table legs, or a square picture frame, will need more planning ahead, and selecting boards that are relatively straight and even.
When it comes to sanding and finishing, if it’s something you touch often, such as a crate, or a table top, you will want to sand the wood more, start with 80 grit sand paper, then go to 120 or even 220. In other places we can just sand a little bit with 120 grit to make sure the wood is free of splinters, and still keep the character of the wood surface.
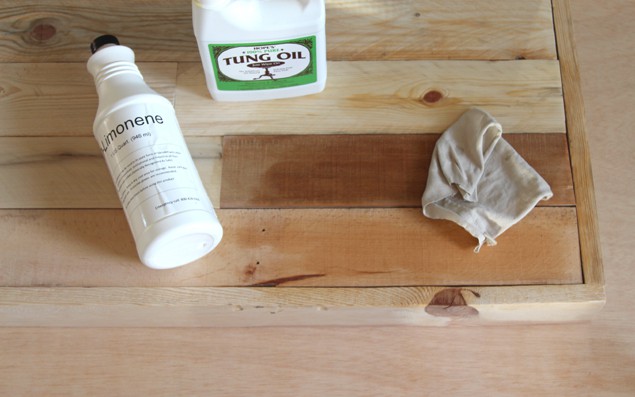
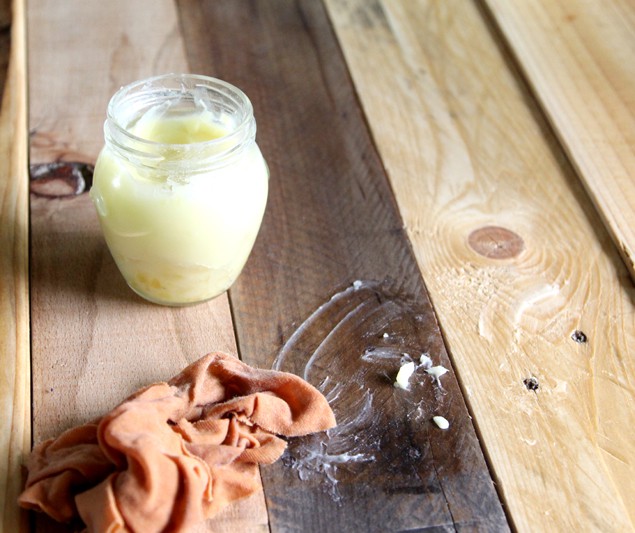
When it comes to finishing, you can choose from paints, wax or oil finishes which I described in more detail in the pallet crate project. I will write a detailed post on non-toxic wood finishes soon and add a link here.
6. Safety First!
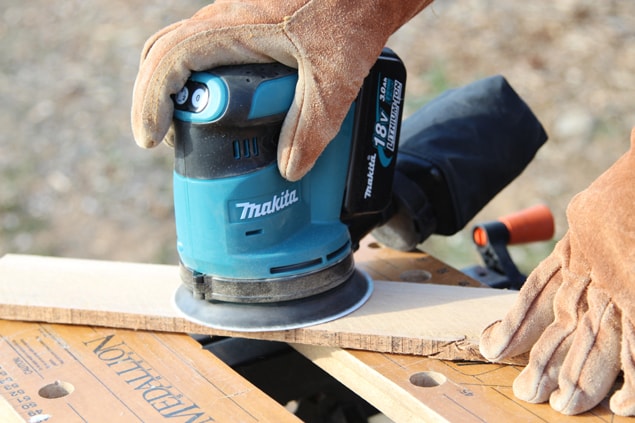
Because of those nails and splinters, please ALWAYS wear gloves and eye goggles when working with wood!
Before you turn on any power tools, first get a sturdy work surface – a work bench, or even a sturdy old table will do, and some wood clamps! Properly clamp the wood while cutting is one of the most neglected safety practices. Can I repeat myself 100 times here – CLAMP IT!
That’s it for now! Be safe and have lots of fun creating with pallets!!
More fun ideas to consider:
12 Easy Pallet sofas and coffee tables to build in one afternoon.
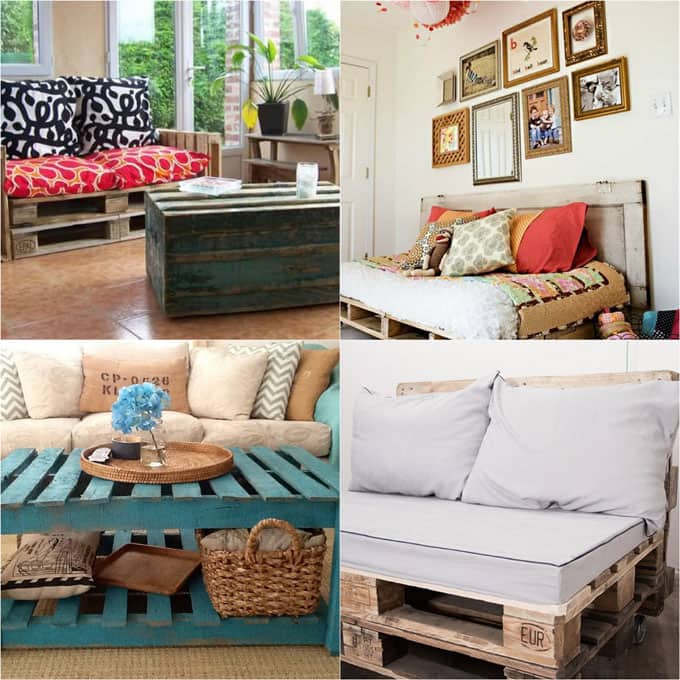

30+ Pallet projects for outdoor living!
Original article and pictures take http://www.apieceofrainbow.com/all-about-pallets/ site
>
Комментариев нет:
Отправить комментарий