I started off by sending Drew to Home Depot to buy lumber. Actually, he had to go himself since the wood boards wouldn’t fit in the car without removing the carseat. He asked me to make a note in my write-up that the wood had no knots, but then afterwards, told me I wrote it up wrong. He bought pine boards with no knots not just to make it pretty, but so that when you actually play Dominoes, you can’t use the knots on the back to figure out which pieces your opponents have. So thoughtful! There you go honey, I hope I explained it correctly!
Anyways, I think he bought 2 10 foot 1x4s and 1 8 foot 1×4 board. A 1×4 board is actually about 3.5 inches wide, so I was aiming to create dominoes that were 3.5″x7″. There are 28 dominoes in a set, so 7″ times 28 ="" 196″, which is a little over 16 feet. With 18 feet of board, we gave ourselves a little extra in case we screwed up on the table saw.

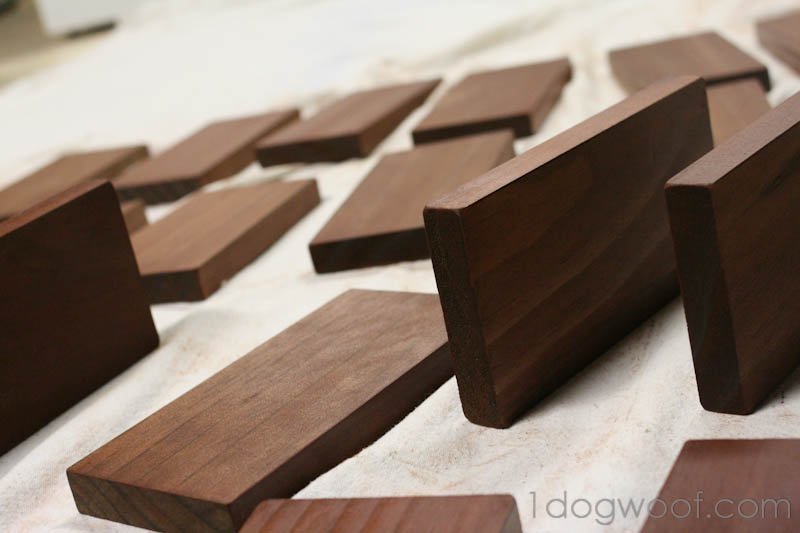
Cut the boards down to 7″ lengths, using either a chop saw or a table saw.
Stain. I used some leftover Chestnut stain that we had for our floors. I didn’t mix the stain very well, so the first coat was a dull brown, with all the pigment down at the bottom. Then I had to remix and then add a heavily pigmented coat onto the wood, which made it a beautiful reddish color.
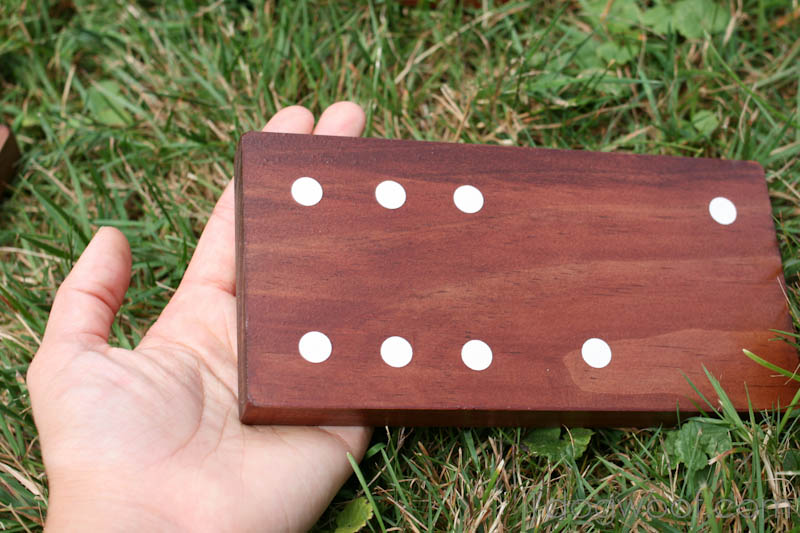
Here’s where things got crazy. I had bought a 3/8″ circle punch at Michaels for a $1, thinking I would make a stencil from some leftover cardboard and paint on the dots. And for $1, I was feeling pretty good. Fast forward to that evening when I made my stencil template and went to punch out the holes when I realized the punch wasn’t able to punch that far in to the cardboard. Anxiety ensues. (And maybe some yelling.) Of course, in the store, I had thought about buying little adhesive dots to use, but I couldn’t find dots in the size I wanted. Somehow, it never occurred to me to buy adhesive paper and punch my own holes. Silly, really. Eventually, though, I did figure that out, except it was now 9:30pm, and all the stores were closed, and I had no adhesive paper at home. So, I ended up punching holes around the edges of stamp sheets (the “green” stamp set), and sacrificed some white address labels as well. Let me tell ya, that’s a lot of little dots. Thank goodness I hadn’t cut my nails down to a nub, so I could sit there and peel the backing off of biiiillllions of little paper dots.

I did use the template I had made to mark where the dots would go on each piece of wood by poking holes in the template.
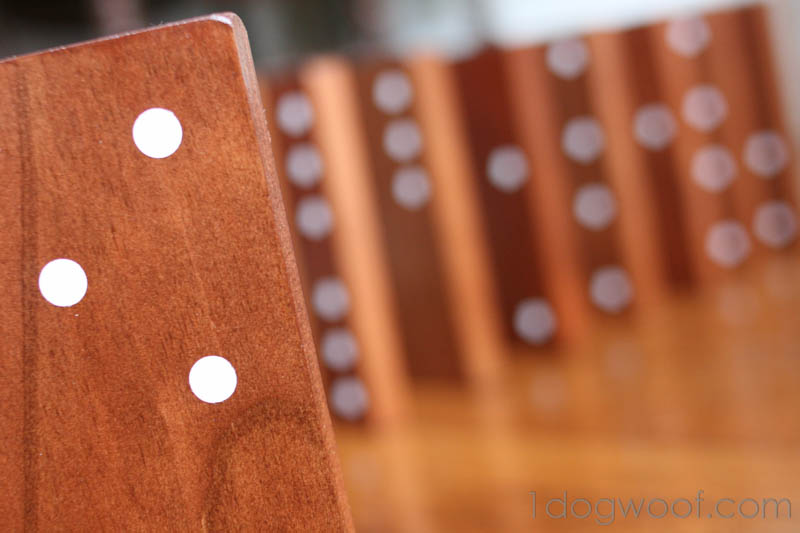
Start the domino assembly line. I sat peeling and placing little dots, and Drew started painting on a coat of clear acrylic sealer. I’m sure polyurethane would work great; we just had the water-based acrylic sealer left over from a different project.

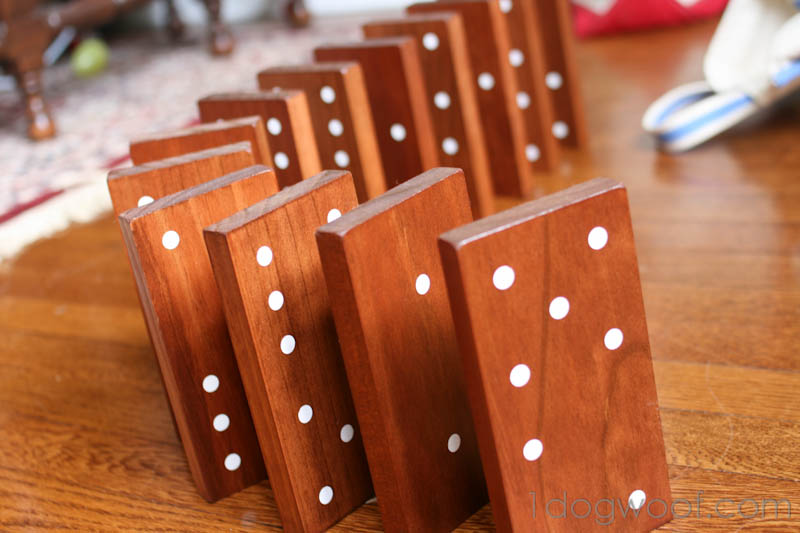
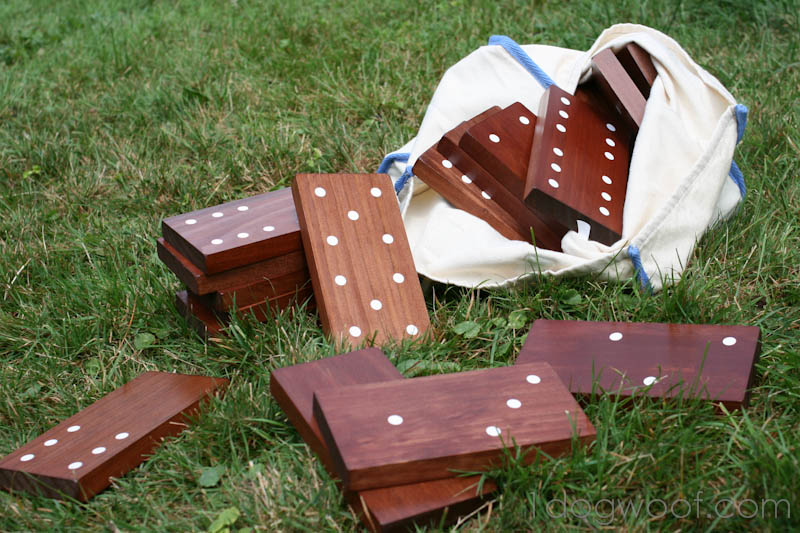
Ugh, the 6-6 domino was a pain in my behind. When that one was finally done, I was so happy to be done with the peeling of dots. The dominoes sat in the basement to dry, and then they were finished! Actually, a couple of days later, we found them to be a bit tacky, since the sealer hadn’t had time

Anyone want to come over for a rousing game of Dominoes?
Original article and pictures take http://www.1dogwoof.com/2012/08/outdoor-dominoes-tutorial.html#_a5y_p="1605164" site
>
Комментариев нет:
Отправить комментарий