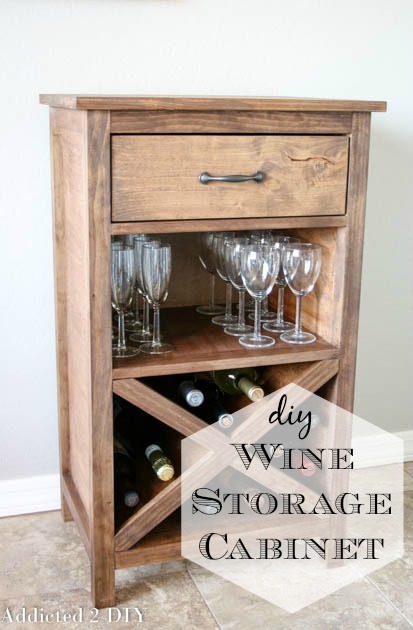
Last week 5 other bloggers and I teamed up with Kreg Tool Company and gave away our own custom built creations. The winner of my custom wine cabinet has been randomly chosen and she’s already claimed her prize. For those of you who did not win, here is the tutorial I promised for how to build your very own wine cabinet.
Supply List:
- 1 sheet of 3/4″ veneer plywood (birch or maple is a good choice)
- 3 – 2×2 @ 6′ long (I used select pine)
- 1 – 1×2 @ 8′ long (I used select pine)
- 1 – 1×6 @ 6′ long
- 1 – 1×4 @ 6′ long
- 16″ x 36″ pine project panel
- 1/8″x2’x4′ tempered hardboard (for backing)
- 1 – 24×48 sheet 1/2″ veneer plywood
- 14″ drawer glides
- drawer pull
- wood stain (I used Minwax in Special Walnut)
- polyurethane
- circular saw
- miter saw
- Kreg KSC-1485-24 Automaxx Heavy Duty Sliding Bar Clamp, 24-Inch
(Such as Kreg AutoMaxx) - brad nailer
- drill
- impact driver (optional but it does make life easier)
- 1 1/2″ brad nails
- 1 1/4″ brad nails
- 1″ brad nails
- 3/4″ brad nails
- 3/4″ wood chisel
- rubber mallet
Cut List:
- 4 – 2×2 @ 35 1/4″ (legs)
- 4 – 2×2 @ 12″ (side railings)
- 4 – 2×2 @ 17″ (front and back railings)
- 2

- 1 – 3×4″ plywood piece cut @ 12″ x 17″ (bottom shelf)
- 1 – 3/4″ plywood piece cut @ 13 7/16″ x 17″ (middle shelf)
- 2 – 1×2 @ 17″ (shelf trim and under drawer)
- 2 – 3×4″ plywood pieces cut @ 14 1/4″ x 20 5/8″ (for X)
- 1/2″ plywood cut @ 14″ x 16″ (drawer bottom)
- 2 – 1×4 @ 16″
- 2 – 1×4 @ 12 1/2″
- 1 – 1×6 @ 16 3/4″(drawer face)
- 1 – project panel cut at 16″ x 21 1/2″ (top)
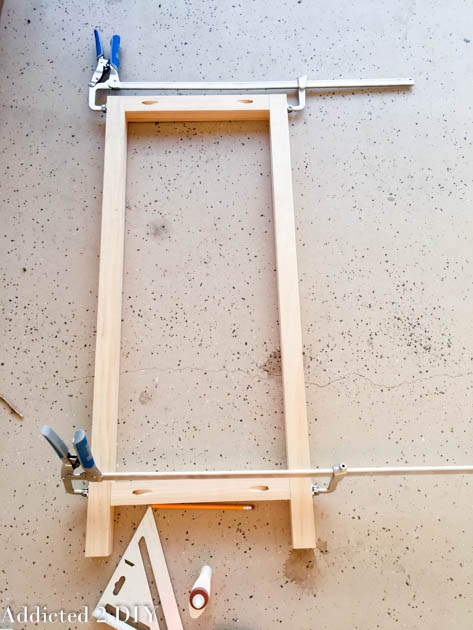
Begin by building the side frames of the cabinet. Drill 1 1/2″ pocket holes into the 12″ side rails. Attach to the front and back legs using wood glue and 2 1/2″ pocket screws.

This project takes a little over half a sheet of plywood. I ripped down the pieces using my handy Kreg Rip-Cut.
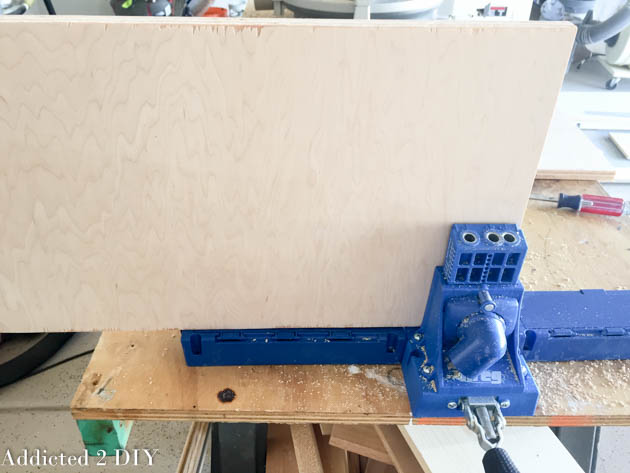
Drill 3/4″ pocket holes into the inside of each panel.
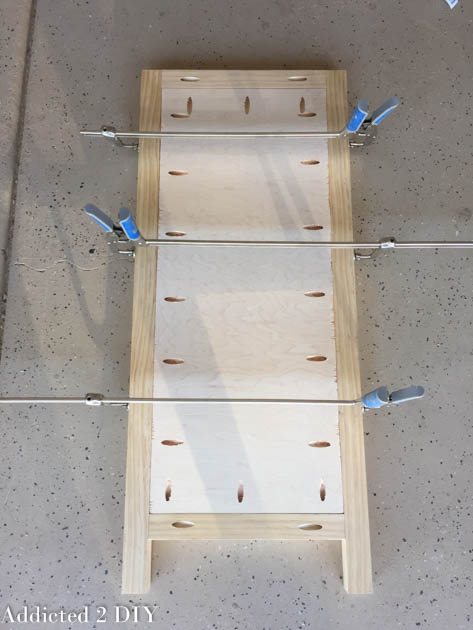
Fit the side panels flush with the inside edge of the frame and clamp. Attach with 1 1/4″ pocket screws.
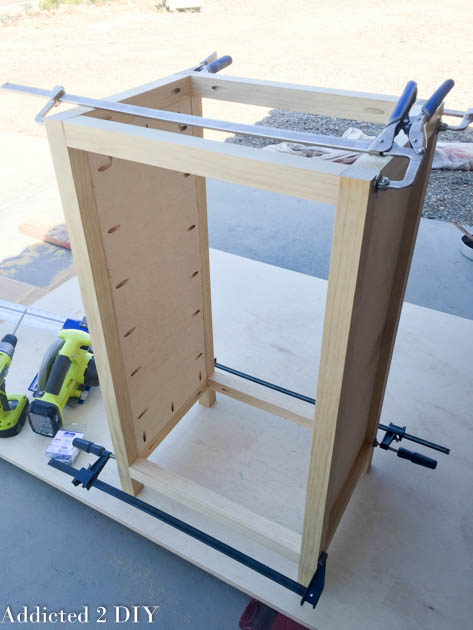
Drill 1 1/2″ pocket holes into the front and back rails and attach to the cabinet sides with wood glue and 2 1/2″ pocket screws. Attach the bottom rails 3″ up from the bottoms of the legs. For the top rails (front and back), drill counter sunk pilot holes (3 in each one) to attach the cabinet top.
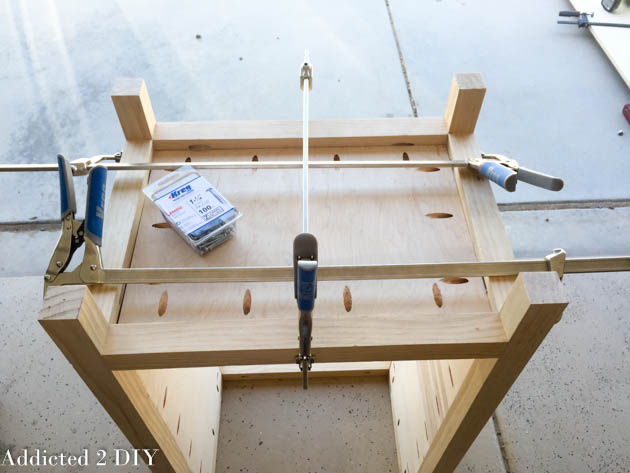
Cut the bottom shelf and drill 3/4″ pocket holes into all four sides. Clamp the shelf flush with the tops of the bottom rails and attach with 3/4″ pocket screws.
Drill 3/4″ pocket holes into the 1×2 pieces for the front frame of the cabinet. Attach the middle shelf frame flush with the front legs of the cabinet with 1 1/4″ pocket screws. The bottom shelf space is 13″ high, so measure and mark where the middle shelf will go and make sure it is square. The middle shelf space is 9″ high. Drill 3/4″ pocket holes into the middle shelf and attach flush with the 1×2 frame using 1 1/4″ pocket screws. Glue and clamp the top down and attach with 1 1/4″ brad nails.

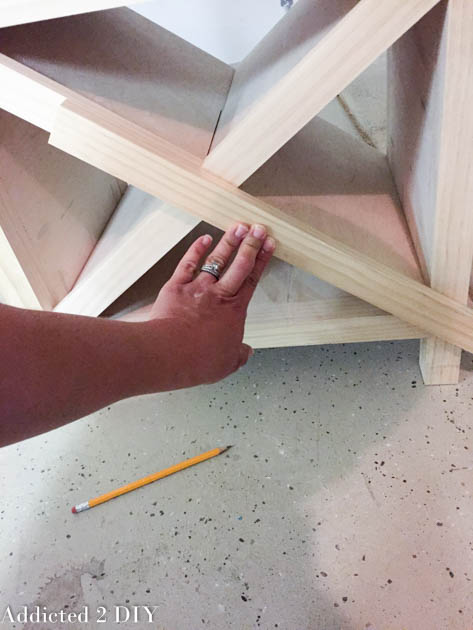
For the X, you’re going to make a 3/4″ notch in the center of the plywood pieces. Mark each side of the notch with pencil and mark halfway across the plywood for your stopping point with the miter saw. The X space in this cabinet is not square, so the notches will have to be cut with the saw blade tilted at 15 degrees to allow for the X to fit inside the space. I realized this after taking this pictures, which is why it isn’t shown here. The remaining steps; however, are the same. Make your outer cuts to equal a 3/4″ thickness on the notch with the miter saw and then make a few more relief cuts inside. Chisel out the notch with a 3/4″ chisel.
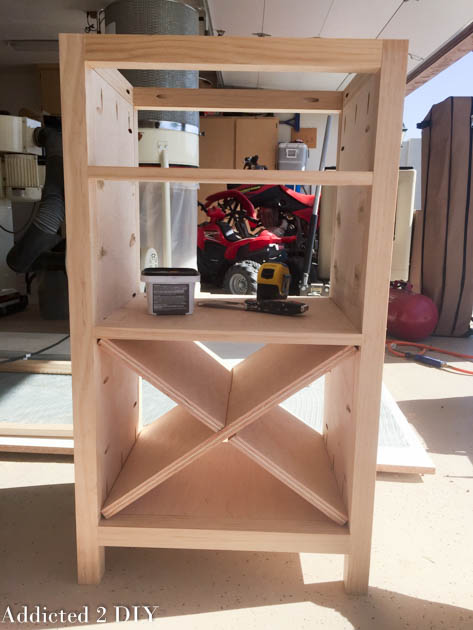
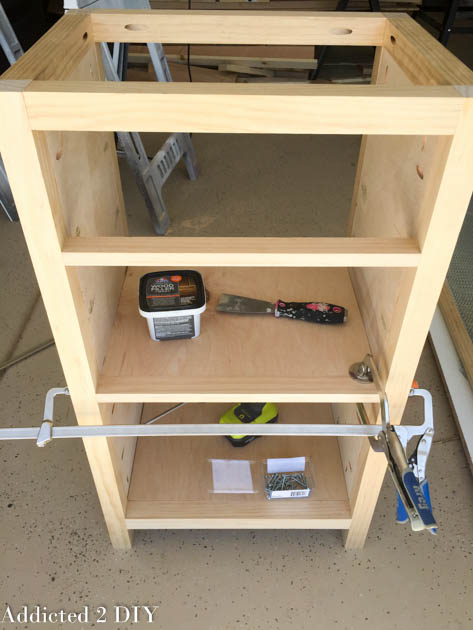
Slide the X in to make sure it all fits. Some sides of the X may need to be sanded a bit to allow it to slide in and out easily to aid in finishing. After this, fill all of the pocket holes with wood putty. Sand the entire piece once dry.
To determine the angles of the 1×2 trim on the X, I placed the 1×2 over the outside of the cabinet face and traced the angles on the inside of the wood.
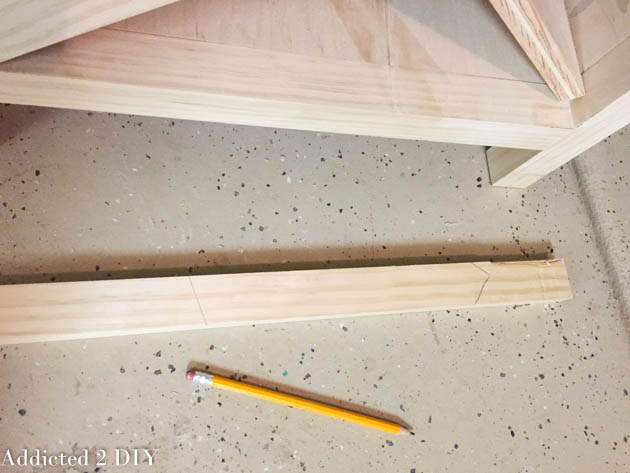
You can see the angles I traced here. I adjusted the angle of my miter saw to follow these lines and cut the trim pieces. I didn’t photograph this next step, but the pieces are attached to the front of the X with wood glue and 1 1/2″ brad nails. If needed, set the nails, then fill the holes with wood putty.
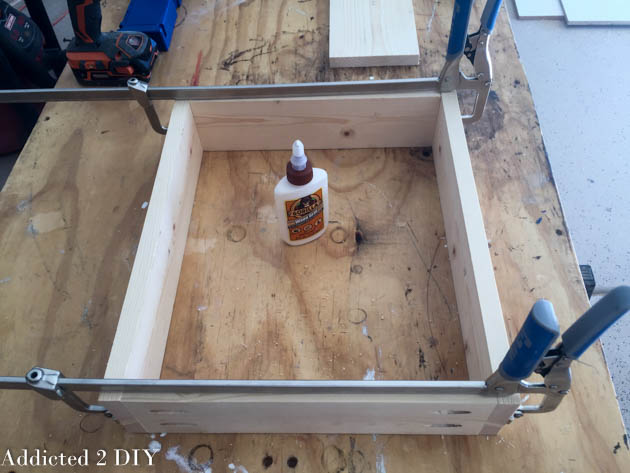
Drill 3/4″ pocket holes into the 1x4x12 1/2″ pieces of the drawers. Build the drawer frame using wood glue and 1 1/2″ pocket screws.

Attach the drawer bottom with wood glue and 1″ brad nails. Install the drawers using the 14″ drawer glides in order to determine the placement of the drawer face. Place the drawer face on the drawer front so that there is about a 1/8″ gap around the drawer frame. then glue and clamp the drawer face to the drawer and nail together from the inside with 1 1/4″ brad nails.
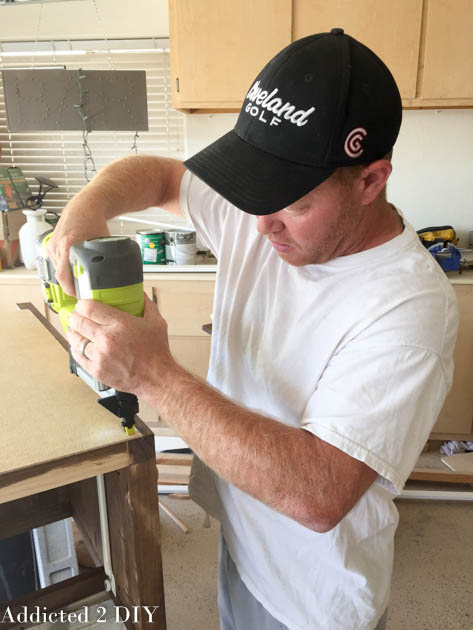
I stained the entire piece and then we attached the hardboard to the back of the cabinet using 3/4″ brad nails. Obviously that is not me in the picture. My husband was kind enough to help me out a little with this project since it’s a bit heavy. We flipped it back over and attached the top with wood glue and 2″ countersunk screws, being careful not to go too far and poke through the top of the cabinet. Once the top was attached, I attached the 1×2 drawer frame piece with 1 1/4″ pocket screws. Then I finished the cabinet with polyurethane.

Finally, attach the drawer pull. Find the center of the drawer and mark the placement of the drawer pull, then drill countersunk holes from the inside out. Attach the drawer pulls and you’re done!
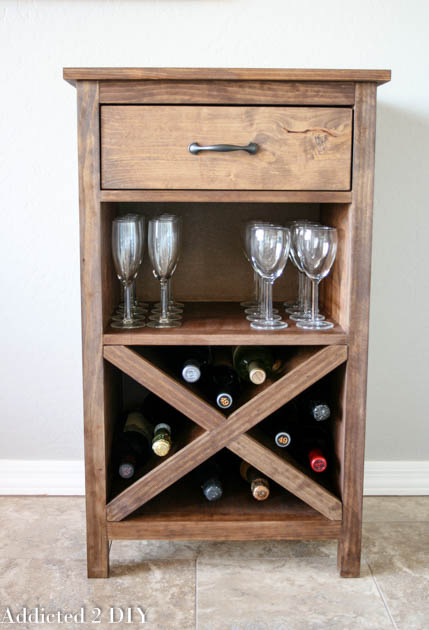
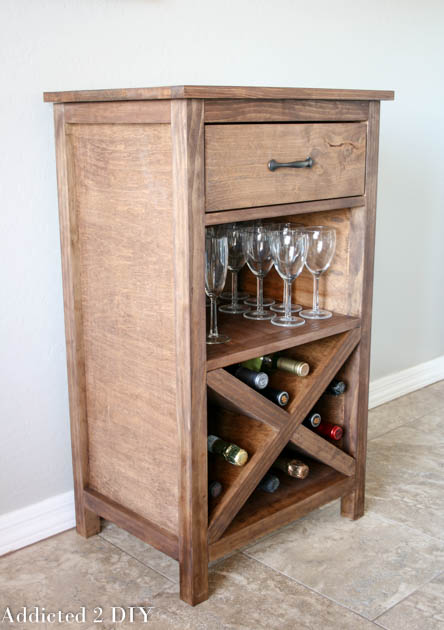
I am so excited that my rudimentary sketch on paper turned into such a great piece! It is simple enough to build for yourself, but it would also make a perfect gift! Once I learn how to design my own plans, I’ll be sure to upload the printable plans to make it easier to follow along and build. For those of you who entered the giveaway, thank you again! If you happen to build your own version of this cabinet, I’d love to see it! Feel free to tag me on social media with a picture of yours and I’d love to share it with my followers!
You can also find the links and plans to the 5 other AMAZING projects below. Just click the image and happy building!
DISCLOSURE: I was provided products and/or compensation for this post. All ideas and opinions; however, are 100% my own. This post contains affiliate links in which I will earn commission off of products you purchase at no extra cost to you.
Original article and pictures take http://addicted2diy.com/2015/04/28/diy-wine-storage-cabinet/ site
>
Комментариев нет:
Отправить комментарий