We’re back with another how-to video! Click HERE or the image below to watch!
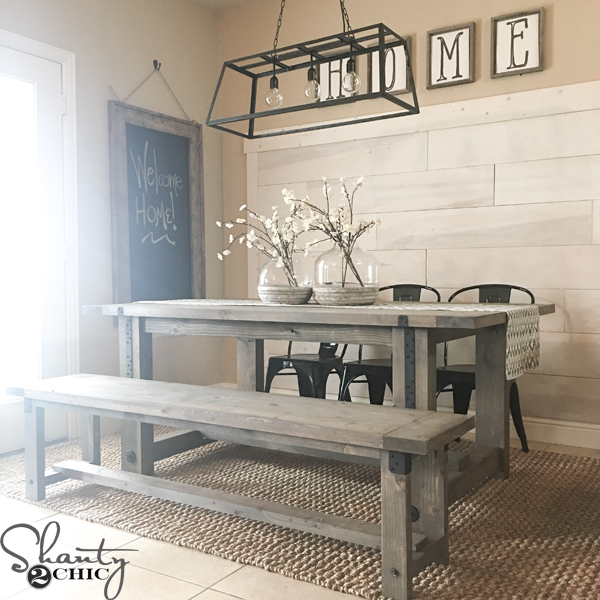
We built this Industrial Farmhouse Table for our friend Rachel’s Shanty House Crash! Rachel asked us to crash her kitchen nook. She has three boys so we wanted to give her a table that was not only durable but chic and budget friendly. (If you missed the first of the 4 house crash videos, in this series, you can click HERE to watch)
You can click HERE for the Free Printable Plans and follow along in the how-to below!

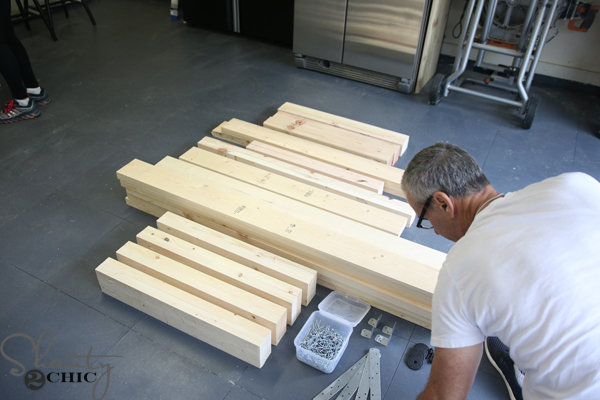
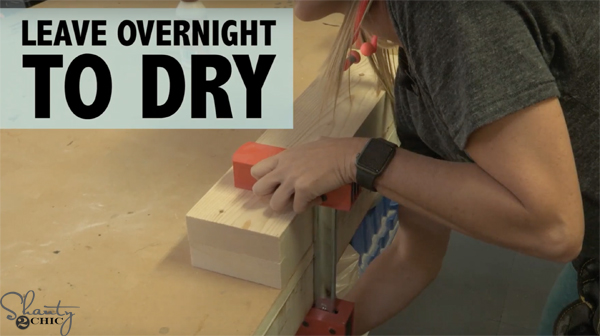
We started by ripping all of the 2×6 boards to 5″ and the 2×4’s to 3″. This is not a necessary step but it makes for nice straight edges and allows us to hide the seams on the chunky table legs that we built. The plans are based on ripping these boards so if you don’t rip them, make sure to adjust the measurements accordingly.
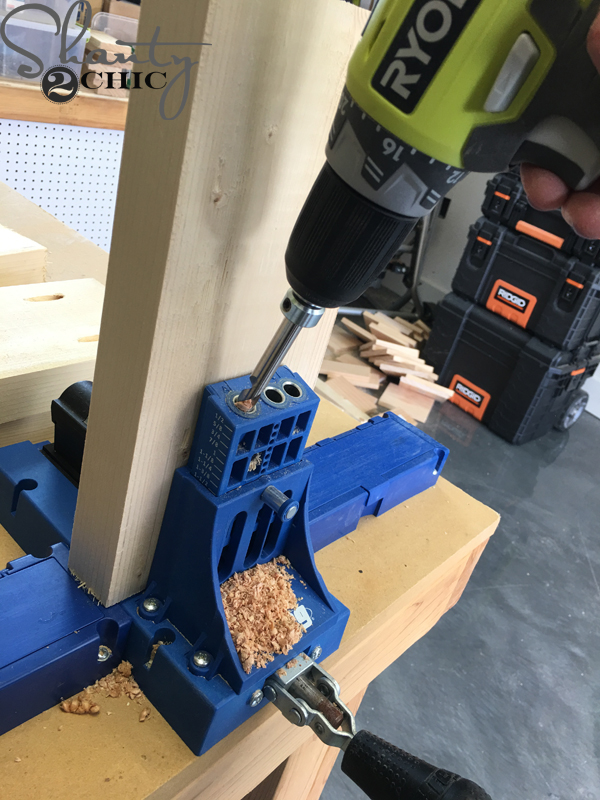
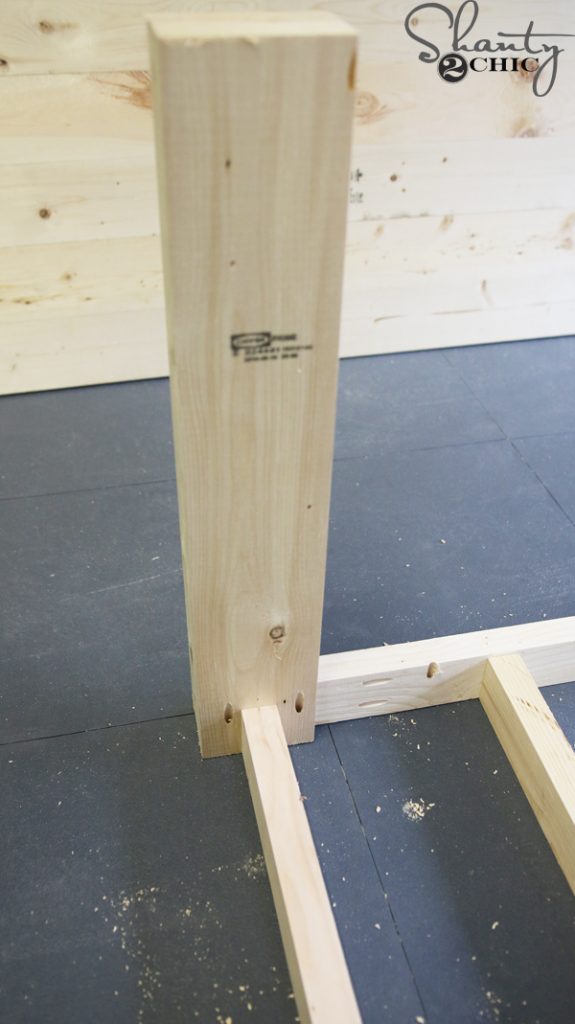
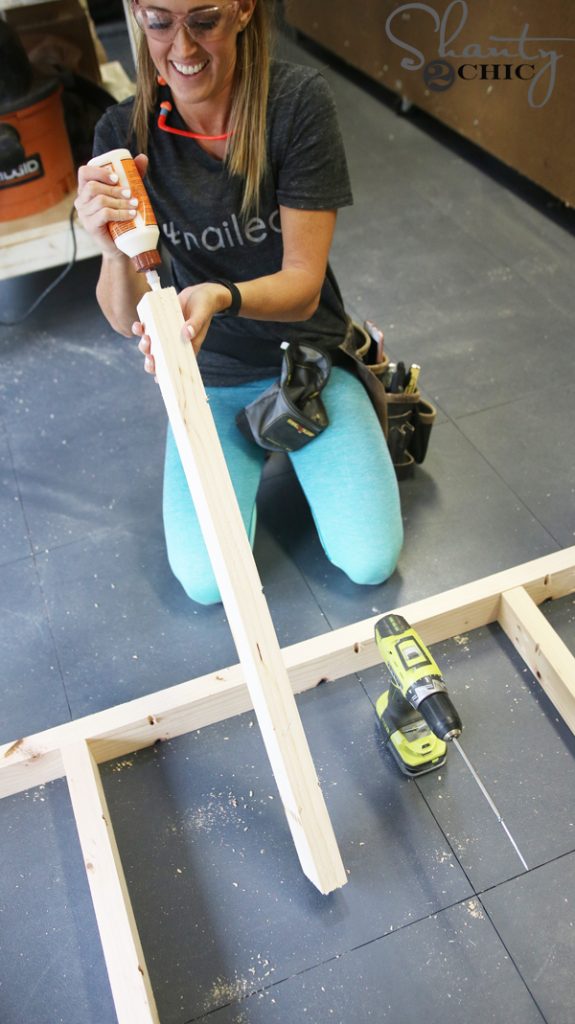
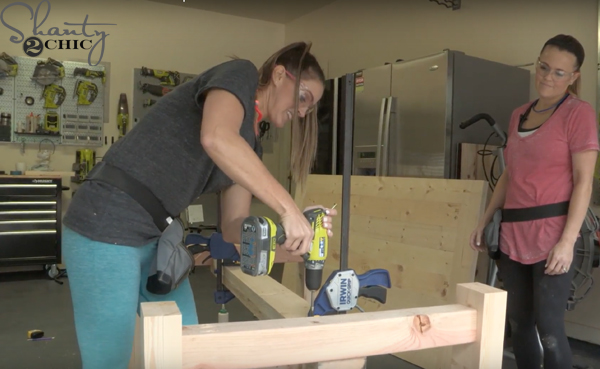
Once the legs are dry, you can build the table frame. First, attach the short and long aprons to the legs. The aprons will be flush with the top of the legs and centered on the face of the legs. Attach with wood glue and 2 1/2″ pocket hole screws.
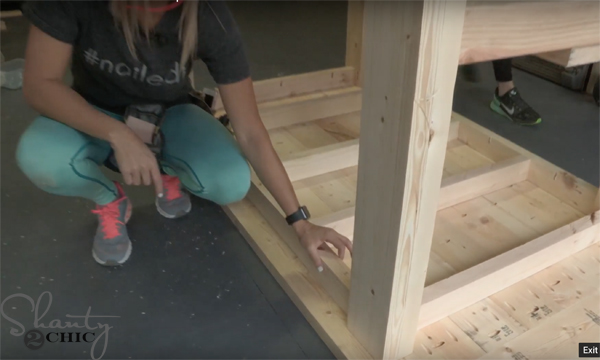
Once the supports are attached, you can attach the 4×4 leg runners. If you have a Kreg HD, then you can just drilled 3 1/2″ pocket holes into the 4×4’s. If not, you can just attach them with 3 1/2″ Spax screws from the front faces of the legs into the runners. You can hid the screw holes, with the hardware, at the end.
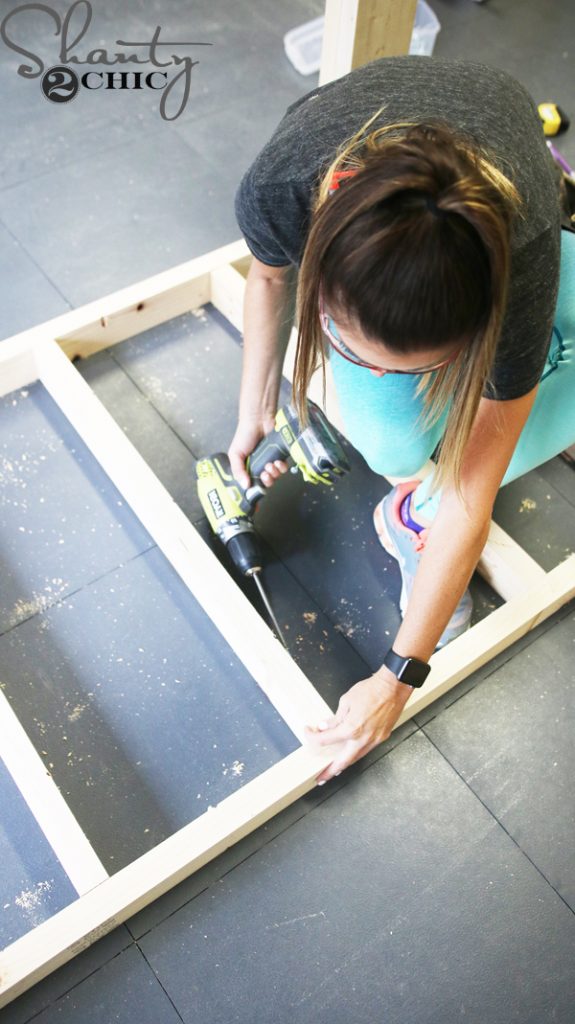
Now, attach the short runner, between the two leg runners. Use wood glue and 2 1/2″ pocket hole screws. The top of the runner should be flush with the top of the leg runners.
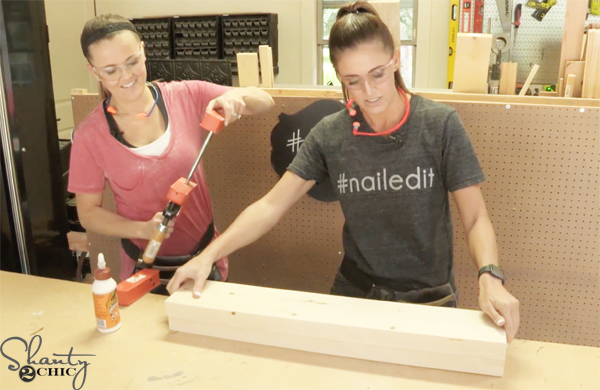
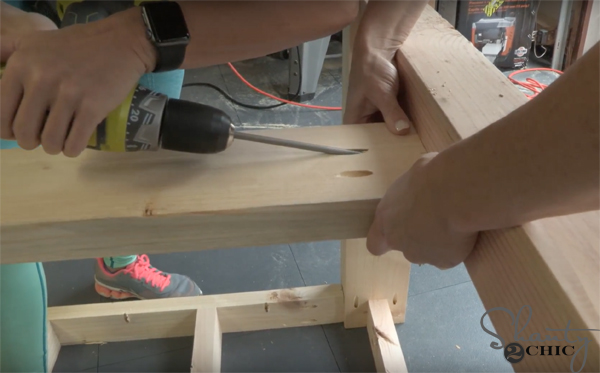
To attach the long runner, apply glue to the bottom of the long runner and clamp the long runner under the short runner. Attach with 2″ Spax screws from the bottom of the short runner into the long runner.
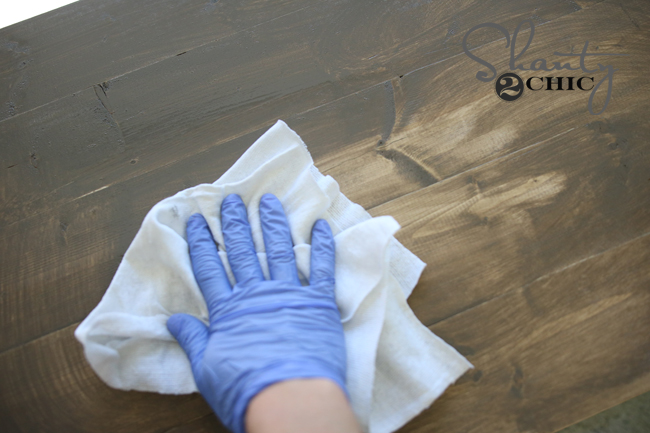
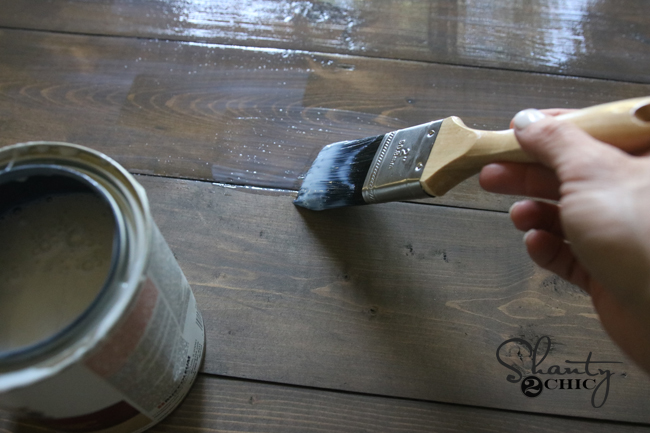
We chose Briarsmoke stain by Varathane to finish the table. Wipe on one coat with a clean cloth, wait about 5 minutes and then wipe away the excess stain with a new clean

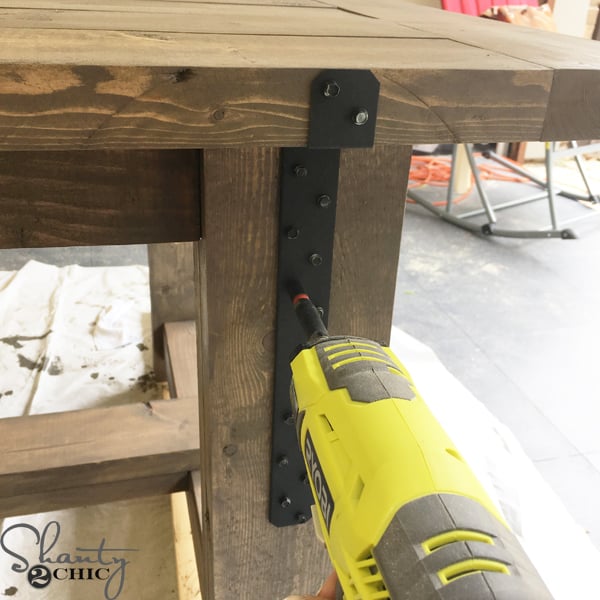
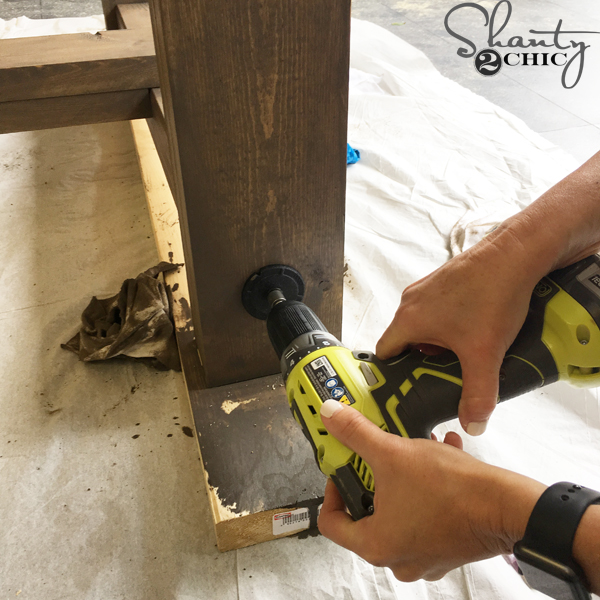
Now to make it pretty (and industrial)!
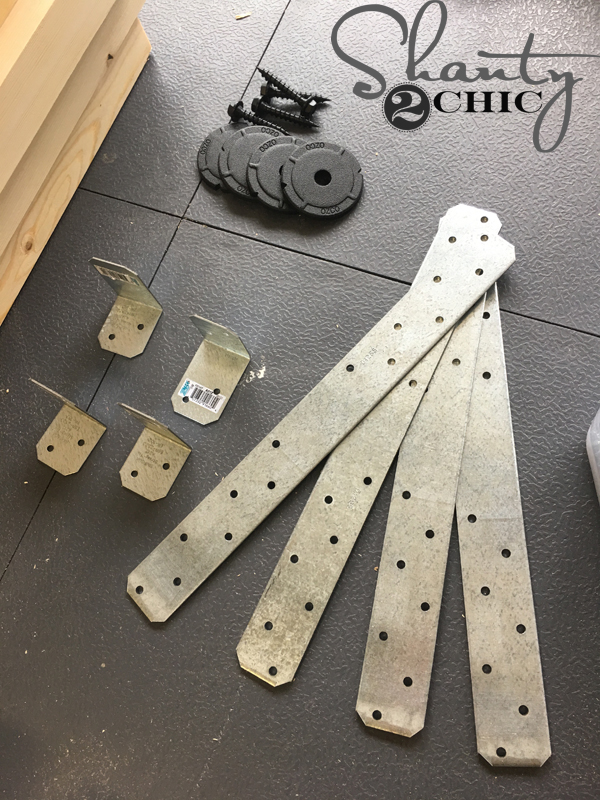
You can find the metal angle pieces HERE and the straight piece HERE on Amazon. The Outdoor Accents are Home Depot finds.
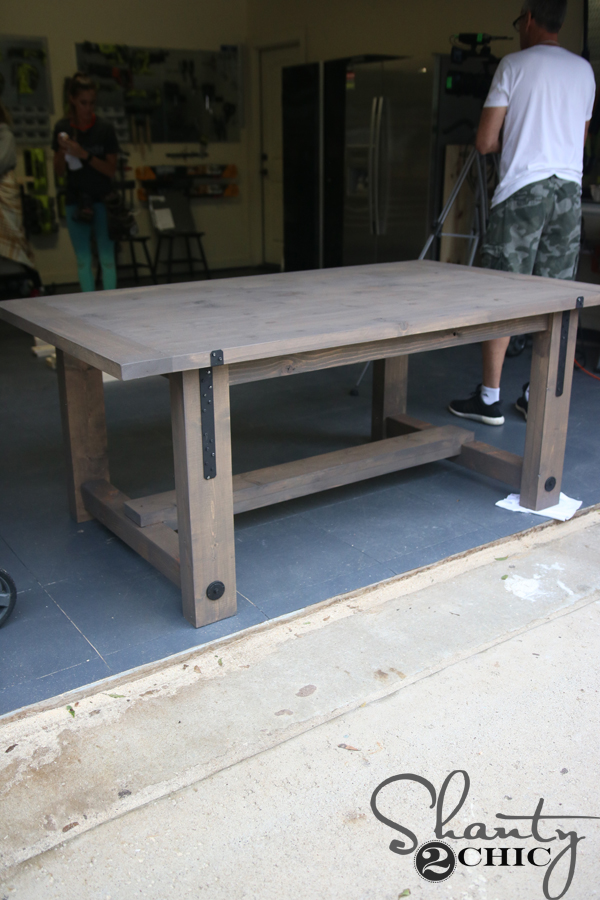
That was IT! How do you like it????
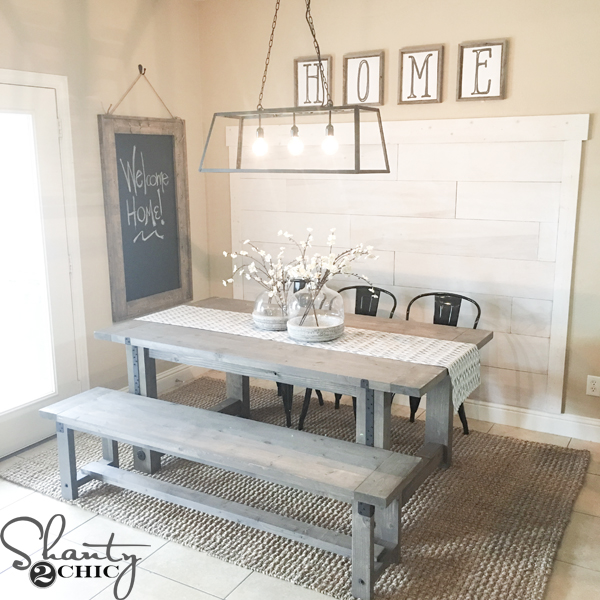
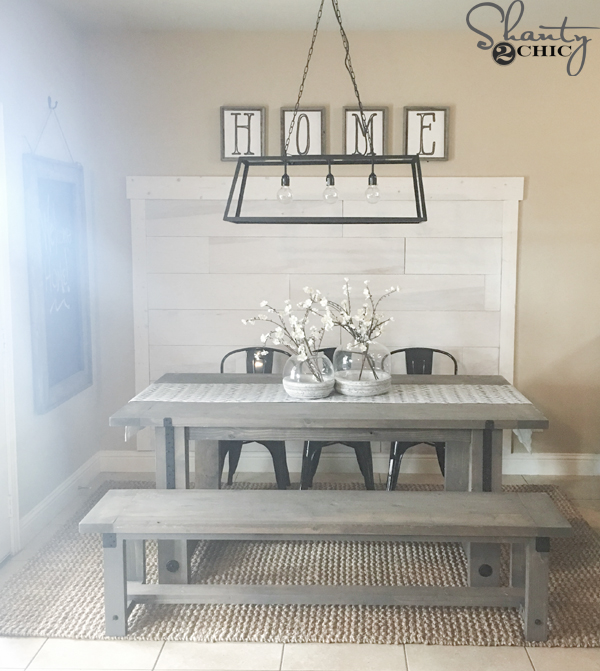
Rachel LOVED it and we do too You can find out all the info for the rest of the pieces in her new kitchen nook below!
Planked Wall: How-to Video HERE!
Terrariums (on table): HERE
Stems: HERE
Table Runner: HERE
Chandelier: HERE
Chairs: HERE
Rug: HERE
Frames: Hobby Lobby (HOME printables coming soon)!
Bench: How-to Video and plans coming soon!
Chalkboard: How-to Video coming soon!
Sponsored Links
.
Beyond YogaYogi At Sea - I AM BEYONDBeyond Yoga
ParkRiverAuto.comHow to Negotiate like a Boss on your next Car PurchaseParkRiverAuto.com
LimelightDaily20 Richest Musicians of All Time (You’ll Never Guess #1)LimelightDaily
DetonateSusan Boyle is So Skinny Now and Looks GorgeousDetonate
HarpConnect.comCongress Approves $42.8 Bailout For Homeowners Until Dec 31 2016HarpConnect.com
WorldlifestyleEver Wonder Why Donald Trump Never Talks About His Daughter Tiffany? Here"s WhyWorldlifestyle
We were unable to load Disqus. If you are a moderator please see our troubleshooting guide.
-
Discussion Recommended!
Recommending means this is a discussion worth sharing. It gets shared to your followers" Disqus feeds, and gives the creator kudos!
Find More Discussions
Join the discussion…
-
in this conversation
⬇ Drag and drop your images here to upload them.

Log in with
or sign up with Disqus or pick a name
Disqus is a discussion network
- Disqus never moderates or censors. The rules on this community are its own.
- Your email is safe with us. It"s only used for moderation and optional notifications.
- Don"t be a jerk or do anything illegal. Everything is easier that way.
Read full terms and conditions
By signing up, you agree to the Disqus Basic Rules, Terms of Service, and Privacy Policy.
By posting, you agree to the Disqus Basic Rules, Terms of Service, and Privacy Policy.
This is a GORGEOUS table! I love your step by step details. And the total cost. It"s amazing how you can get a beautiful table if you make it yourself. I made a trestle table over five years ago and it"s still going strong, admired by all who see it. Thank you so much for sharing!
see moreMy favorite table so far. I was going to try to build a RH knockoff (Reclaimed wood & zinc strap dining table) but I like yours so much better!!!!! I see a new table in my future. LOVE! LOVE! LOVE! You ladies are the BOMB! Thanks for sharing this!
see moreOh dear - it"s beautiful!! What a joy it must"ve been to see what you did when she opened her eyes!! What a blessing!!!
see moreI"ve been waiting all week for this video and the plans! I can"t wait to build it!
Is there a major difference between the framing lumber and dimensional or pressure treated lumber as far as aesthetics go?
I love it! My daughter wants a farmhouse table for Christmas, and she wants it to be sturdy. I think this one fits the bill! She"s got 3 littles, and this table looks like it can stand up to being stood on...lol! Great job, and thanks for sharing!!!
see more
Sponsored
Rumors Have Been Confirmed, Jolie Comes Clean
Original article and pictures take http://www.shanty-2-chic.com/2016/10/diy-industrial-farmhouse-table-video.html site
">
Комментариев нет:
Отправить комментарий