Are you on a budget and need extra storage in your garden?
Well, I think it would be a safe assumption that most of the world is.
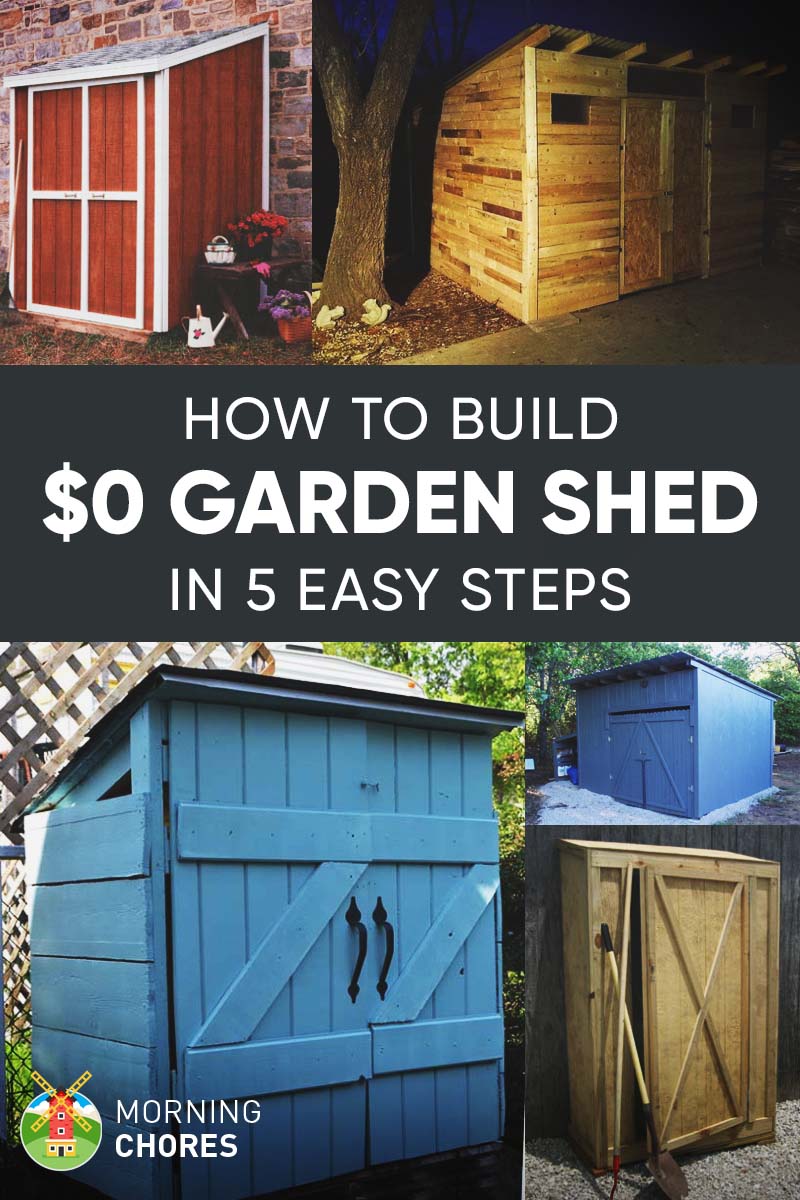
It’s hard to build a storage shed if you have a limited budget. So today I wanted to share with you how my family built a free tool shed. Even if you can’t find all of the materials we had on hand for free, you can still build this simple shed for very little money.
I’ll also include a few ideas on how to keep cost down if you have to purchase the building materials.
And with all of that in mind, let’s build your shed—
What You’ll Need:
- 2 or more Pallets
- 10- 2x4s
- Nails
Instructions:

Step 1 – Frame the floor
We began by deciding how big we wanted the structure. This was done in a real scientific way (that’s a total joke.)
So we actually used pallets for the floor (I love building with pallets). What this means is we laid two pallets down on the ground and contemplated if we wanted the tool shed to be two or three pallets in width.
We decided to go with only two. I did this because I didn’t need a large tool shed. I really just wanted a small space by the garden that I could easily access the tools I’d need. Any larger tools could remain in our pole barn or other storage buildings.
So if you are looking for free pallets, I usually advise you to look at local businesses. Stores like nurseries or any other locally owned place that would have items shipped. You will actually be doing them a favor by taking them off of their hands.
Because most companies have to pay to have their pallets disposed of. Smaller businesses care about such expenses. Where a lot of the larger companies do not.
So that is why I recommend you start with the local mom and pop stores.
Step 2 – Frame up the walls
I told you all we built this garden shed at no expense to us. Well, I actually cheated a little.
My brother-in-law works at a lumber yard. So any wood that they can’t sell they allow their employees to take home. Which means we traded a few goats and got a huge amount of wood.
But I realize not everyone has that same option. But most local hardware store sells pressure treated 2×4’s for around $2.50 apiece. Which means you could still have a garden shed (if your store prices are similar to ours) for $25.00.
That isn’t too bad.
Now, we’ll move on. Once you know how big you are going to make the tool shed, it will be time to frame up the walls.
You will begin by cutting 2×4’s to length.
Now, this will change depending on how tall you want your garden shack.
But regardless, you will need to place posts at the corner of each side of the garden shed. Once you do this, it is kind of like a game of connecting the dots.
So you’ll need to cut the other 2×4’s to length and run them across the top to connect each corner post. And you don’t need to run any 2×4’s at the bottom of the pallets. They are strong enough as is.
Then you’ll want to add some bracing posts that run diagonally from corner post to corn post to help the tool shed have some extra stability.
3. Frame the roof and add roofing
The roof is the next step to this project. You’ll begin by building a square the size of the garden shed along the top of the structure. You will need to cut the 2×4’s to length.
And this is to outline and support the future roof.
Then you’ll want to cut 2×4’s to length when adding slats within the roof frame to support the actual roofing. When this is done it is time to add the actual roofing material to the frame.
So we used metal roofing because we had some laying around our property. And I would actually recommend using metal roofing because of how inexpensive it is.
But if you have other roofing materials lying around that you could use for free by all means use those.
And you will cut your roofing material down to size and overlap the sheets of metal. Then you’ll attach them to the roof with a nail gun and roofing nails.
Or a good old fashioned hammer and nails will do the trick.
4. Cover the outside walls
My go-to for siding is always slabs. We can get them for free at a lumber yard nearby.
So all we did was cut the slabs to length for each side. And then used a nail gun and placed them on the side of the shed.
But if you don’t have a place to get free slabs around you, you could use old siding. Or just some old wood that you saved from a project.
And truthfully, a lot of times we’ll save some wood from projects that we take apart. For instance, we had an old wooden walkway that would lead up to our house when we first moved in.
But the downside was every time it would rain, the walkway would become very slippery.
So when we took the walkway apart and replaced it, we saved the wood.
Well, it was pressure treated 2×4’s. And honestly, it would’ve worked well for the siding on this tool shed as well.
So if you have any salvaged wood like that, pull it out and transform it into siding.
5. Move your stuff in and add storage options
We kept our tool shed very simple. I didn’t add a door (though you could if you wish.)
And I stacked all of my belongings inside. But over time I hope to add more storage options. You could add nice gardening hooks () to help keep your tools organized.
Or you could go as simple as placing nails in a v-shape on the wall and use them as hooks.
And you could add some shelving ( Hay works for insulation. So why not create a double barrier to the outside of the garden shed. And then stack hay bales in between. So this way the outside of your building will be protected. And so will the items inside. Not to mention, if you have the land you could technically grow this yourself. But if not, there are plenty of places you can buy hay bales for very little money. Metal is another inexpensive option for siding. The same metal that you used for the roofing could very easily be attached to the outside of the building. And it would definitely keep the items within it well protected. I’m sure you’ve heard of people building greenhouses and other structures out of plastic bottles. Well, the same can be done with this garden shed. So you could easily build a double frame and then place the plastic bottles in between the two frames. This would be inexpensive and also provide great protection for the items being stored inside the shed. A tarp would be a good option to enclose this garden shed because they are rather inexpensive. And plastic is also a great option because it withstands the elements pretty well. So you need something to place on the outside of this shed that would be quick, easy, and also easily accessible then a tarp might be a good option. Bubble wrap can be easily purchased at any moving store or even at a dollar store. It would take quite a bit to go around a garden shed. But could still be fairly inexpensive. You would have to tape sheets of it together. However, with it being plastic it would be another fairly inexpensive option that would be great protection against the elements and also be a great protector of your tools. So you liked the idea of a free garden shed. But you aren’t sure if you have all of the tools to make this project a reality for you. Well, that’s okay. Our main goal here is to share what we know and are doing ourselves. But also equip our readers with the ability to build something they need that is functional. So here are a few more ideas to help get your creative juices flowing. Who knows? Maybe you can combine my structure with one of these and build the masterpiece you’ve been desiring. They actually built this shed completely free from pallets. And the really neat part is they even pulled pallets apart to make the siding for the shed. And it looks like a little rustic cabin. If you’ve hung around this blog long then you know how much I love rustic. This is another creation from pallets. It is actually quite large and looks as though it could hold a lot more than a few garden tools. So if you were looking for a larger garden shack then you might want to give this one a look. It appears to be very sturdy. And should be cheap (if not free) to build since it is mainly constructed from pallets. This shed is built mainly from pallets. Because the building materials are pallets it should be really inexpensive to build (if not free as well.) And basically, it will all depend upon what materials you have on hand or accessible to you. But this is another great shed option that would hold pretty much anything. Though it might be a little large as a garden shed. Well, that is it for today guys. I really hope you like the shed my family built. And I also hope that you could build it as 2. Metal

3. Plastic Bottles

4. Tarp
5. Bubble Wrap
More Inexpensive Garden Shed Ideas
1. Pallet Shed
2. The Large Pallet Shed

3. The Blue Pallet Shed


Original article and pictures take http://morningchores.com/how-to-build-a-shed/ site
>
Комментариев нет:
Отправить комментарий