STEP 1: To make the storage box you will need the following items:
- (1) 4’x8′ sheet of quality pine plywood 3/4″ thick
- (6) 2″x1″-8′ pre-primed trim board
- (1) 5/8″ x8′ PVC quarter round trim
- (2) 3.5″ galvanized utility hinges
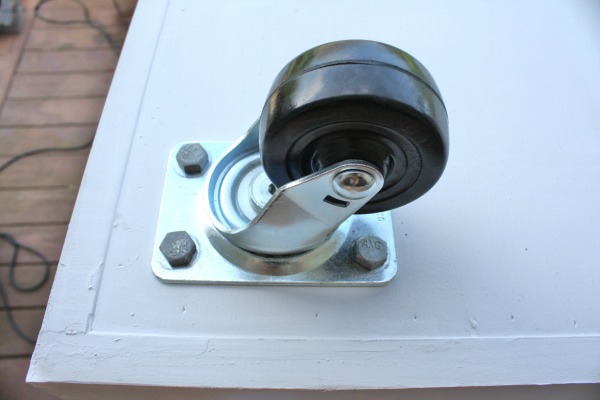
- (2) 2.5″ rubber wheel swivel casters
- (2) 2.5″ rubber wheel swivel casters with locks
- Finishing nail gun
- Skil saw or table saw
- miter box or miter saw
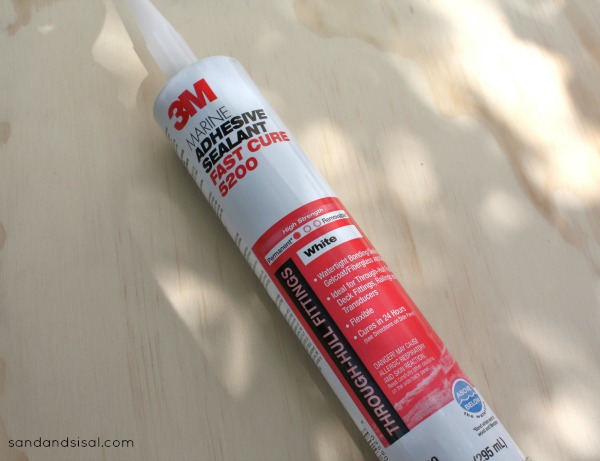
- 3M Marine adhesive
- quality primer
- exterior paint
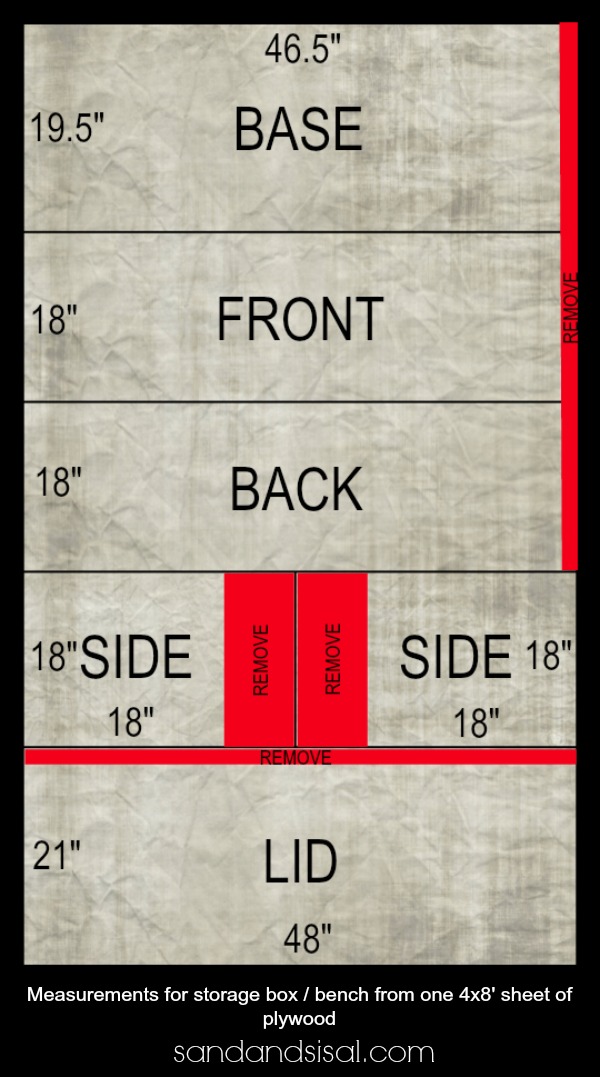
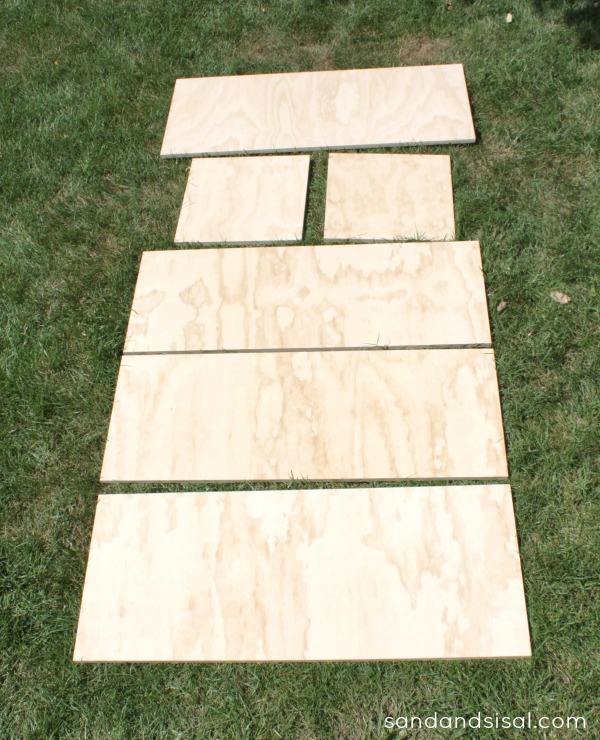
Let’s get started! To keep the cost of the box down we worked hard on our dimensions so that we would use only one sheet of plywood, yet be able to build a box that would hold all of our cushions. I drew out a diagram for you below. Cut each panel to these measurements and you will have minimal waste left over. (Just don’t mess up or you’ll be buying more plywood!!!)
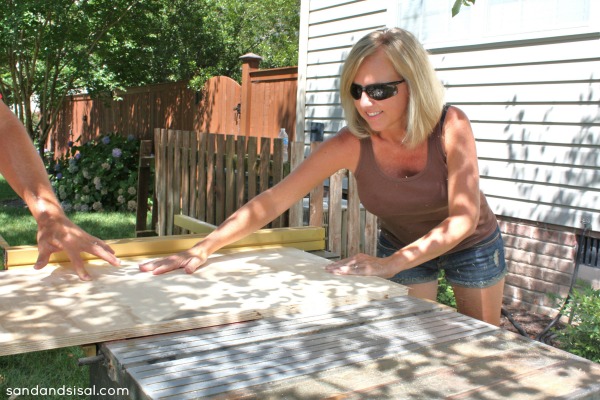
Now I used our table saw but you can easily use a skil saw also. Always have someone else help you when cutting, for safety and accuracy. Wearing proper 3M Tekk Protection eye wear is a must! The sawdust will be flying everywhere. I’m wearing my 3M Tekk Protection Holmes Premium Safety Glasses. We always have several sitting around so we never have the excuse not to protect our eyes. They look good and fit just like sunglasses. I am also wearing the safety ear buds that come with the glasses.
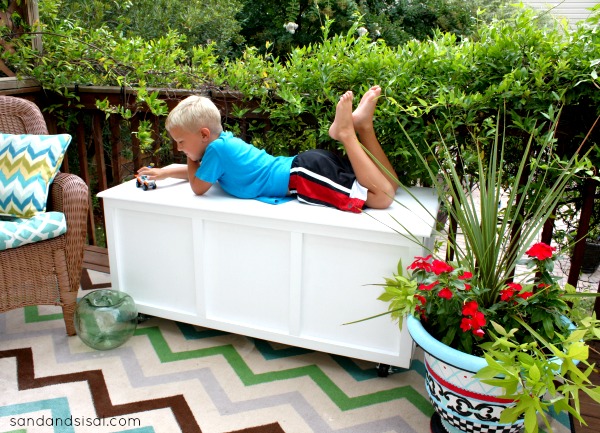
STEP 2 ASSEMBLE: Now because I will be using this storage box/bench outside on my deck, I want it to be as weather resistant as I can make it. We were going to use liquid nails, but decided to use the 3M Marine Adhesive Sealant. We’ve used it on our boat and know how very effective and strong it is, so why not use for an outdoor storage box?
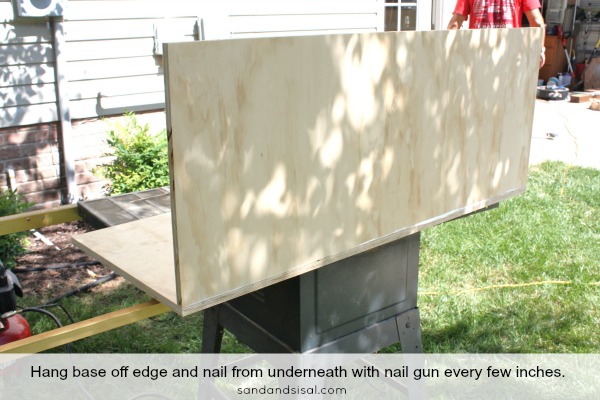
You will lay your base panel on an elevated surface and be sure to let it hang off the edge a bit. You’ll see why in a minute. Run a bead of adhesive near the edge of a long side.

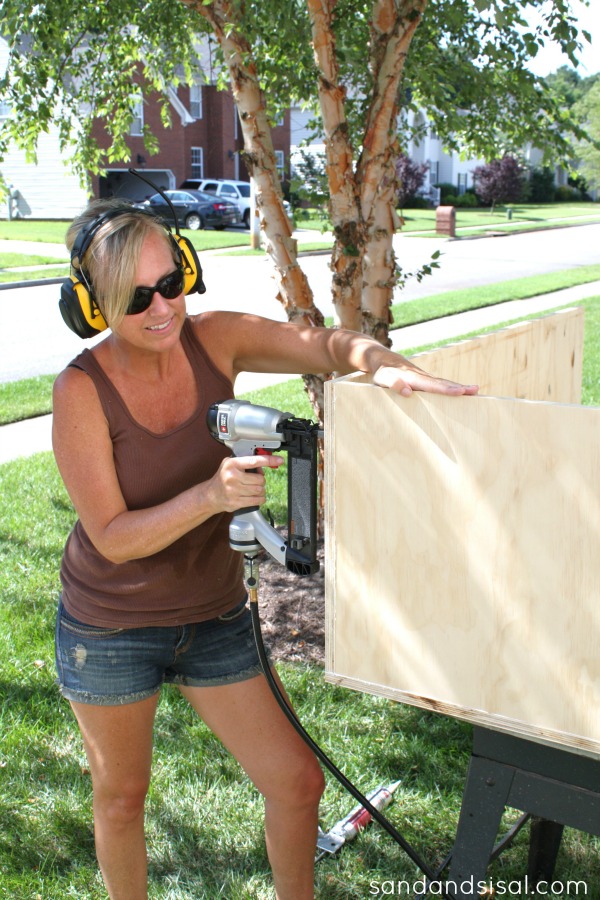
Next, stand the back panel along that edge you just laid the adhesive on. Have someone hold it steady for you and secure with nails every few inches. Use a nail gun with finishing nails for this.
You will be doing a lot of nailing and it gets loud! Protect your ears with ear buds or this awesome 3M Tekk Protection WorkTunes™ Hearing Protectors. I can hook it up to my iPhone or use the radio with over 50 pre-set channels. My kids all fight over the WorkTunes™ when they mow the yard, so we got a second one for them.
Continue around the box, next with the sides, applying sealant to the every edge where the panels meet, and then nailing.
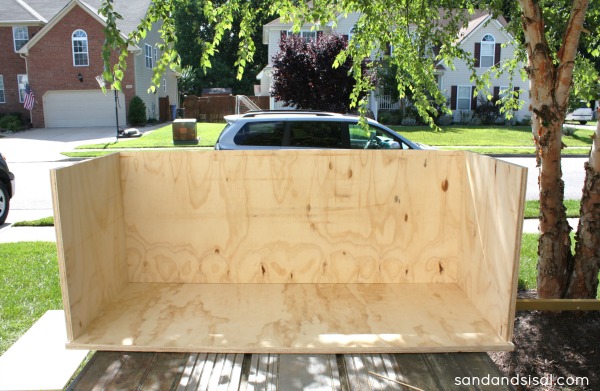
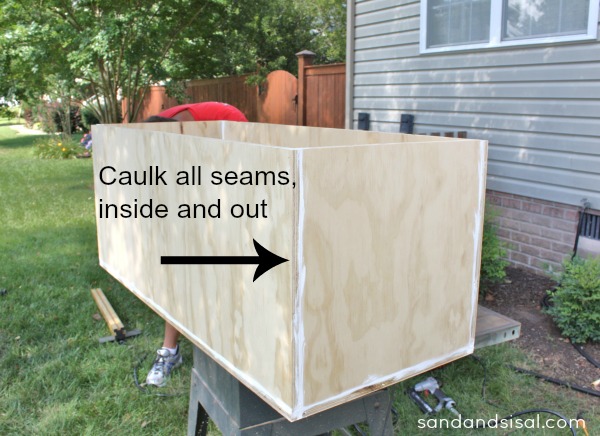
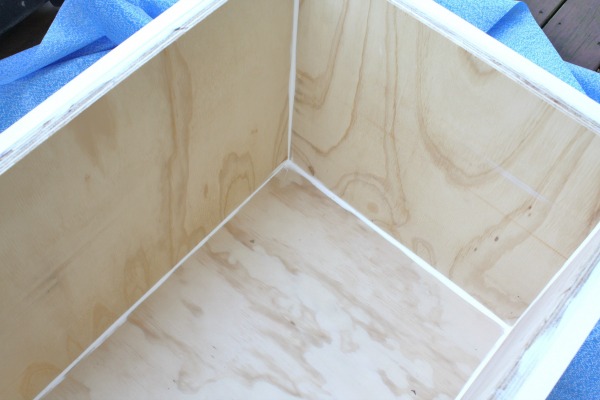
Caulk all the seams, inside and out, with the same sealant. You could always use paintable caulk for this part, but the 3M Marine Sealant takes care it all. All to dry.
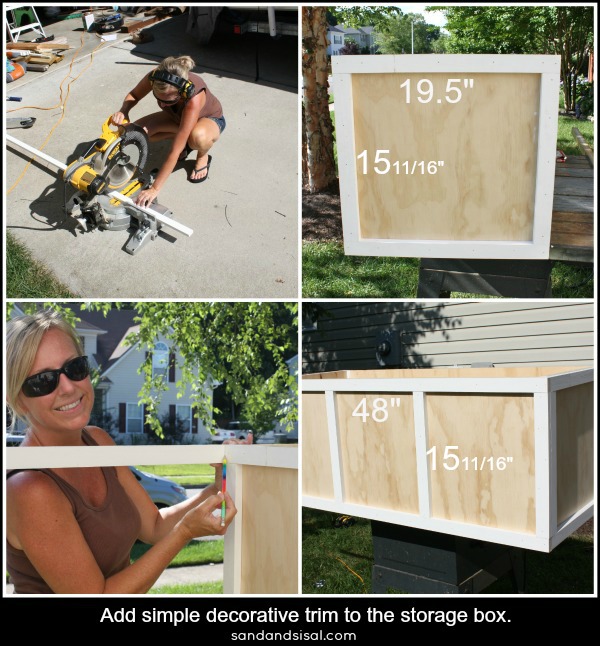
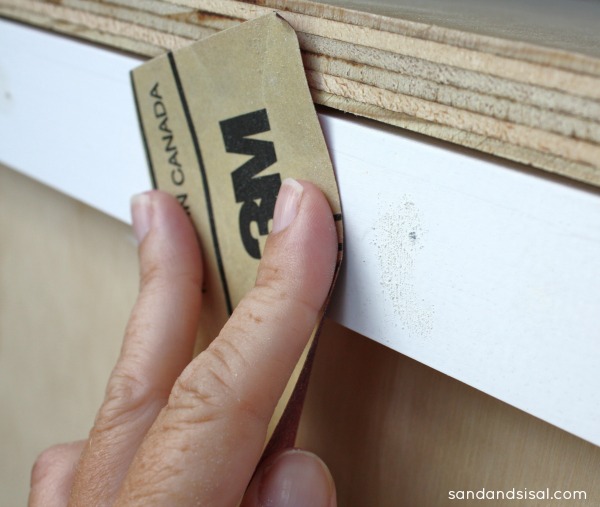
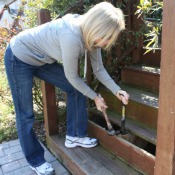
STEP 3 DETAIL & PAINT: Congrats, you just made a box. But a box is boring. Let’s add a bit of pizzazz to it with some simple trim. Cut your trim board with straight cuts, gluing and nailing the top and bottom trim boards first, then measure the sides and cut those trim boards to length. TIP: For easy and accurate measuring of the trim, hold the trim board in place and then mark with a pencil where you have to cut. (see the lower left pic below). This method will give you an accurate cut and save you the hassle of pulling out the measuring tape every 2 minutes!
For added strength and rigidity, cut two 1×2″ trim boards and nail to the underside of the lid. (See the knots? This is why you want a really good piece of plywood. These knots were the only one’s on the entire sheet, so we purposely chose to hide them on the underside of the lid. They could always be filled with wood filler if you prefer.)

Fill all nail holes on your storage box with 3M Wood Filler and then lightly sand where you patched with 3M Advanced Abrasives sandpaper.
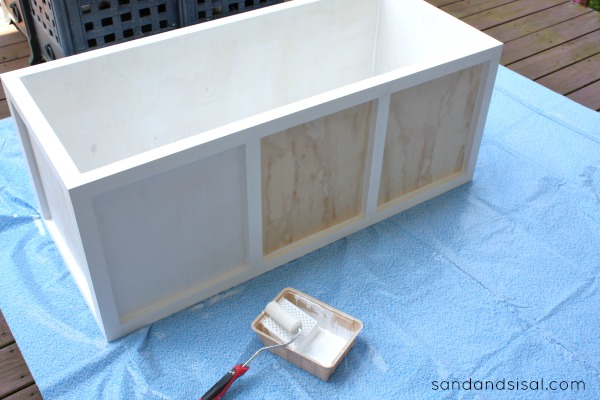
Place the box on a ScotchBlue drop cloth and prime every surface of the box with 2 coats of quality primer, even the underside. Next give your box at least 2 coats of good exterior latex paint.
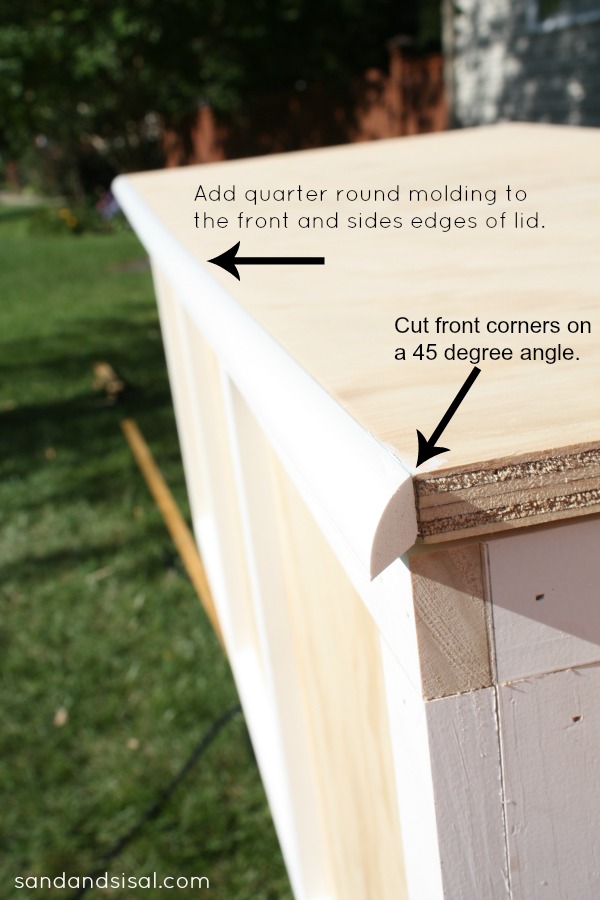
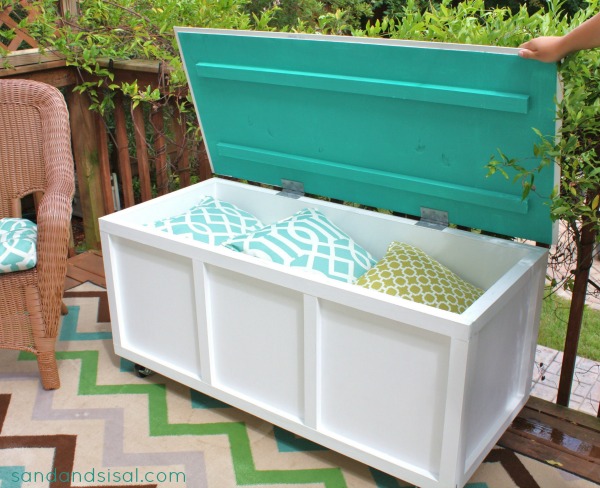
For a fun pop of color I painted the underside of lid in “Provance” Annie Sloan Chalk Paint. I didn’t want to get the turquoise paint on the underside of the quarter round molding trim of the lid, so I taped it off with ScotchBlue™ Painter’s Tape and then

Find out more awesome projects at 3MDIY.com and be sure to visit their “Experts Corner” where you see me featured along with some awesome DIY-ers.
Check out my other 3M DIY projects!
Kim
This post is a collaboration with 3M DIY. To keep up-to-date on projects, products and sampling visit 3MDIY.com.
Original article and pictures take http://sandandsisal.com/2013/08/diy-storage-box-bench.html site
>
Комментариев нет:
Отправить комментарий