Check the Location and Equipment Wire the Panel Complete the Wiring from the Panel Install the Electrical Panel Wire the Inverter Wire the Interior Fixtures
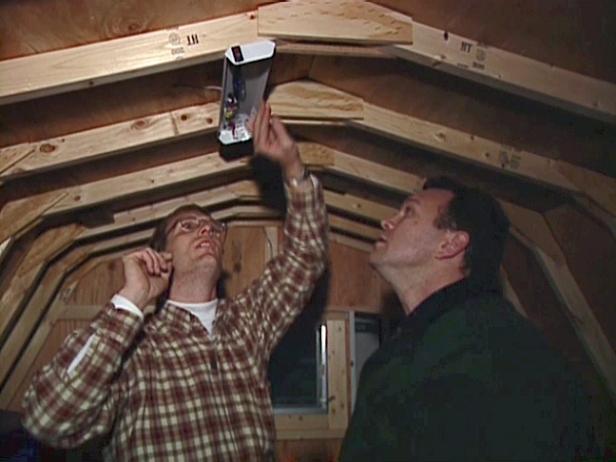
Attach the lighting fixture to the shed ceiling
. Mount the electrical junction box that will house the timer switch near the door. Route 14-gauge wires from the fixture to the junction box. Clamp the wires to the box, strip about 3/4” from the black and white wires, and attach them to the timer switch as indicated on the label. Attach the bare ground wire to the green ground screw on the switch. Route 14-gauge wires from the charge controller to the overhead light fixture. At the controller, connect the red wire to the positive terminal, and the black wire to the negative terminal. At the fixture, connect the wires (black to black and white to white) to the wires from the timer switch. Secure these wire connections with wire nuts. Twist the bare ground wires together and attach them to the metal fixture. Before testing the lights and outlet power, double-check all connections. Original article and pictures take http://www.diynetwork.com/how-to/how-to-create-a-storage-shed/index.html site


Комментариев нет:
Отправить комментарий