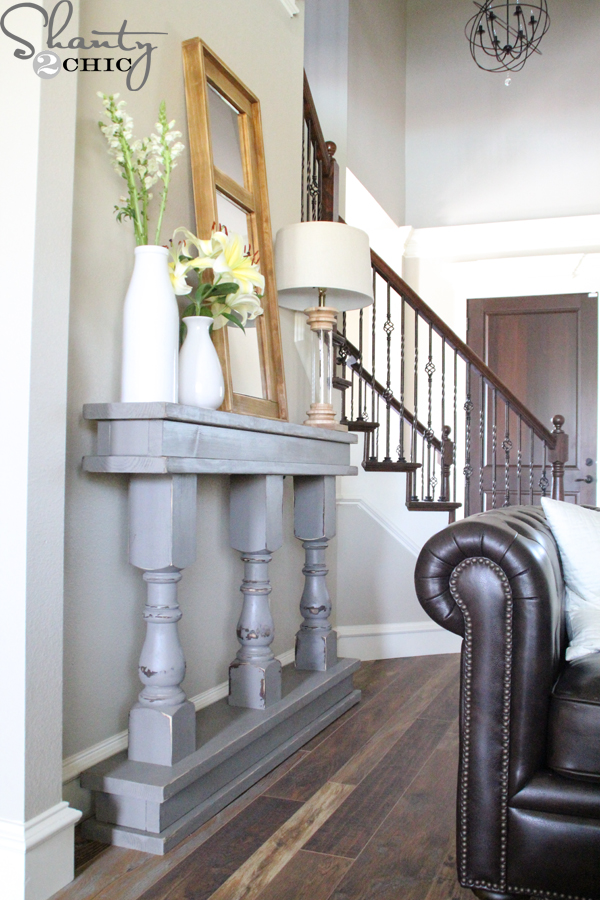
Well holy moly I’m in love with it!! *If you like the mirror propped on top, click HERE to see how I made it!*


You can also click HERE for the Free Plans!
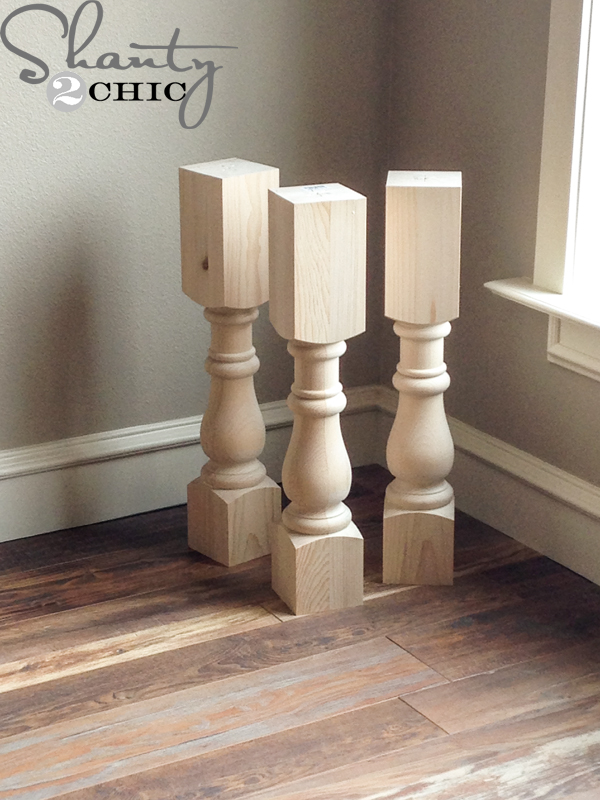
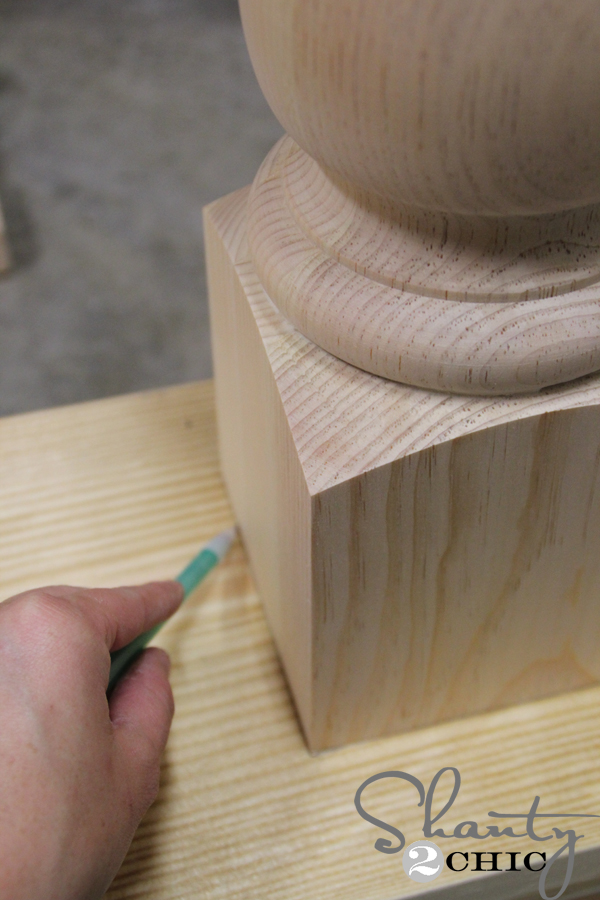
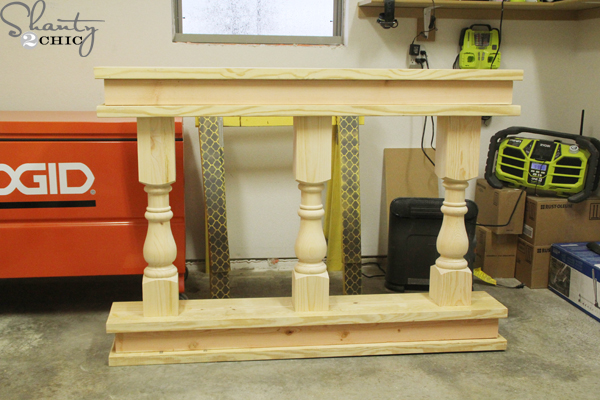
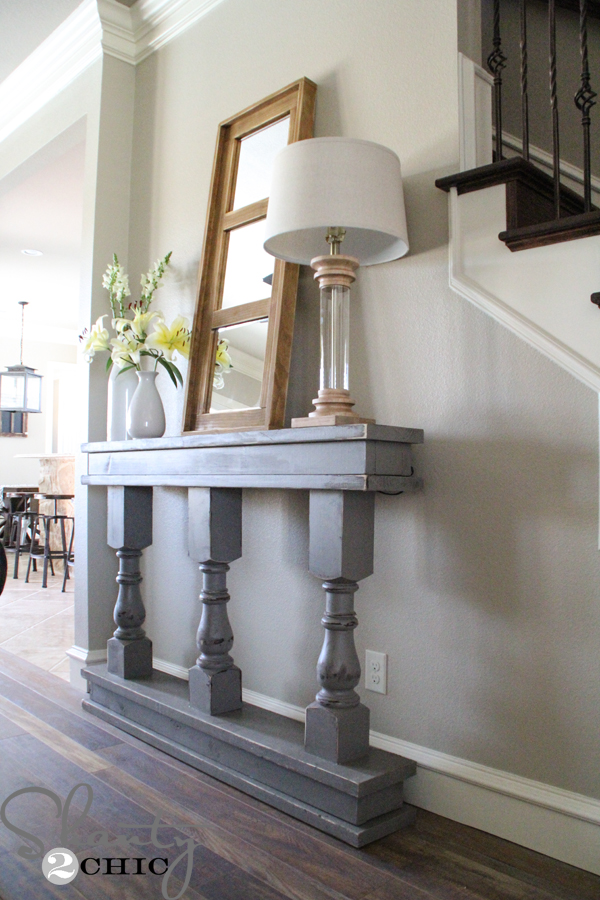
When I said this table was easy, I wasn’t kidding! It’s built with these awesome turned legs that I ordered from Osborne, 2×4’s and 2×10’s! That’s it friends! You can click HERE to order the turned legs. I ordered the knotty pine – they are about $60 each but that is the bulk of the cost with this table!
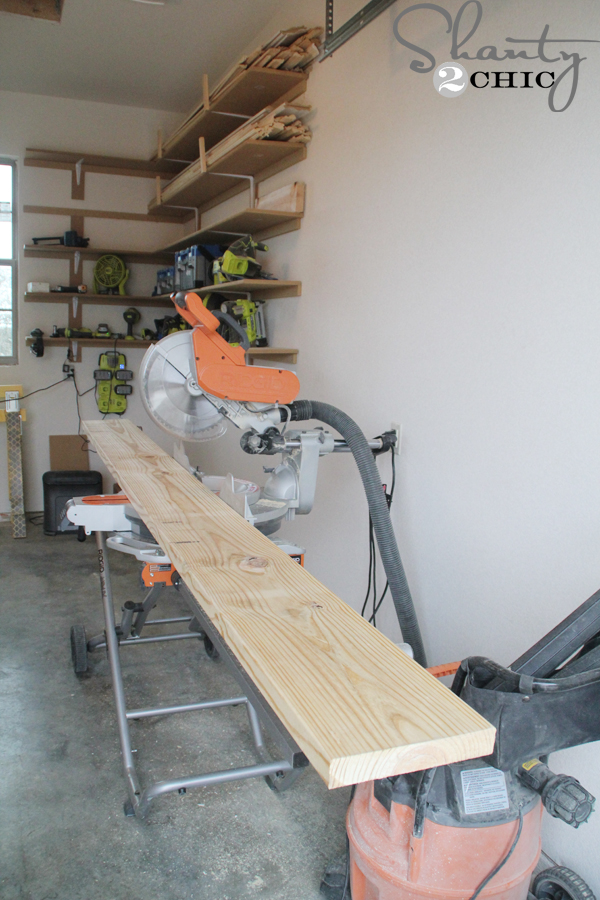
Here’s how I built the table!

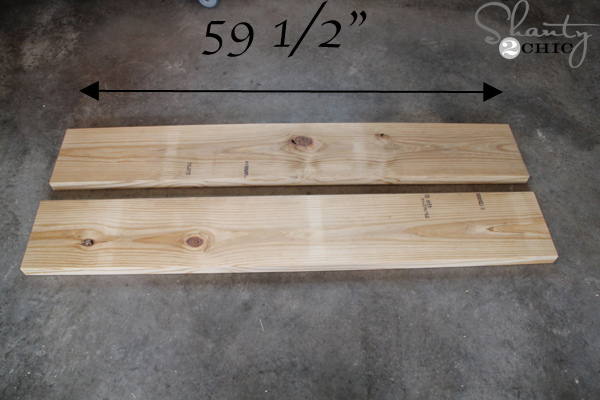
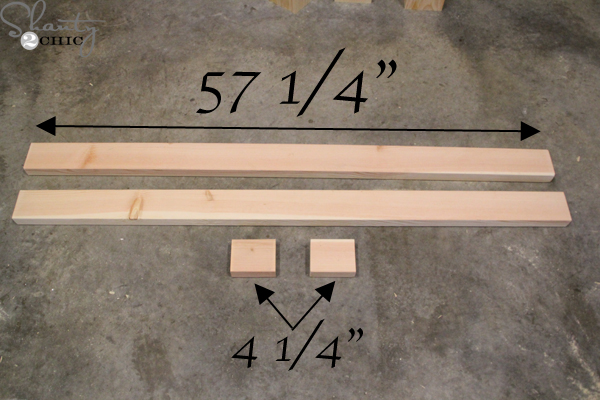
Next, I cut 4 2×4’s @ 57 1/4″ and 4 pieces at 4 1/4″. That’s it for cuts We usually say measure and cut as you go but for this project, you can go ahead and make all of your cuts.
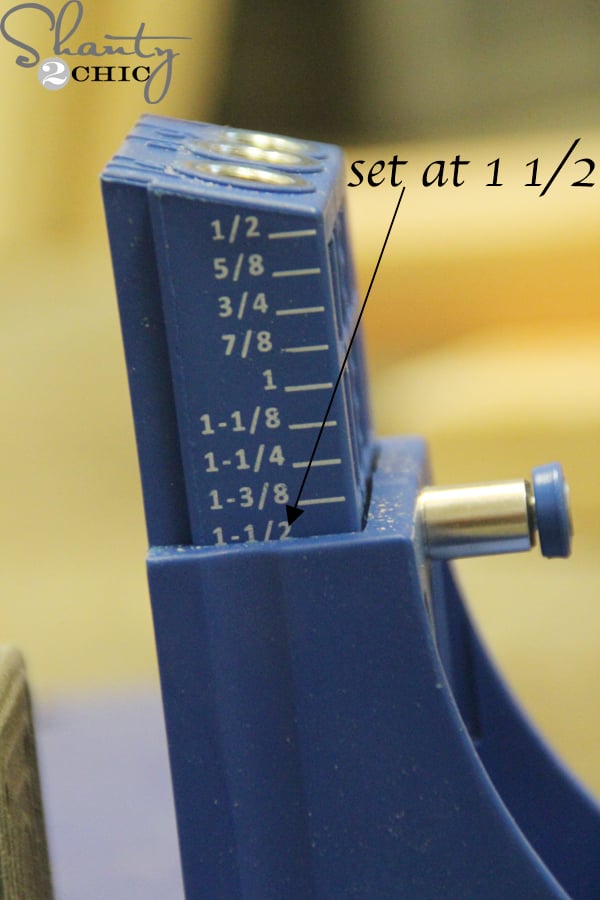
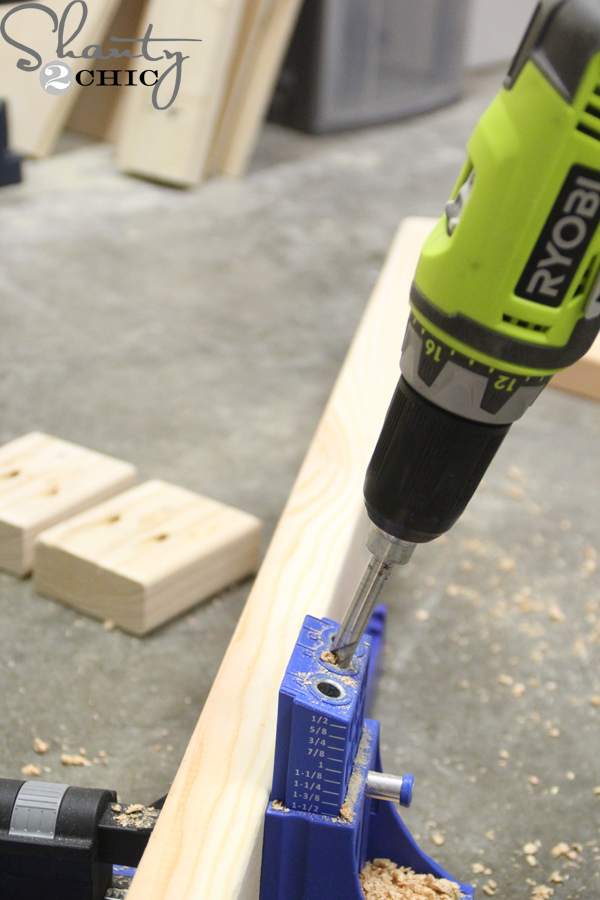
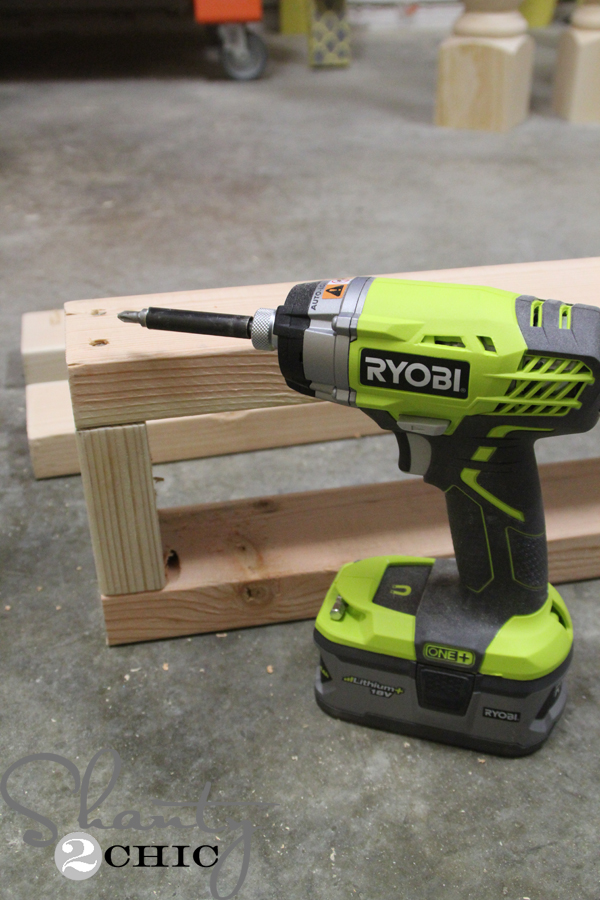
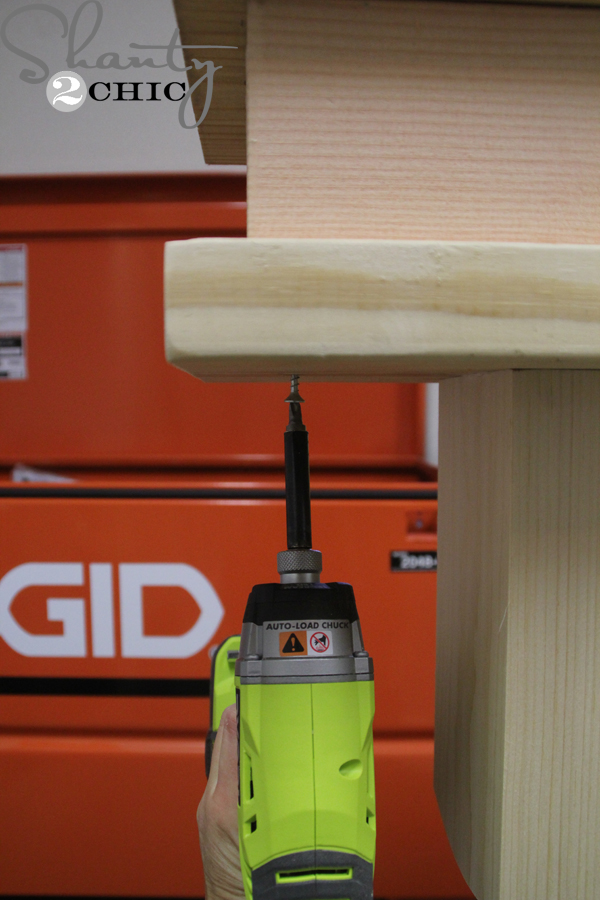
Start by connecting the 2×4’s. I used 3″ on the side that will face the wall and used 2 1/2″ pocket hole screws on the other side. I like to use my Ryobi Impact Driver when I’m attaching 2x’s! It’s one of my new favorite tools and It saves my arms Build two of these and set them aside.

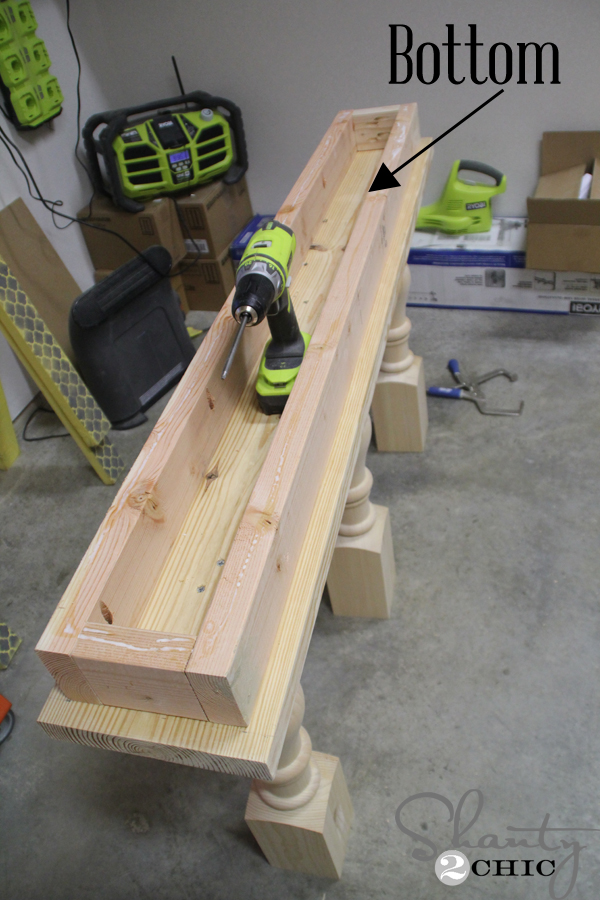
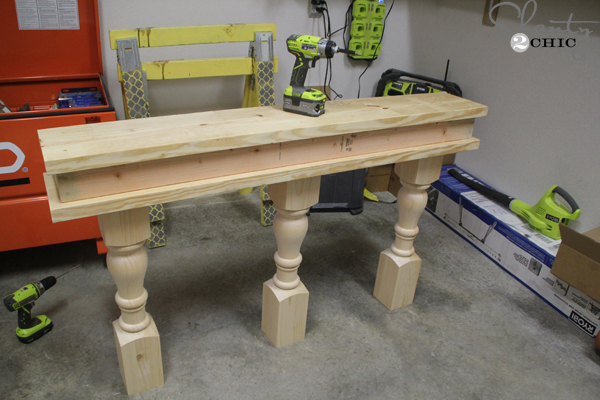
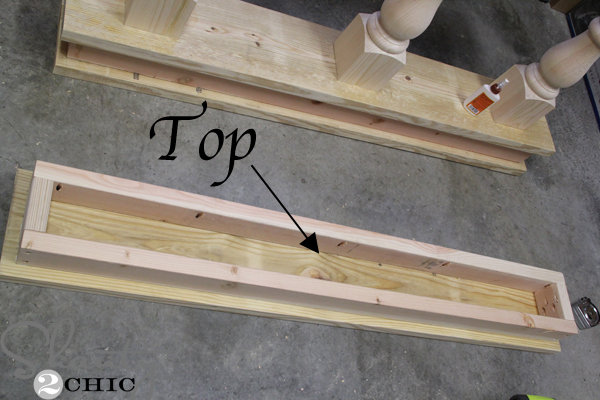
Now, flip the console over so the base is on the ground. Attach a 2×10″ to the top of the legs using 3″ wood screws and wood glue. Then, attach the other 2×4 assembly with 2 1/2″ pocket holes to the final 2×10 board. This 2×10 will be the very top of our console so we don’t want any screw holes.
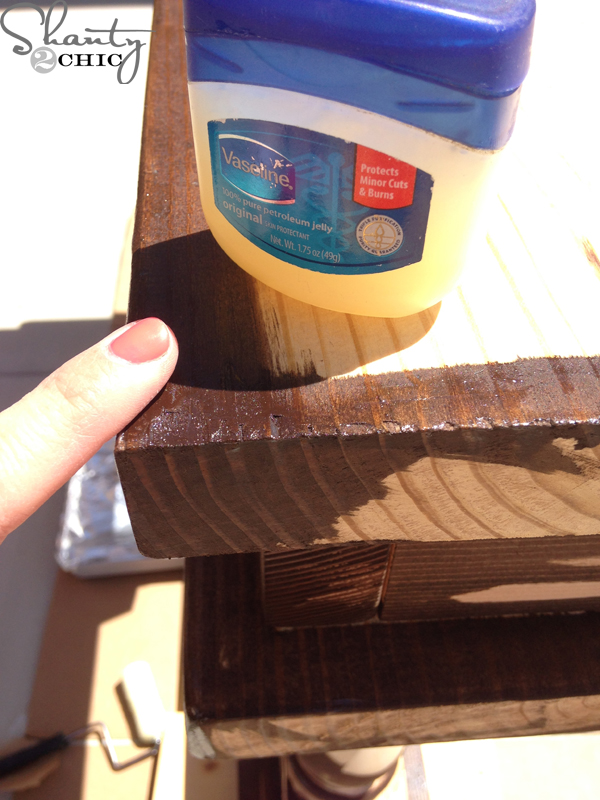
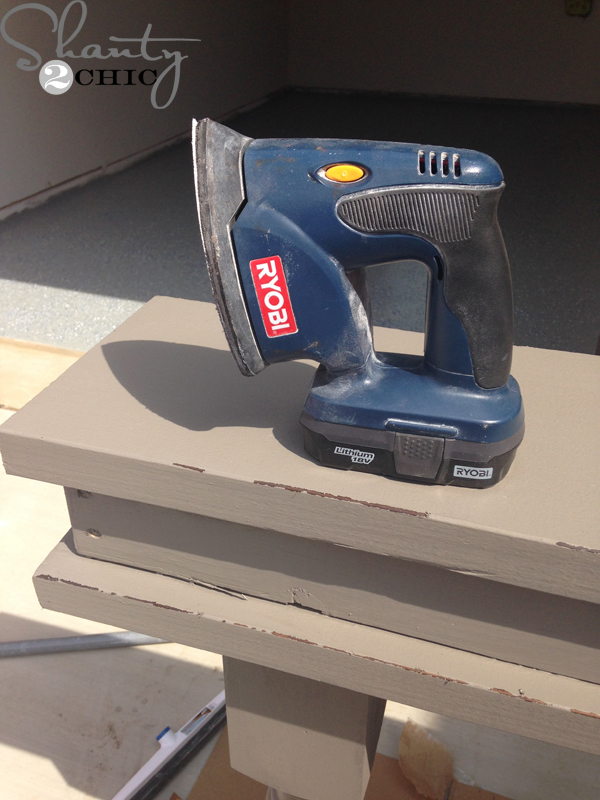
I used one of our favorite paint techniques to finish this off! I applied a bit of Rust-Oleum Dark Walnut stain around the edges of the piece. Once it was dry, I applied a little bit of vaseline on the edges and then painted two coats of Seine paint by Valspar,

EEEEEEKKKKK!!!!! I LOVE, LOVE, LOVE this! It’s the perfect table for anyone that has a narrow spot that needs a little something And, it’s super fun to decorate!
I hope you all love this console! Make sure to print your FREE Plans HERE! A huge thanks to Jay from Jay’s Custom Creations for taking our custom plans and converting them into PDF form for you guys! We always appreciate your shares and pins! Hope you enjoy
Do you love the wood floors in my living room? You can click HERE to find out all about them!
Thanks for stopping by!
Ashley
Original article and pictures take http://www.shanty-2-chic.com/2014/04/diy-console-table.html site
>
Комментариев нет:
Отправить комментарий