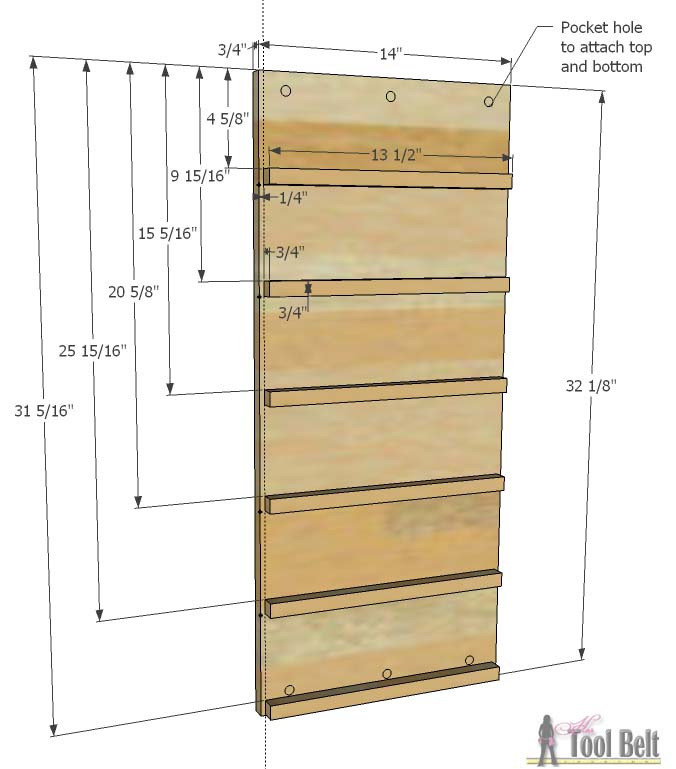
On the two 14″ x 18″ pieces, mark in 2 1/2″ from the 14″ sides. Use wood glue and 1 1/4″ pocket screws to attach the side panels to the top and bottom.
Step 2
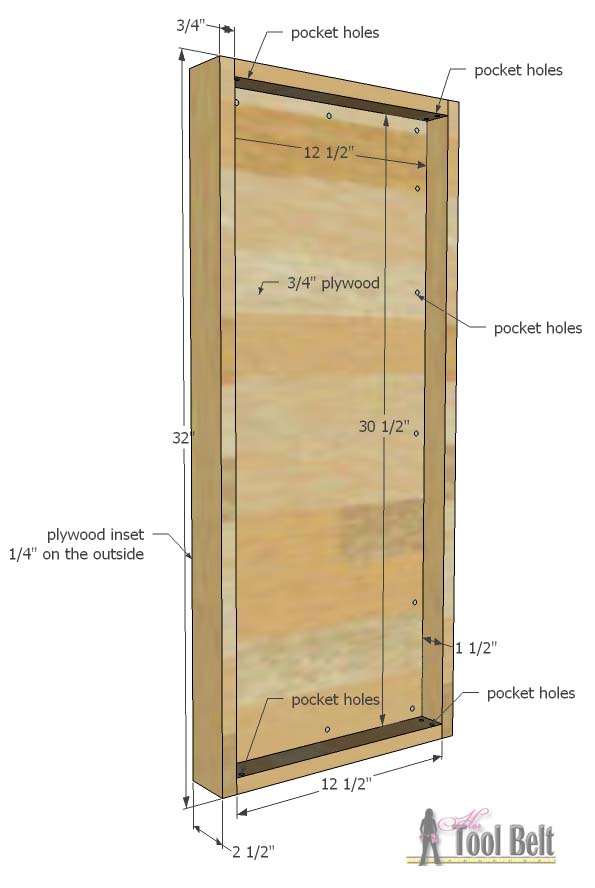
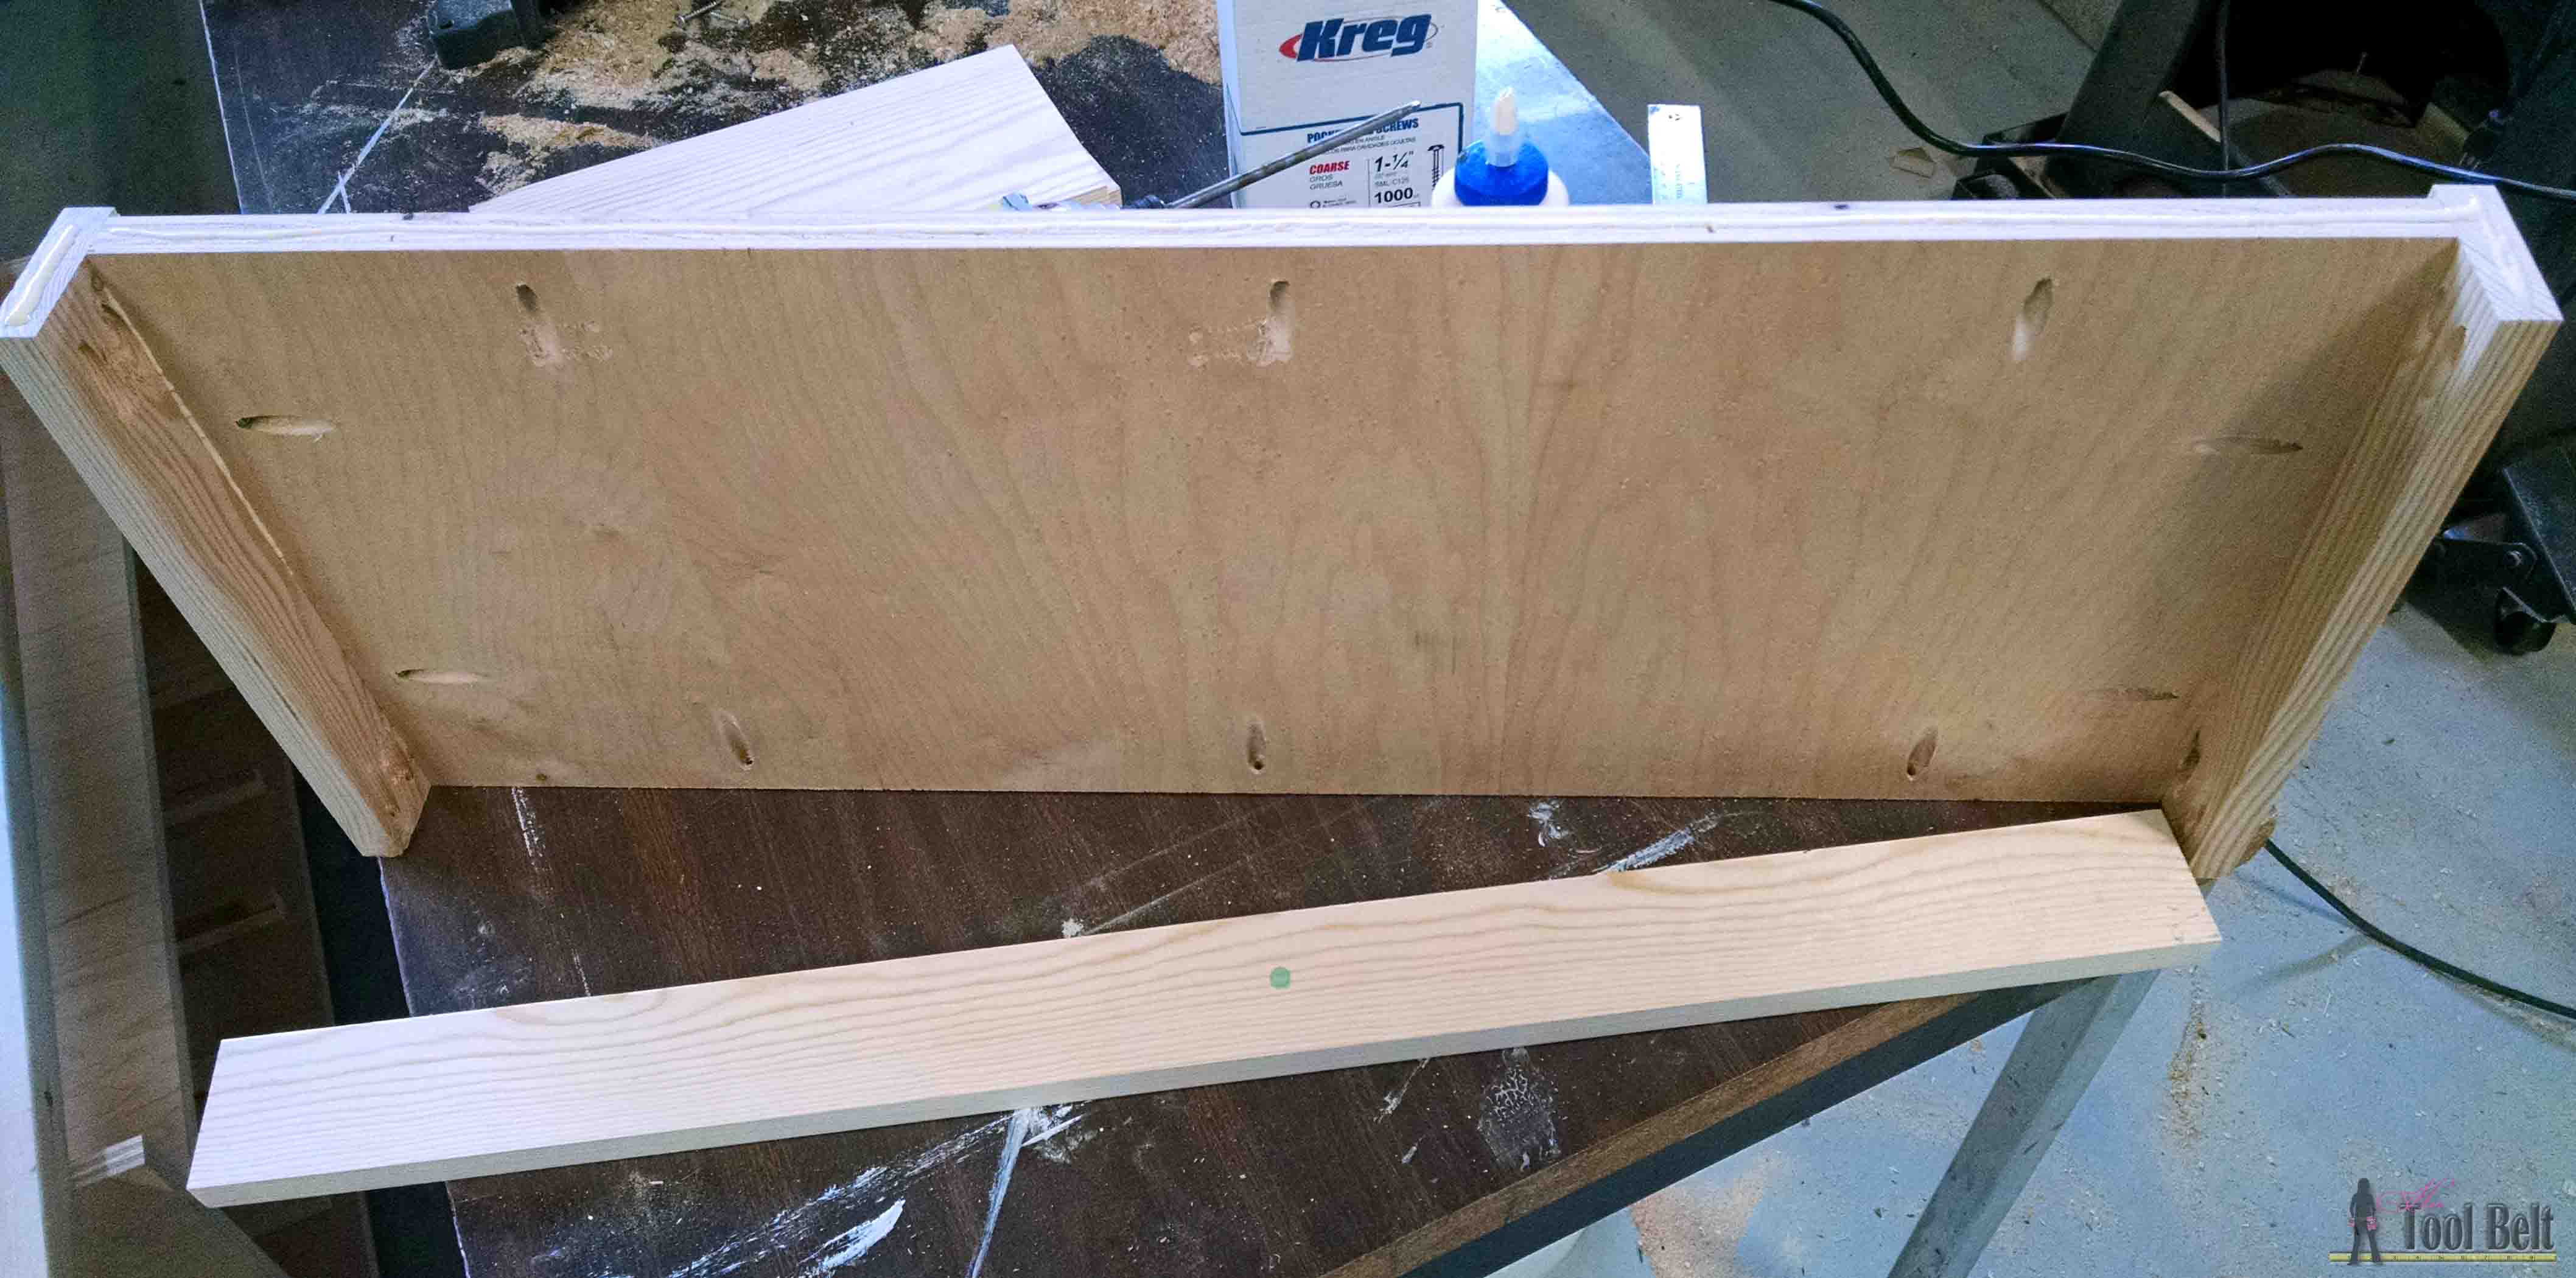
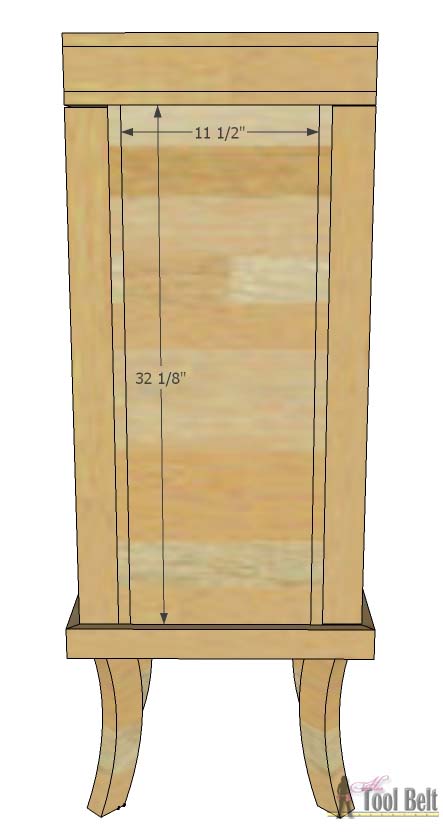
Drill pocket holes around the inside face of the 12 1/2″ x 30 1/2″ door panel. Drill pocket holes on both ends of the 2 1/2″ x 12 1/2″ door pieces. Assemble the door with wood glue and 1 1/4″ pocket screws. I inset the front of the door panel 1/4″ to add a little detail.
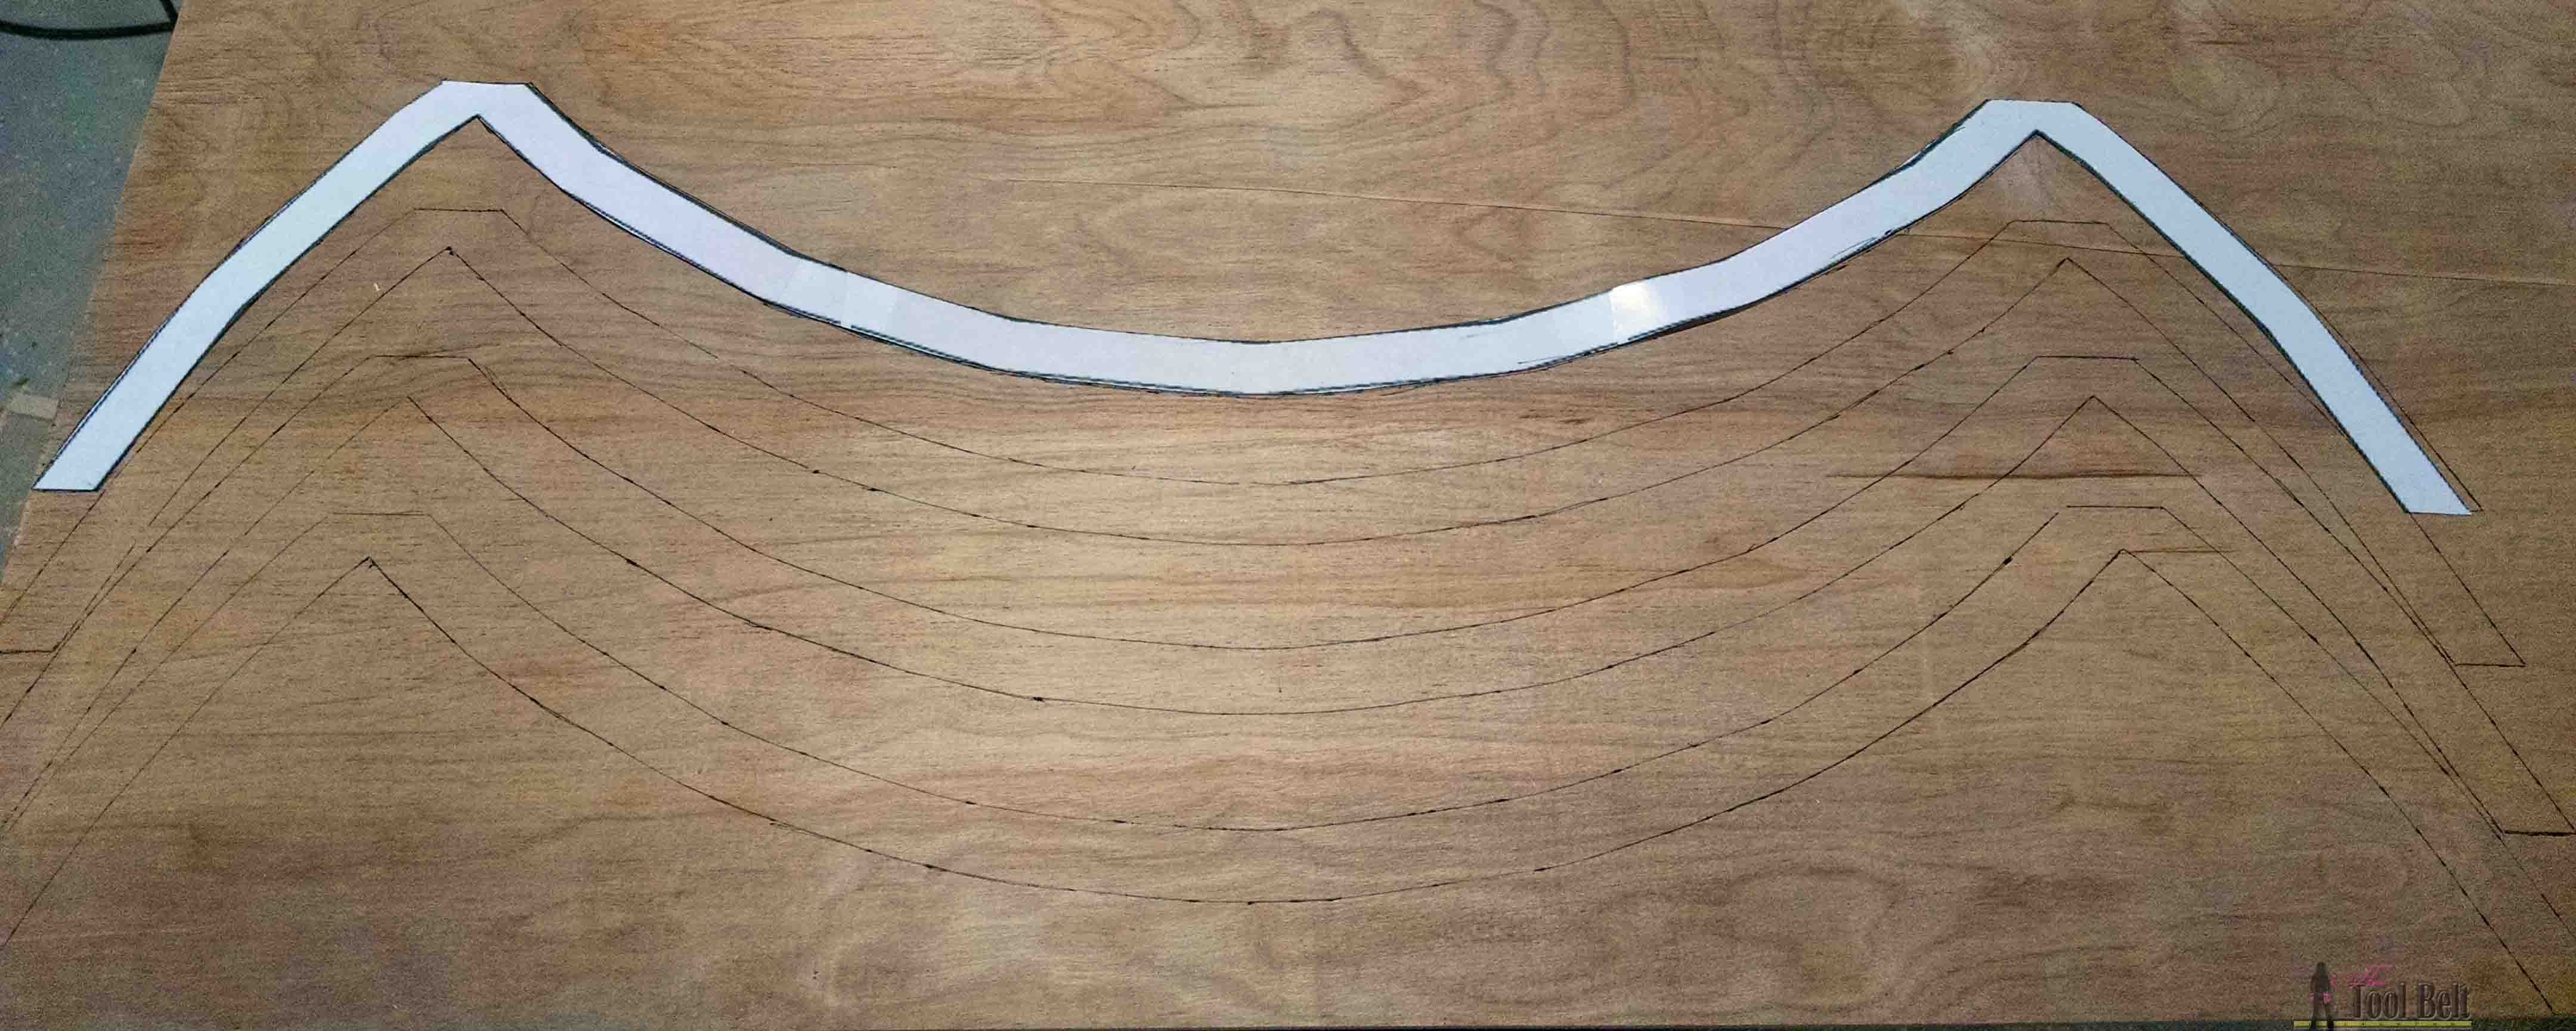
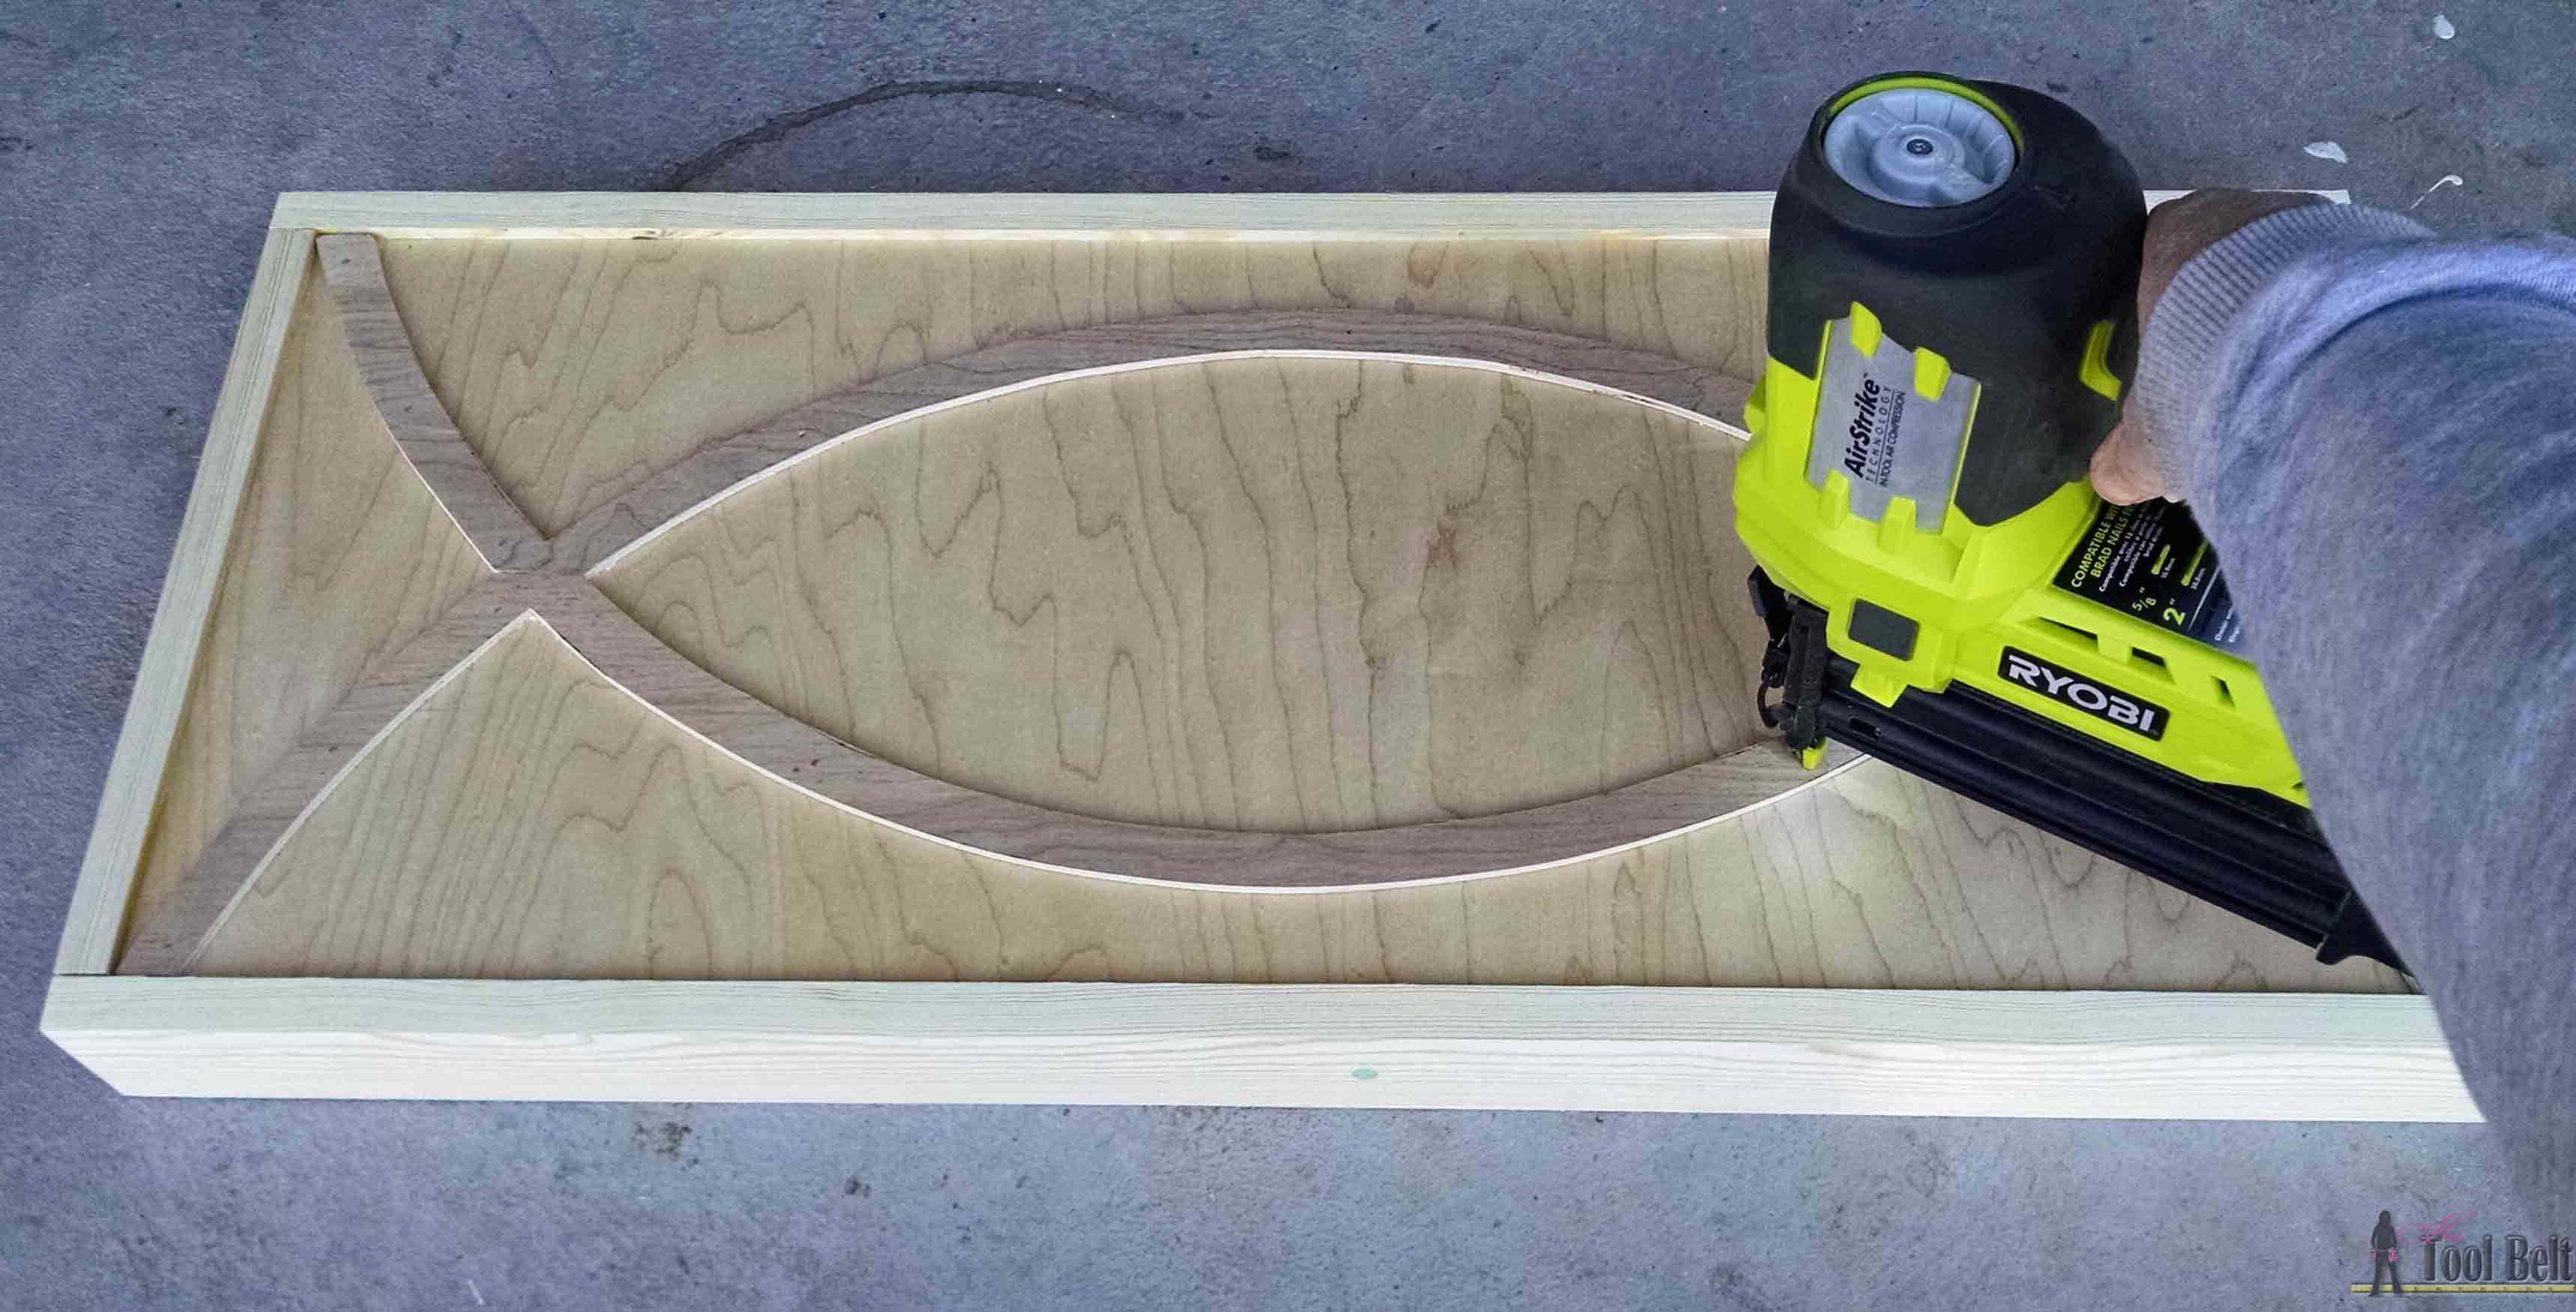
3. Line up the pattern, tape together, cut out the curve (make it smooth) and trace onto the 3/16″ plywood. Use a band saw, scroll saw or jig saw to cut out the molding and sand smooth.
Glue and secure to the door with 5/8″ or 3/4″ brad nails.
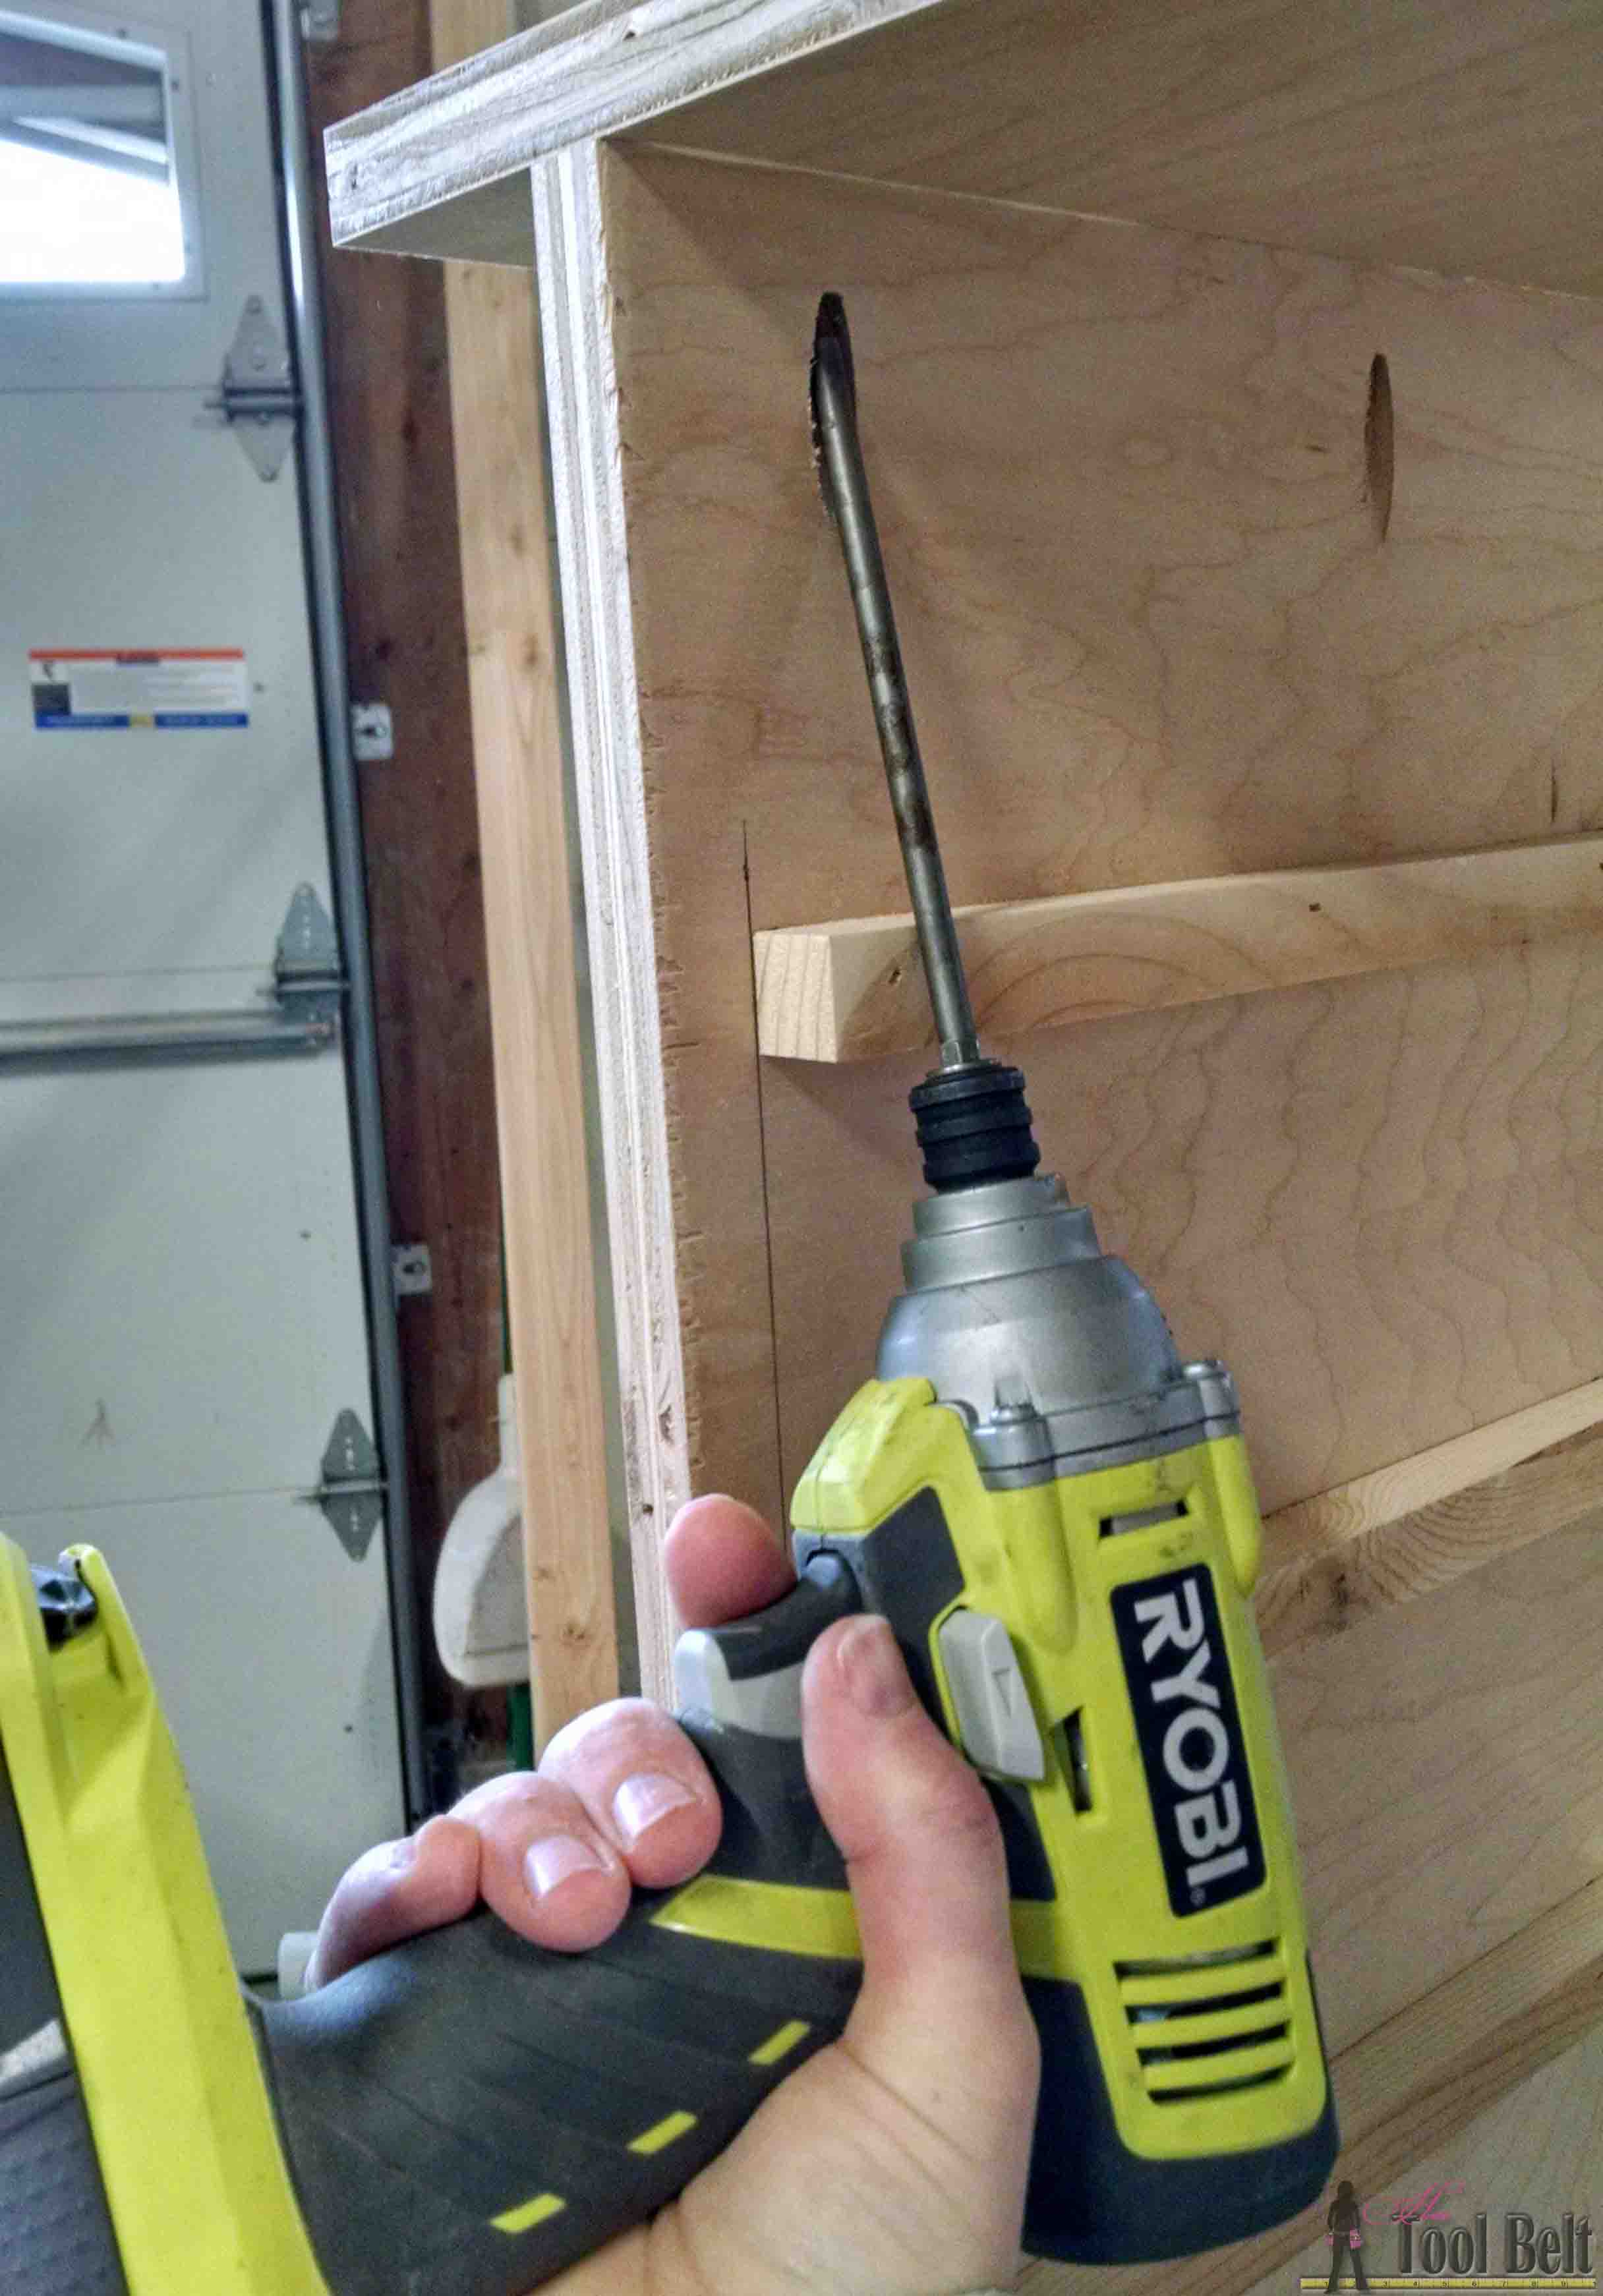
Mount the door onto the side panel of the cabinet with hinges. You’ll want a small gap above and below the door, so it can swing freely. Add magnet catch to keep the door closed.
Step 3
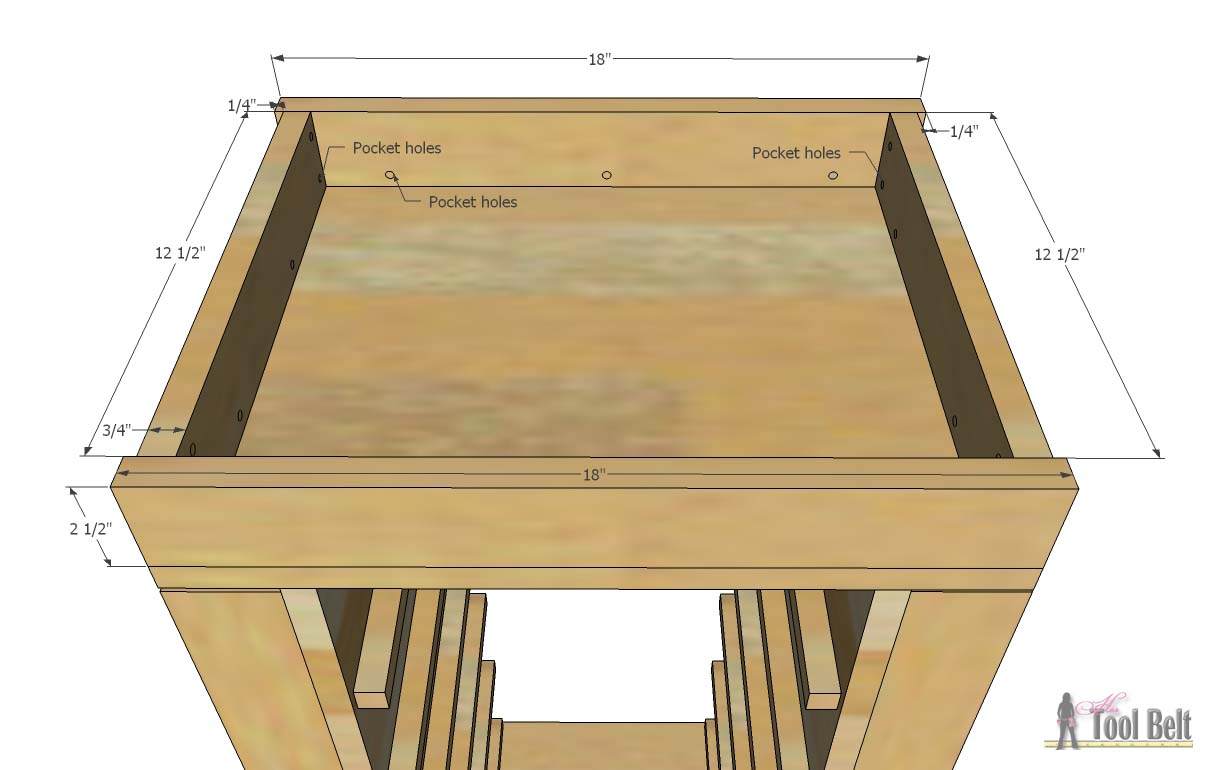
Drill pocket holes in both ends of the 2 1/2″ x 12 1/2″ pieces. Also drill pocket holes in the 2 1/2″ x 12 1/2″ and 2 1/2″ x 18″ pieces to attach to the 14″ x 18″ piece. Use wood glue and 1 1/4″ pocket screws to attach together. I inset the 12 1/2″ piece 1/4″ just to add detail.
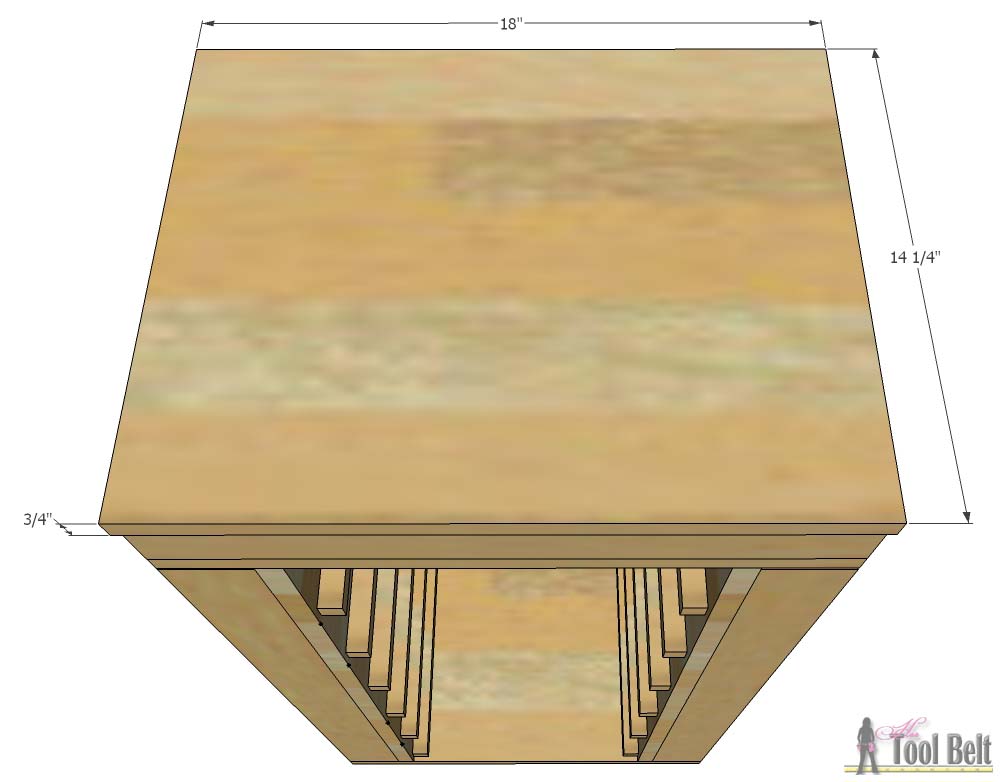
Attach the top piece with hinges, there is a 1/4″ hang over on the front.
Step 4
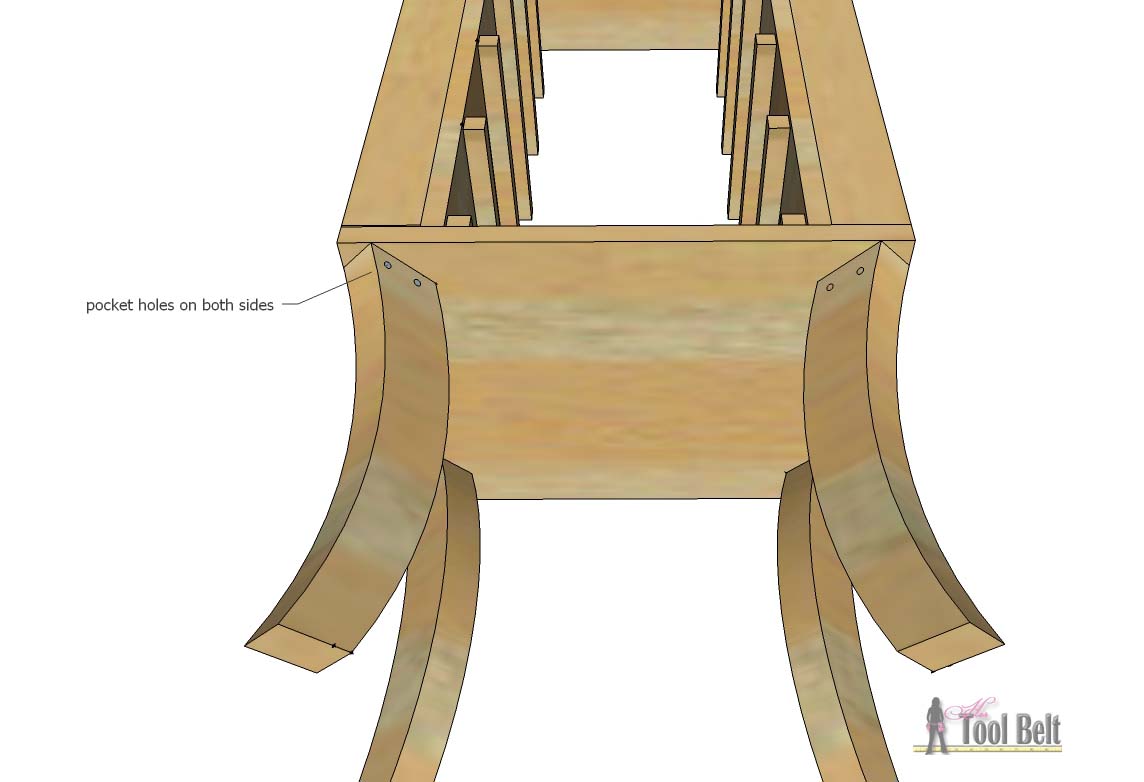
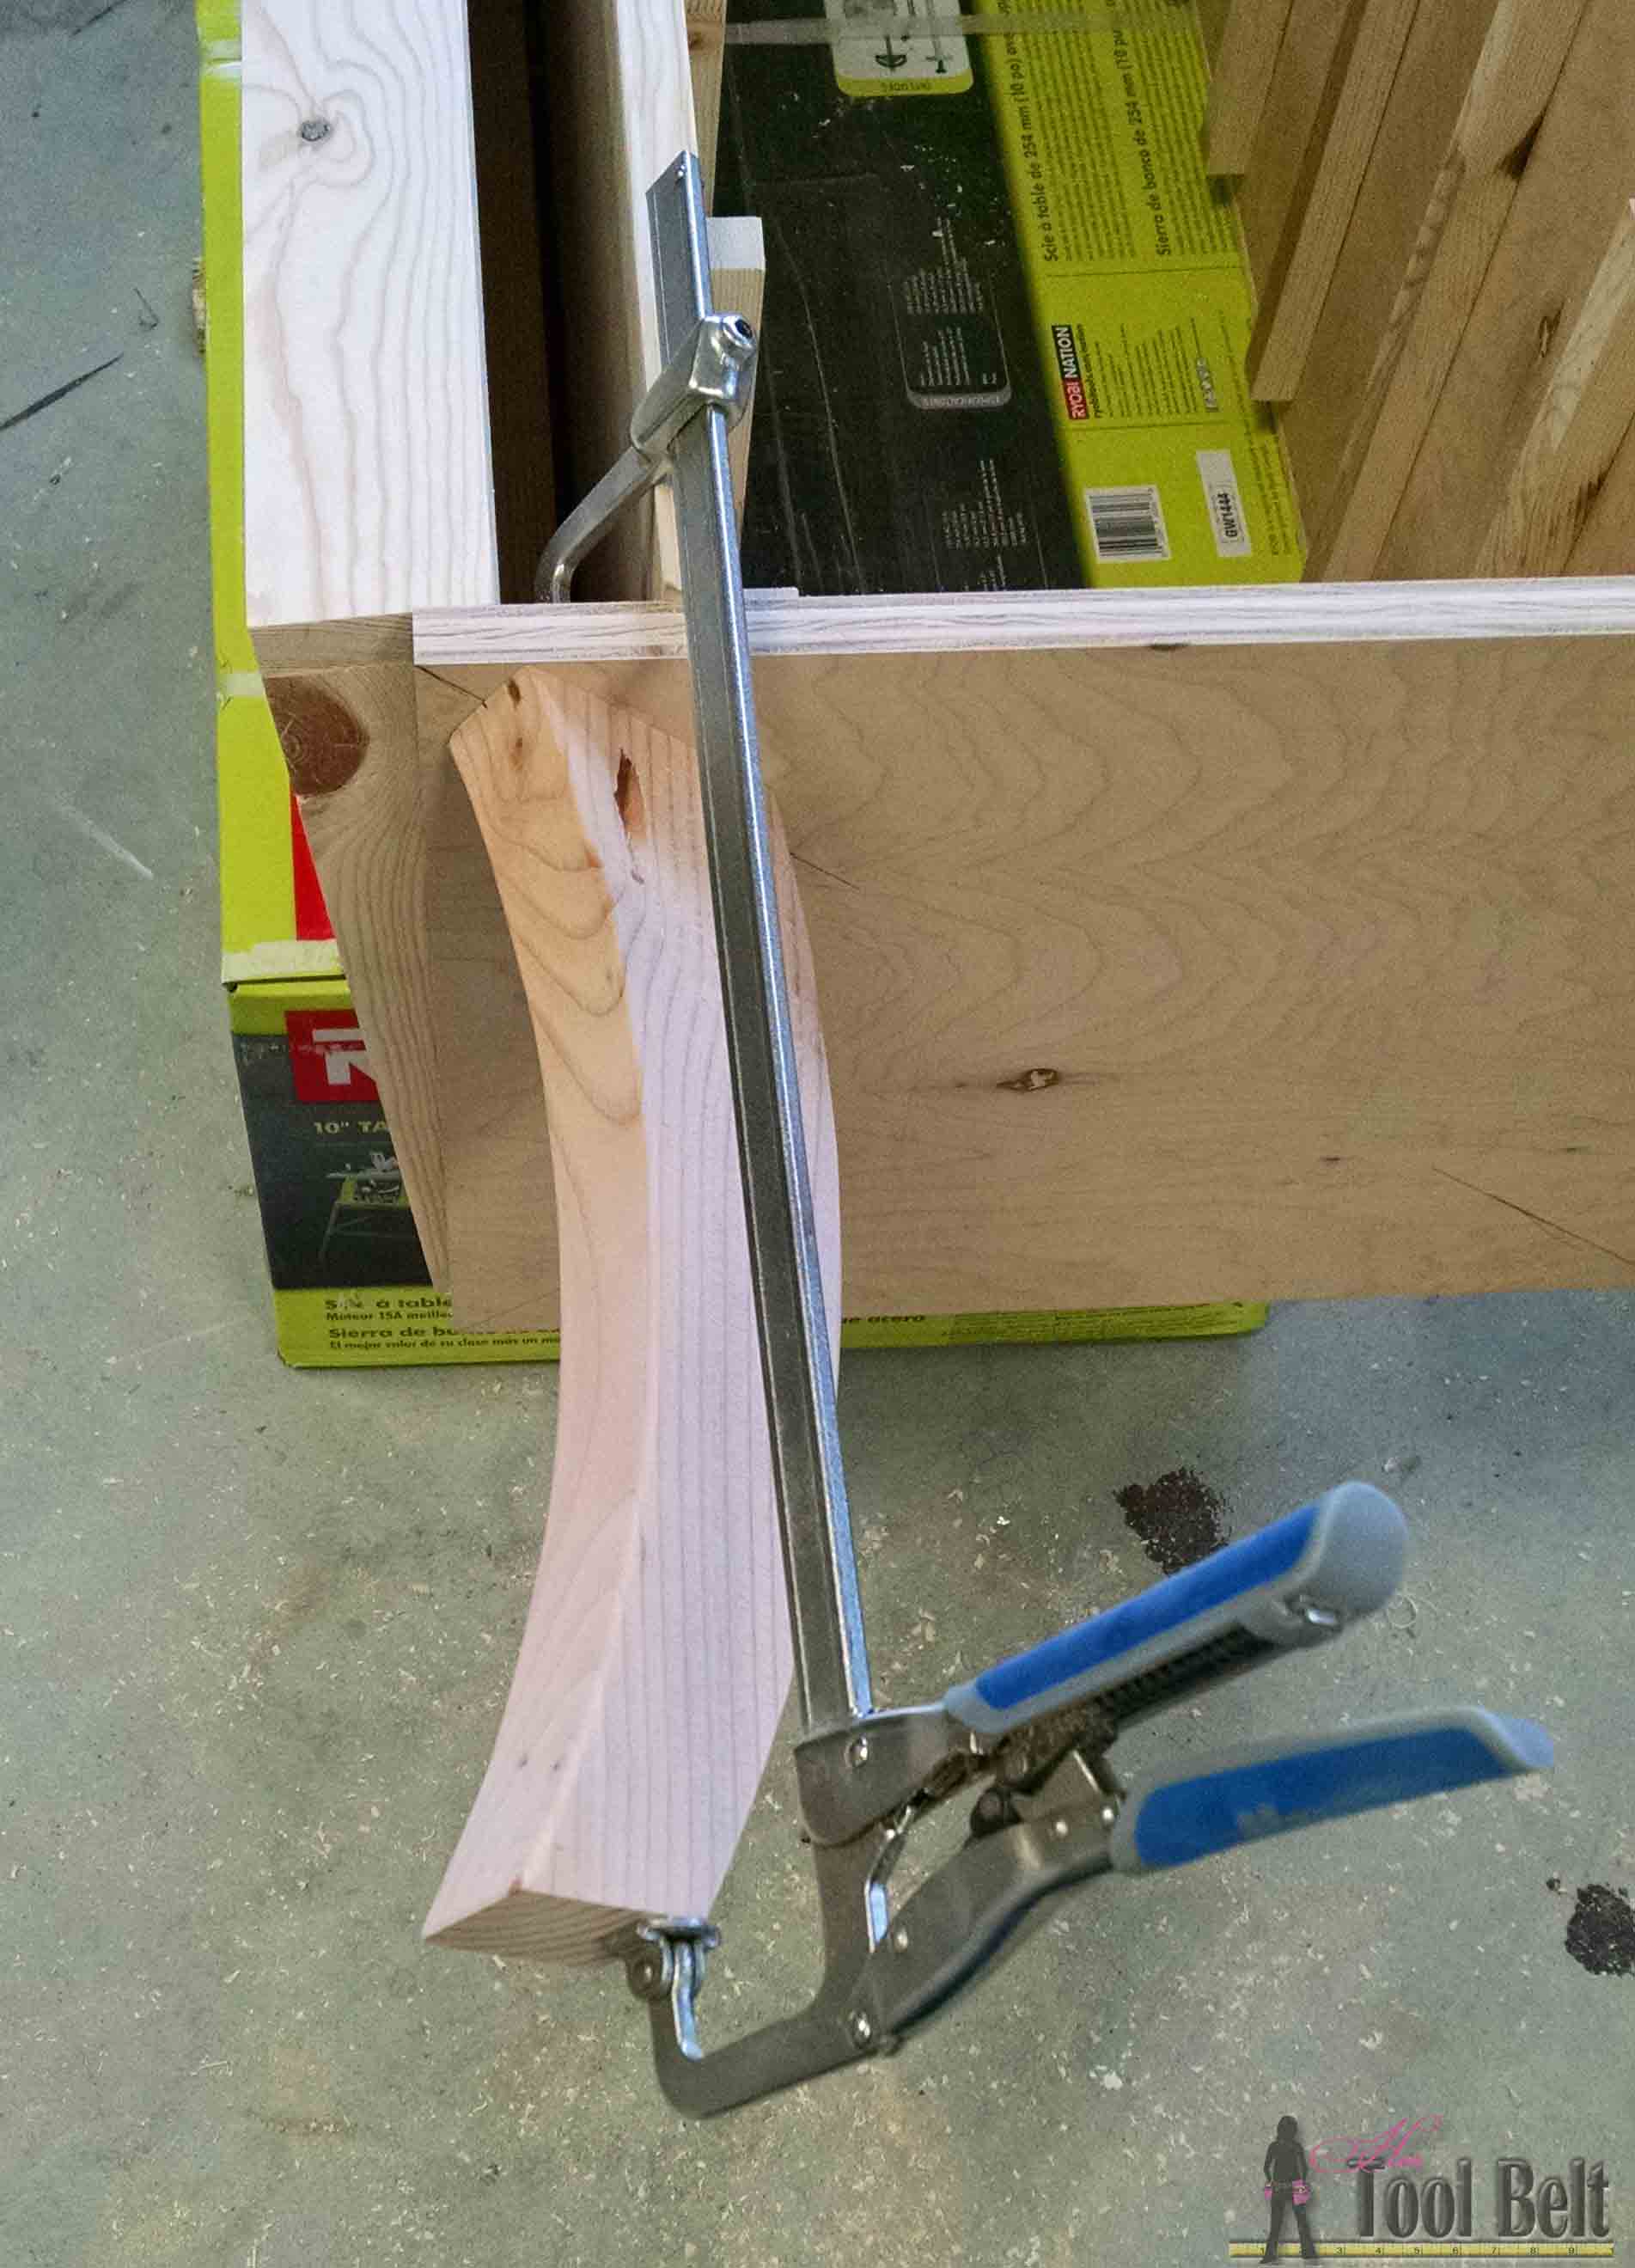
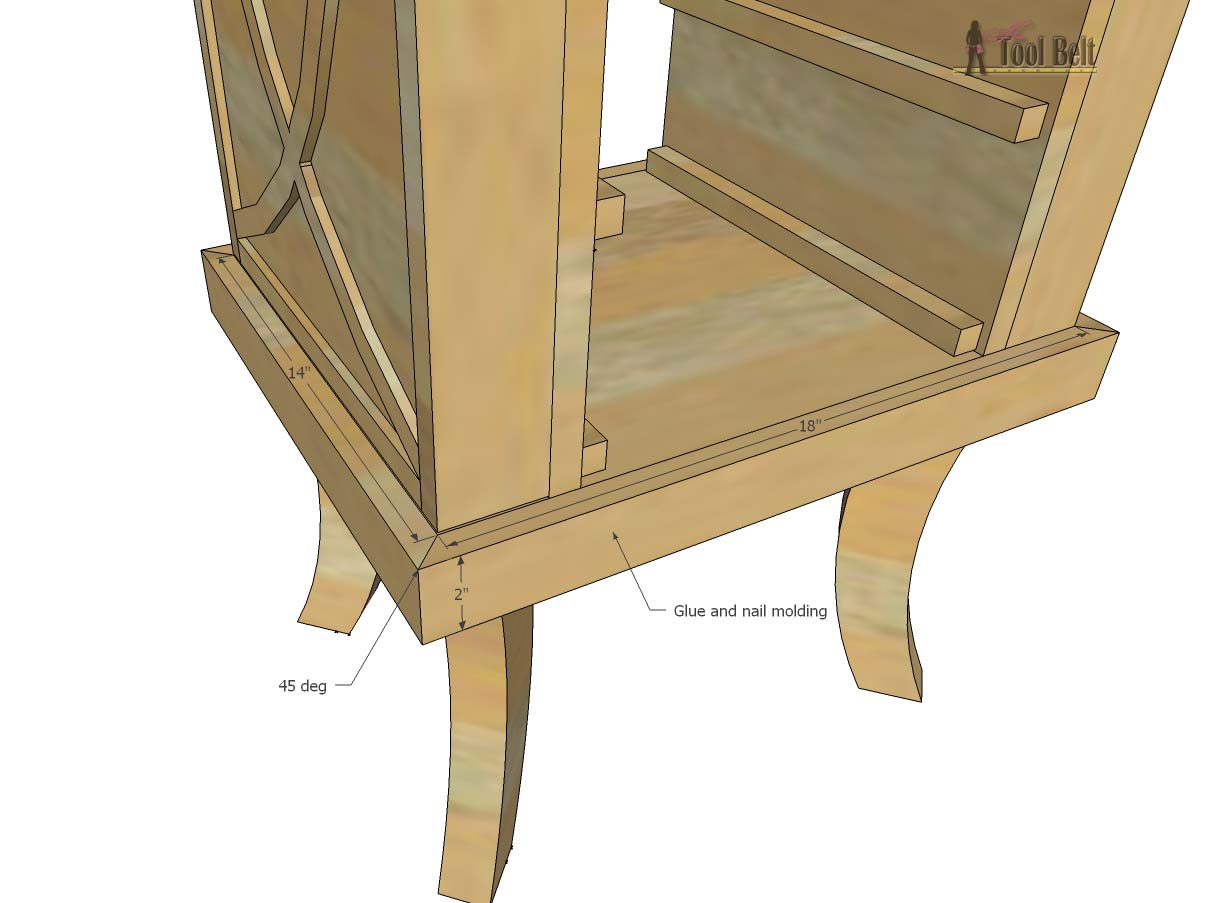
You can add whatever feet/legs you want. I wanted to keep the curve detail going and decided to make DIY legs. They are cut from a 2×6 using a band saw, scroll saw or jig saw. Download and print the pattern leg template 1leg template-2. Line up the pattern, tape it, cut it out and trace onto the wood. Cut out the legs and sand smooth. Drill pocket holes for 3/4″ material on both sides of the legs.
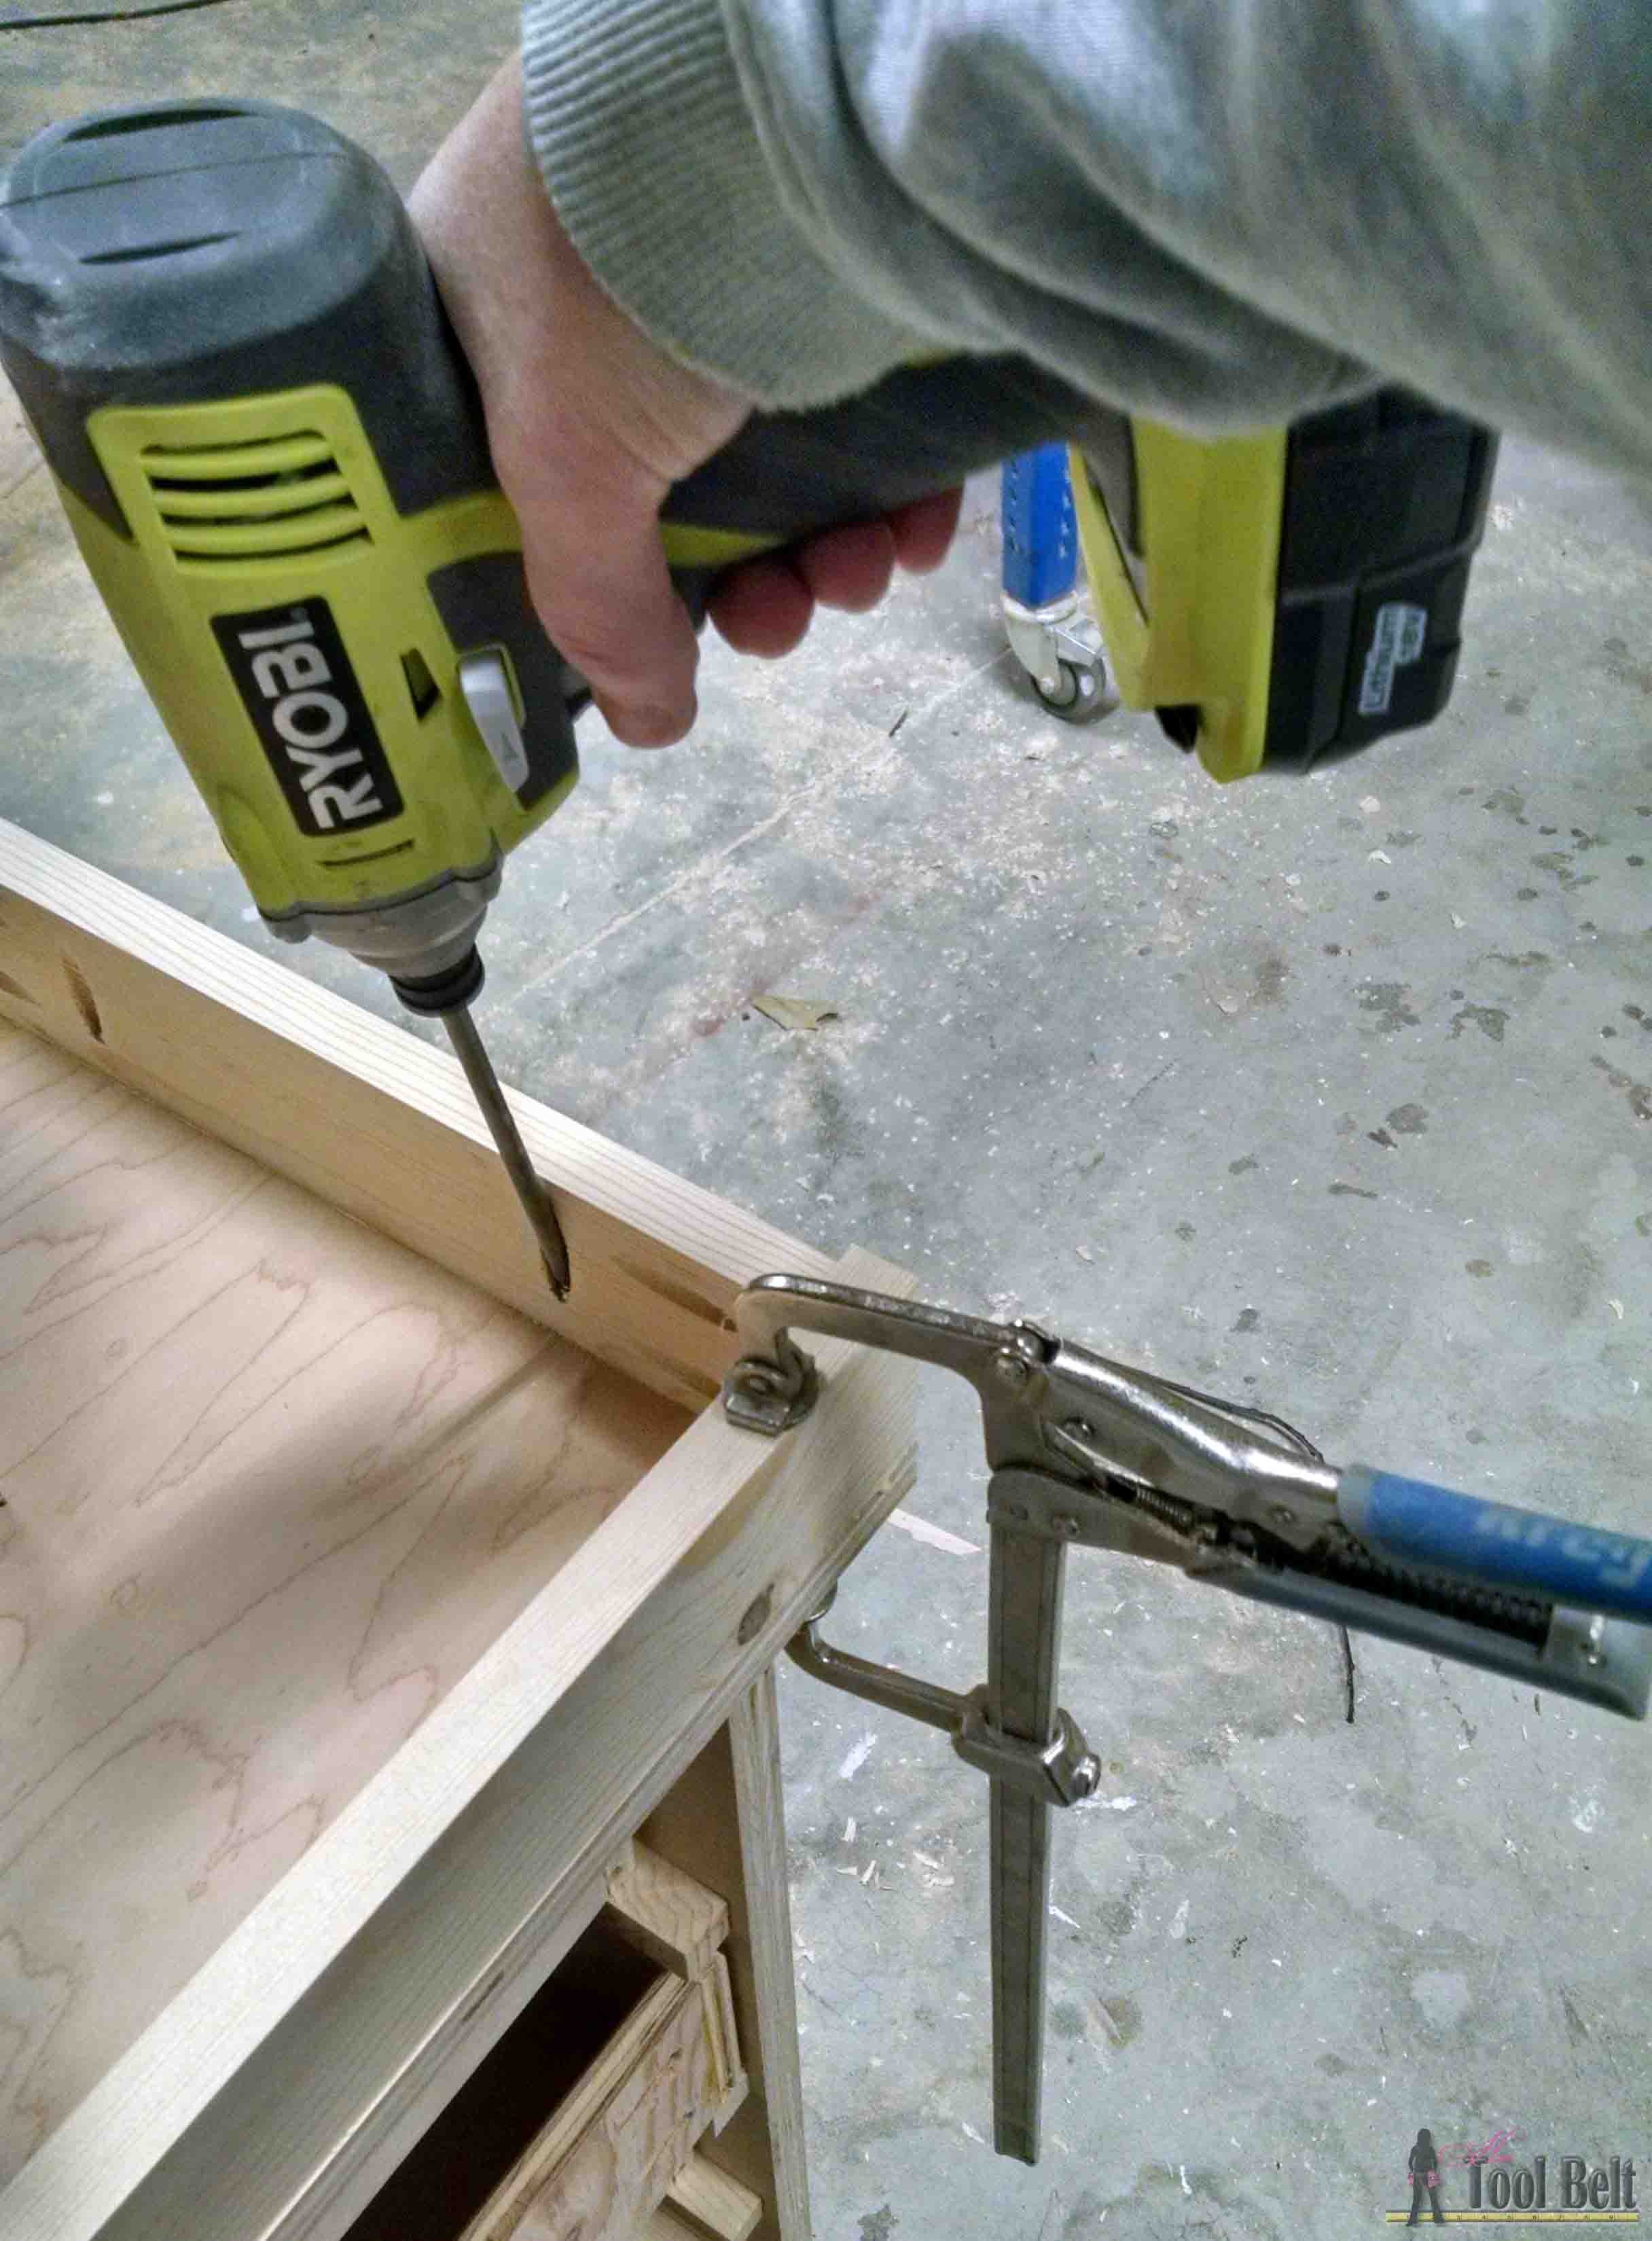
Use wood glue and 1 1/4″ pocket screws to attach the legs.
Step 5
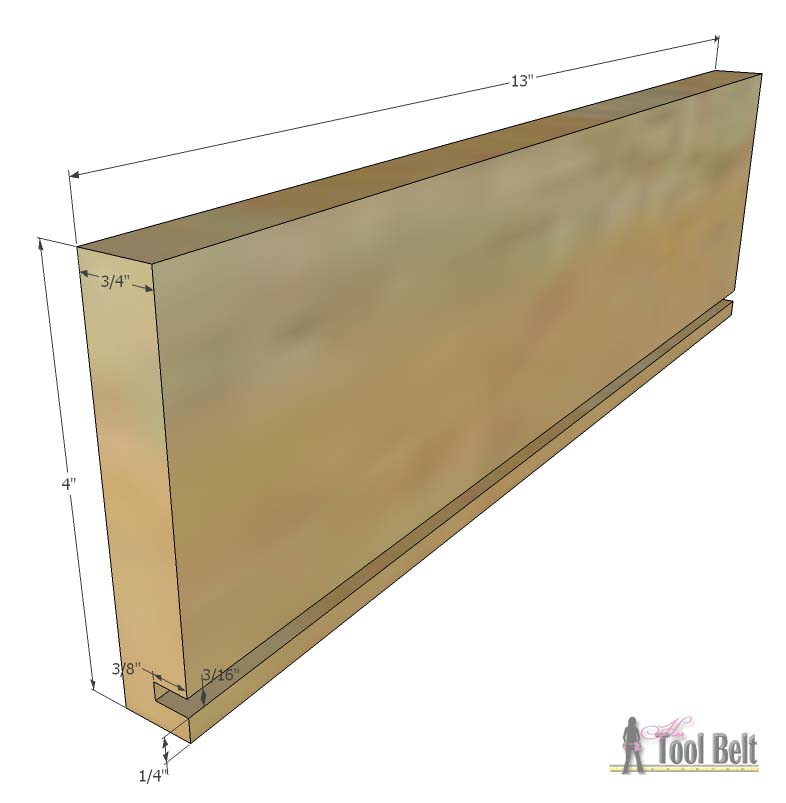
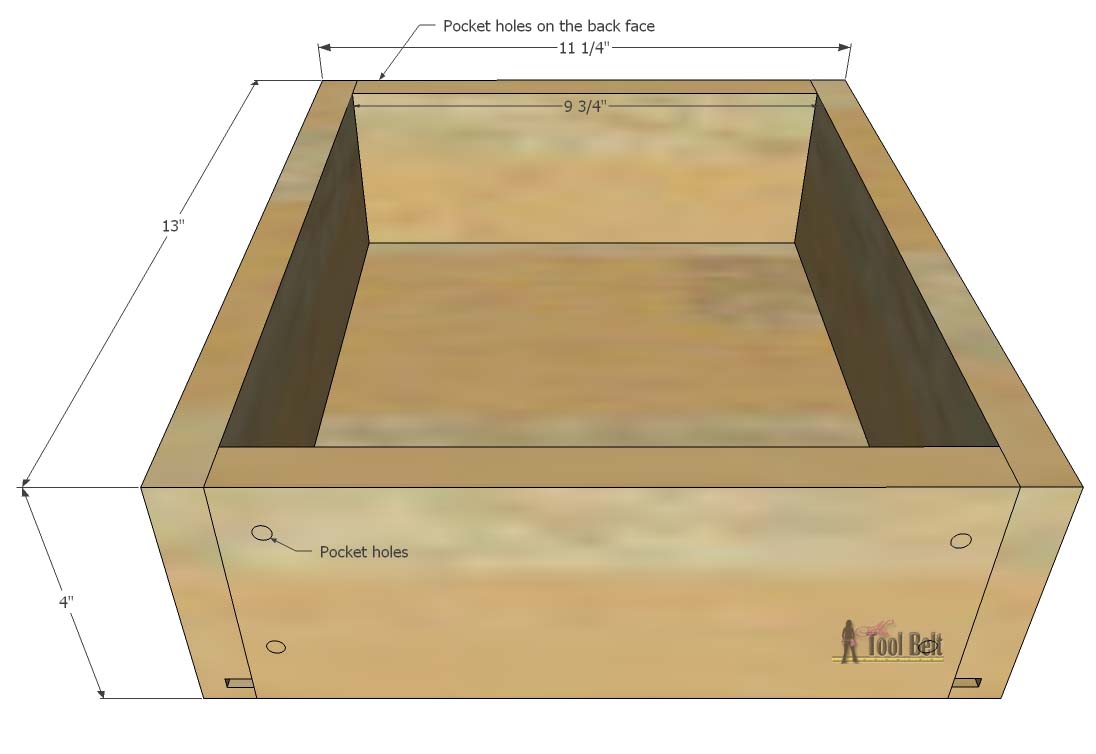
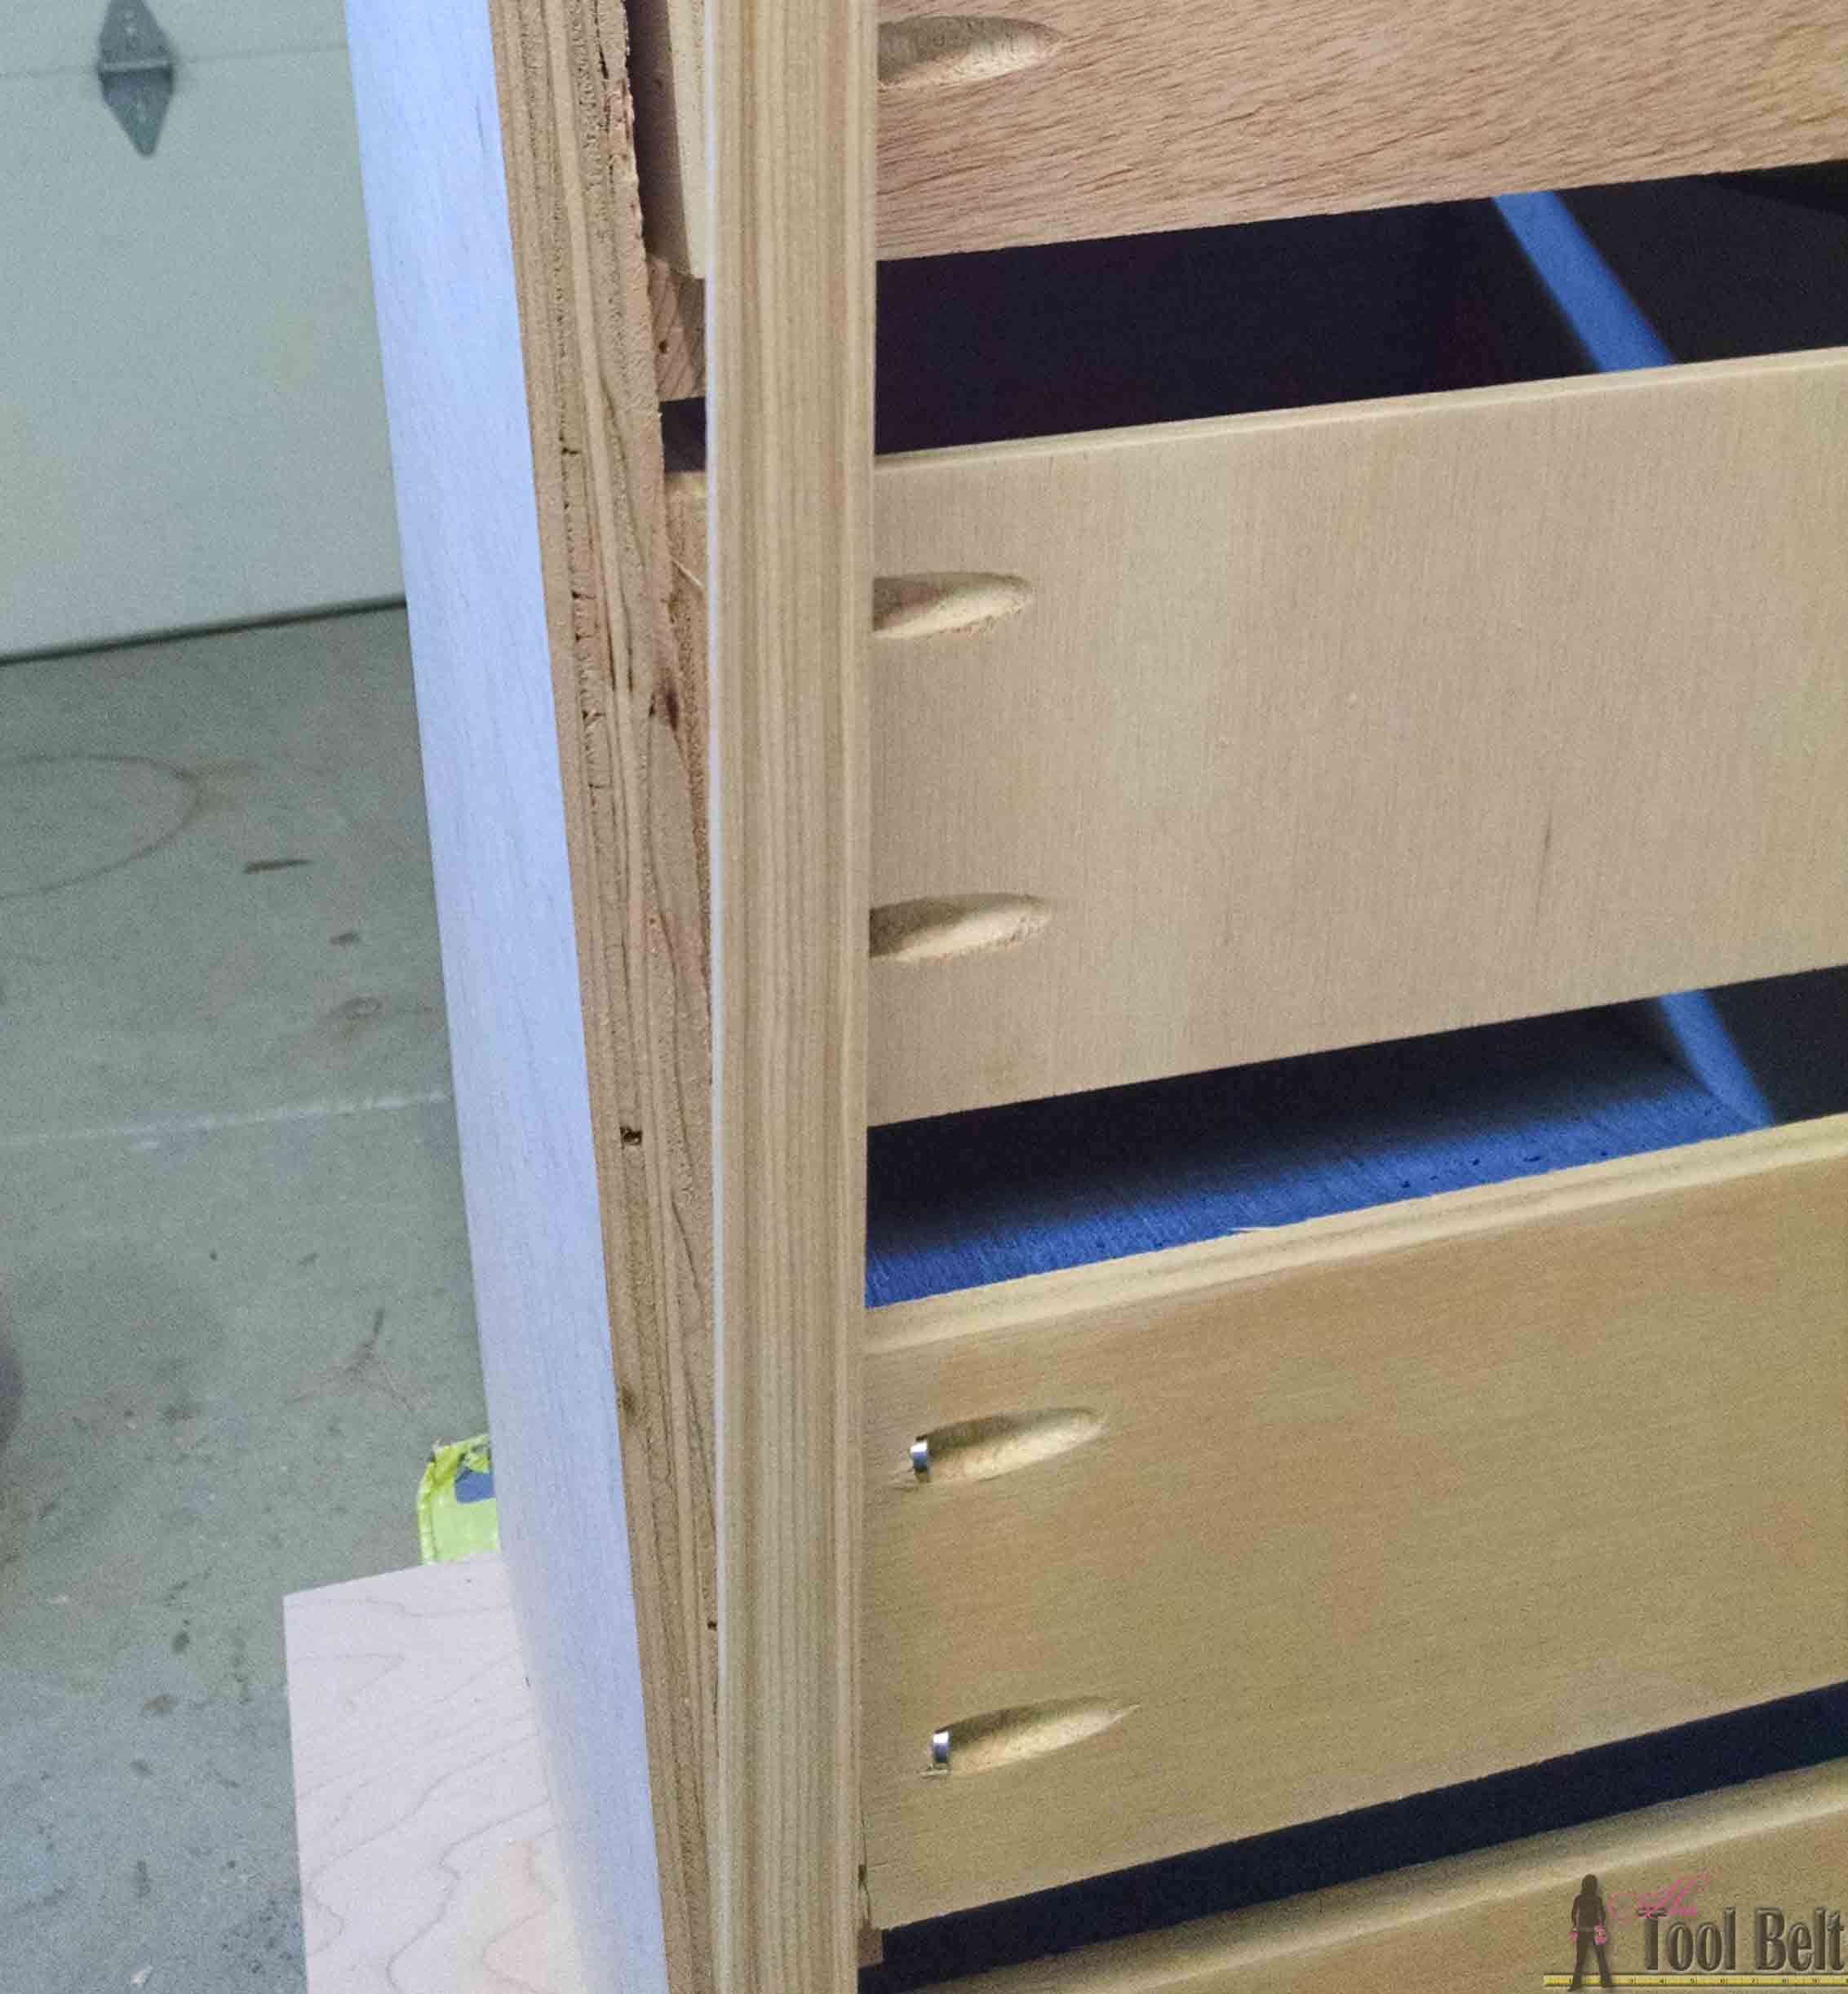
On each of the 4″ x 13″ drawer pieces cut a dado that is 1/4″ from the bottom 3/8″ deep and 3/16″ wide (about 2 passes on the table saw).
On each of the 4″ x 9 3/4″ drawer pieces cut a dado that is 1/4″ from the bottom 3/8″ deep and 3/16″ wide (about 2 passes on the table saw). On the opposite side as the dado, drill pocket holes in both ends to assemble the drawers.
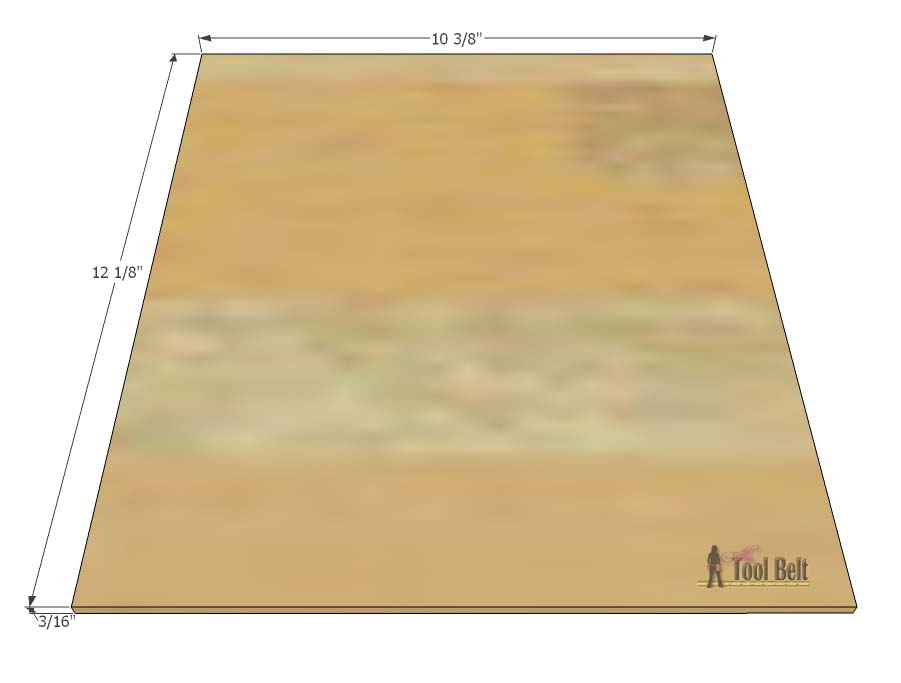
Cut drawer bottoms from 3/16″ plywood (5 mm) that are 10 3/8″ x 12 1/8″.
Use wood glue and 1 1/4″ pocket screws to assemble the drawers.
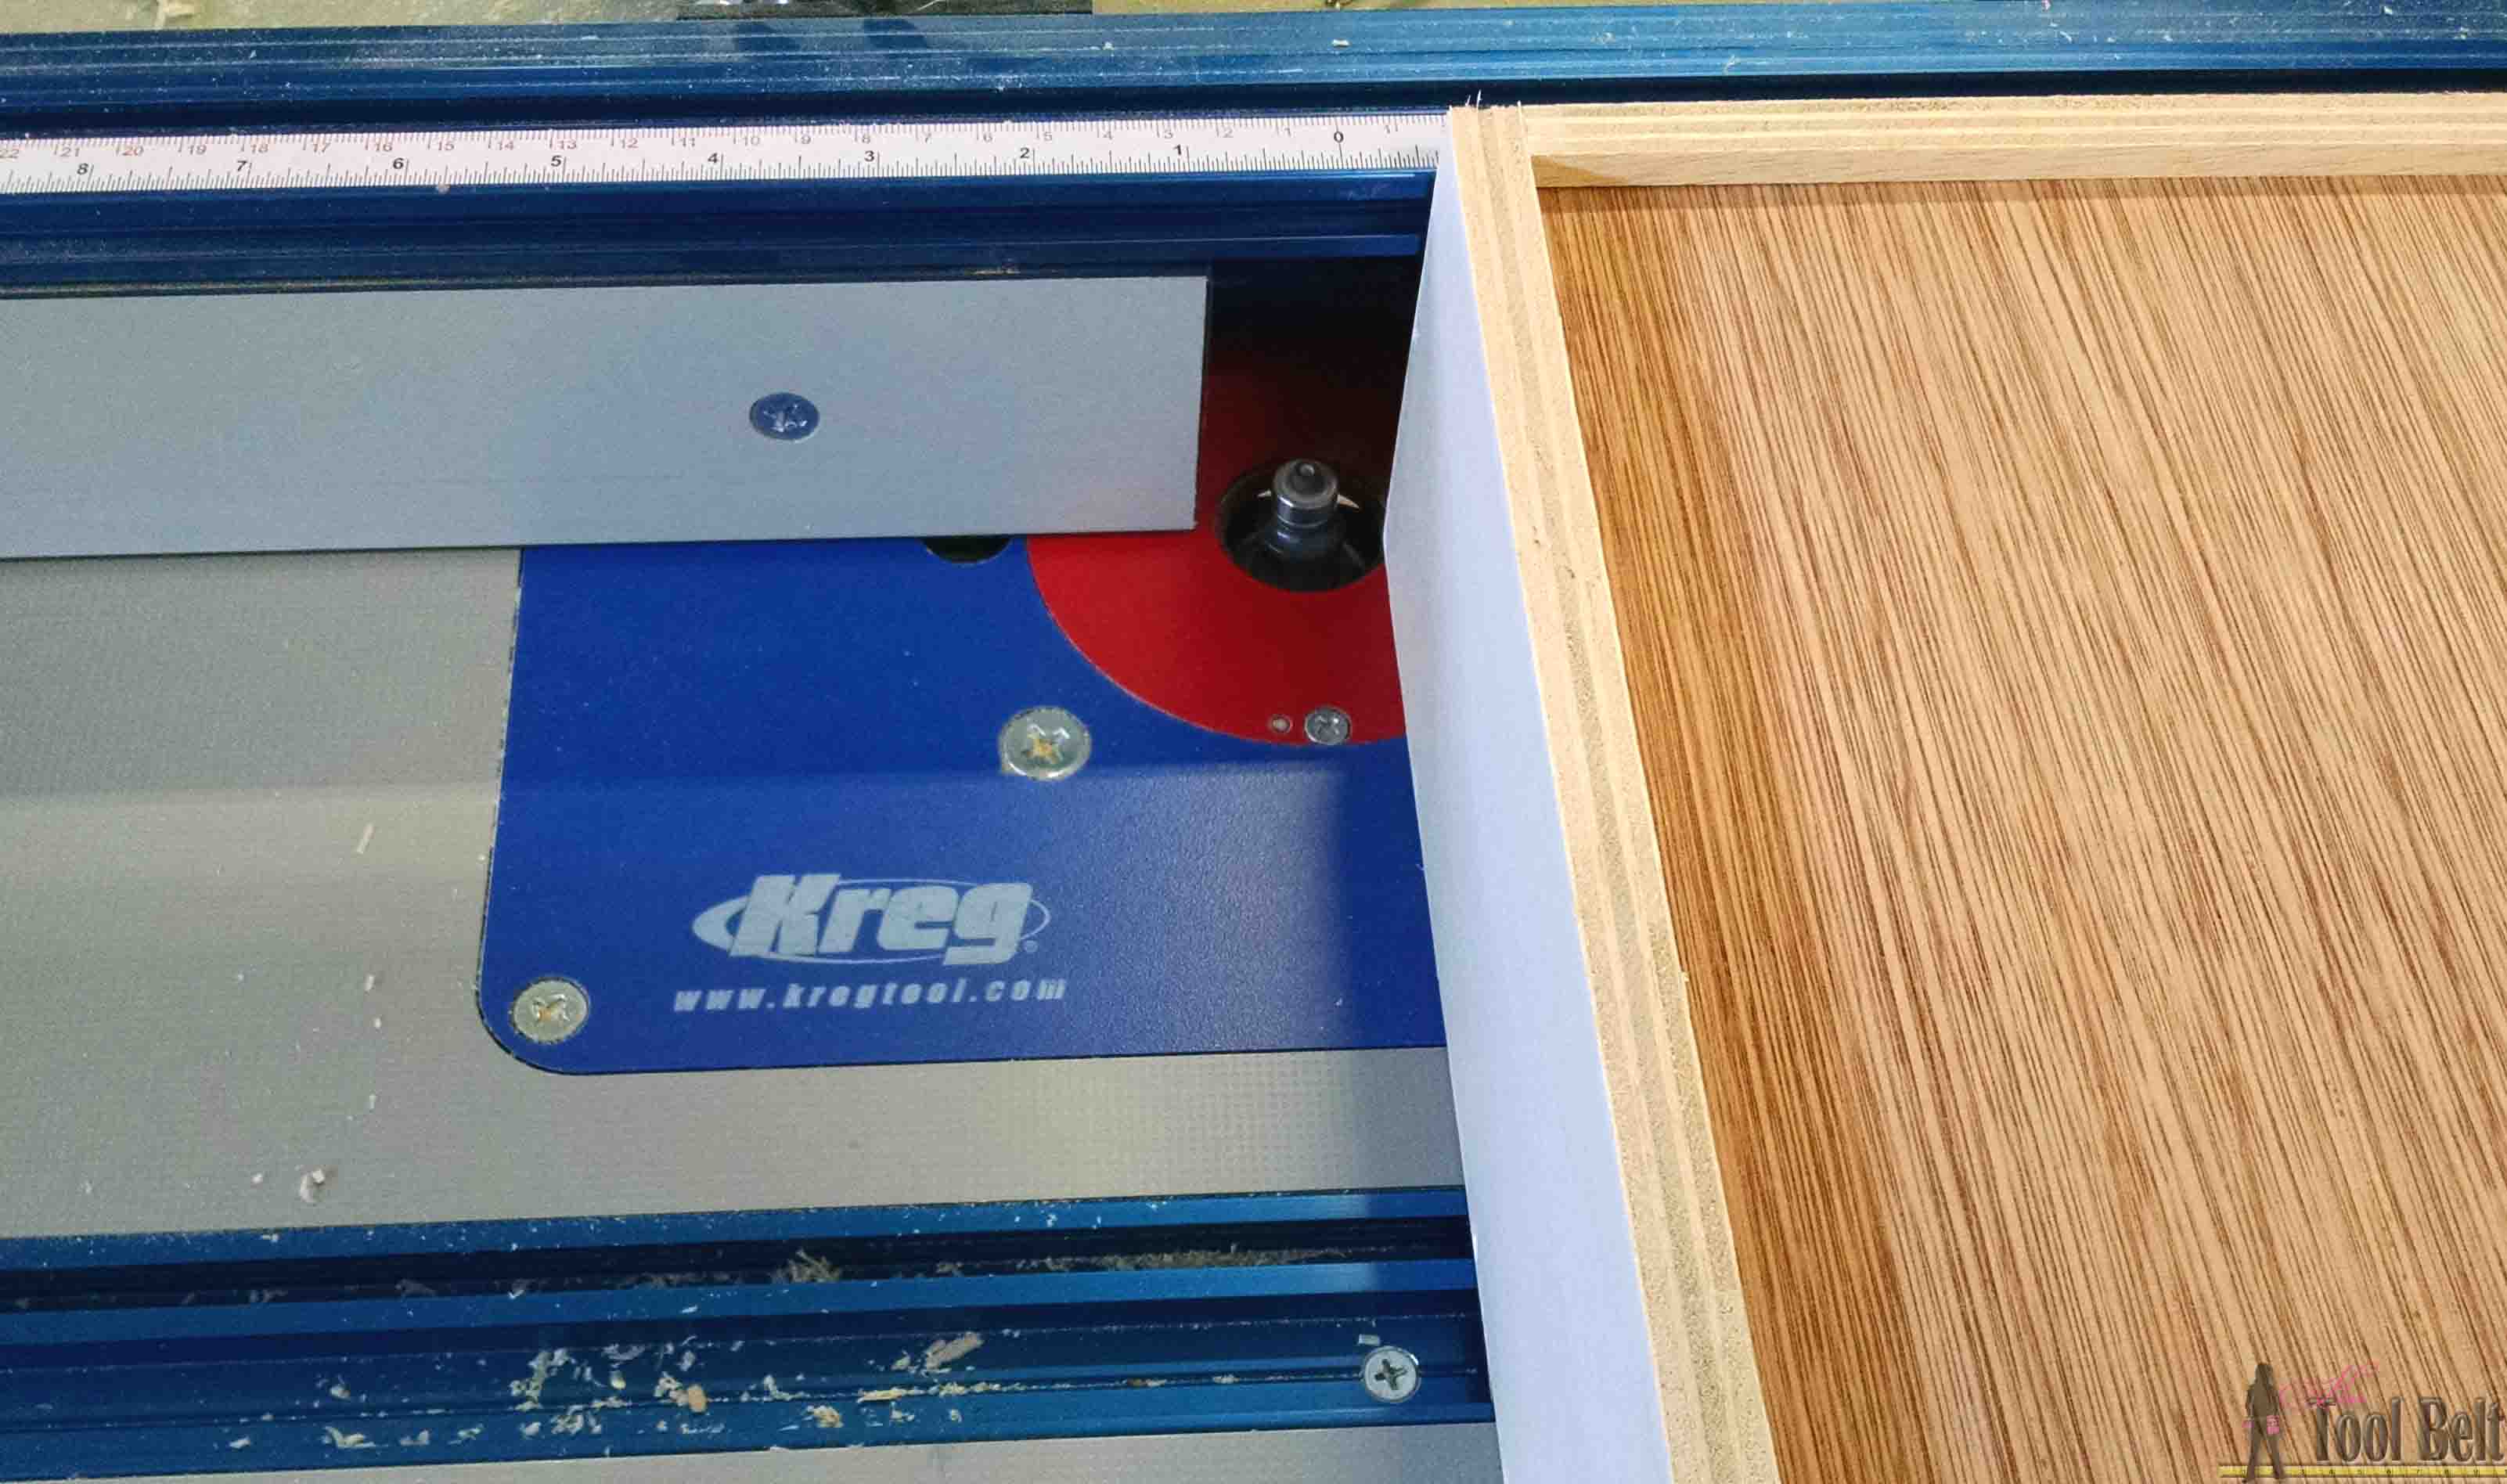
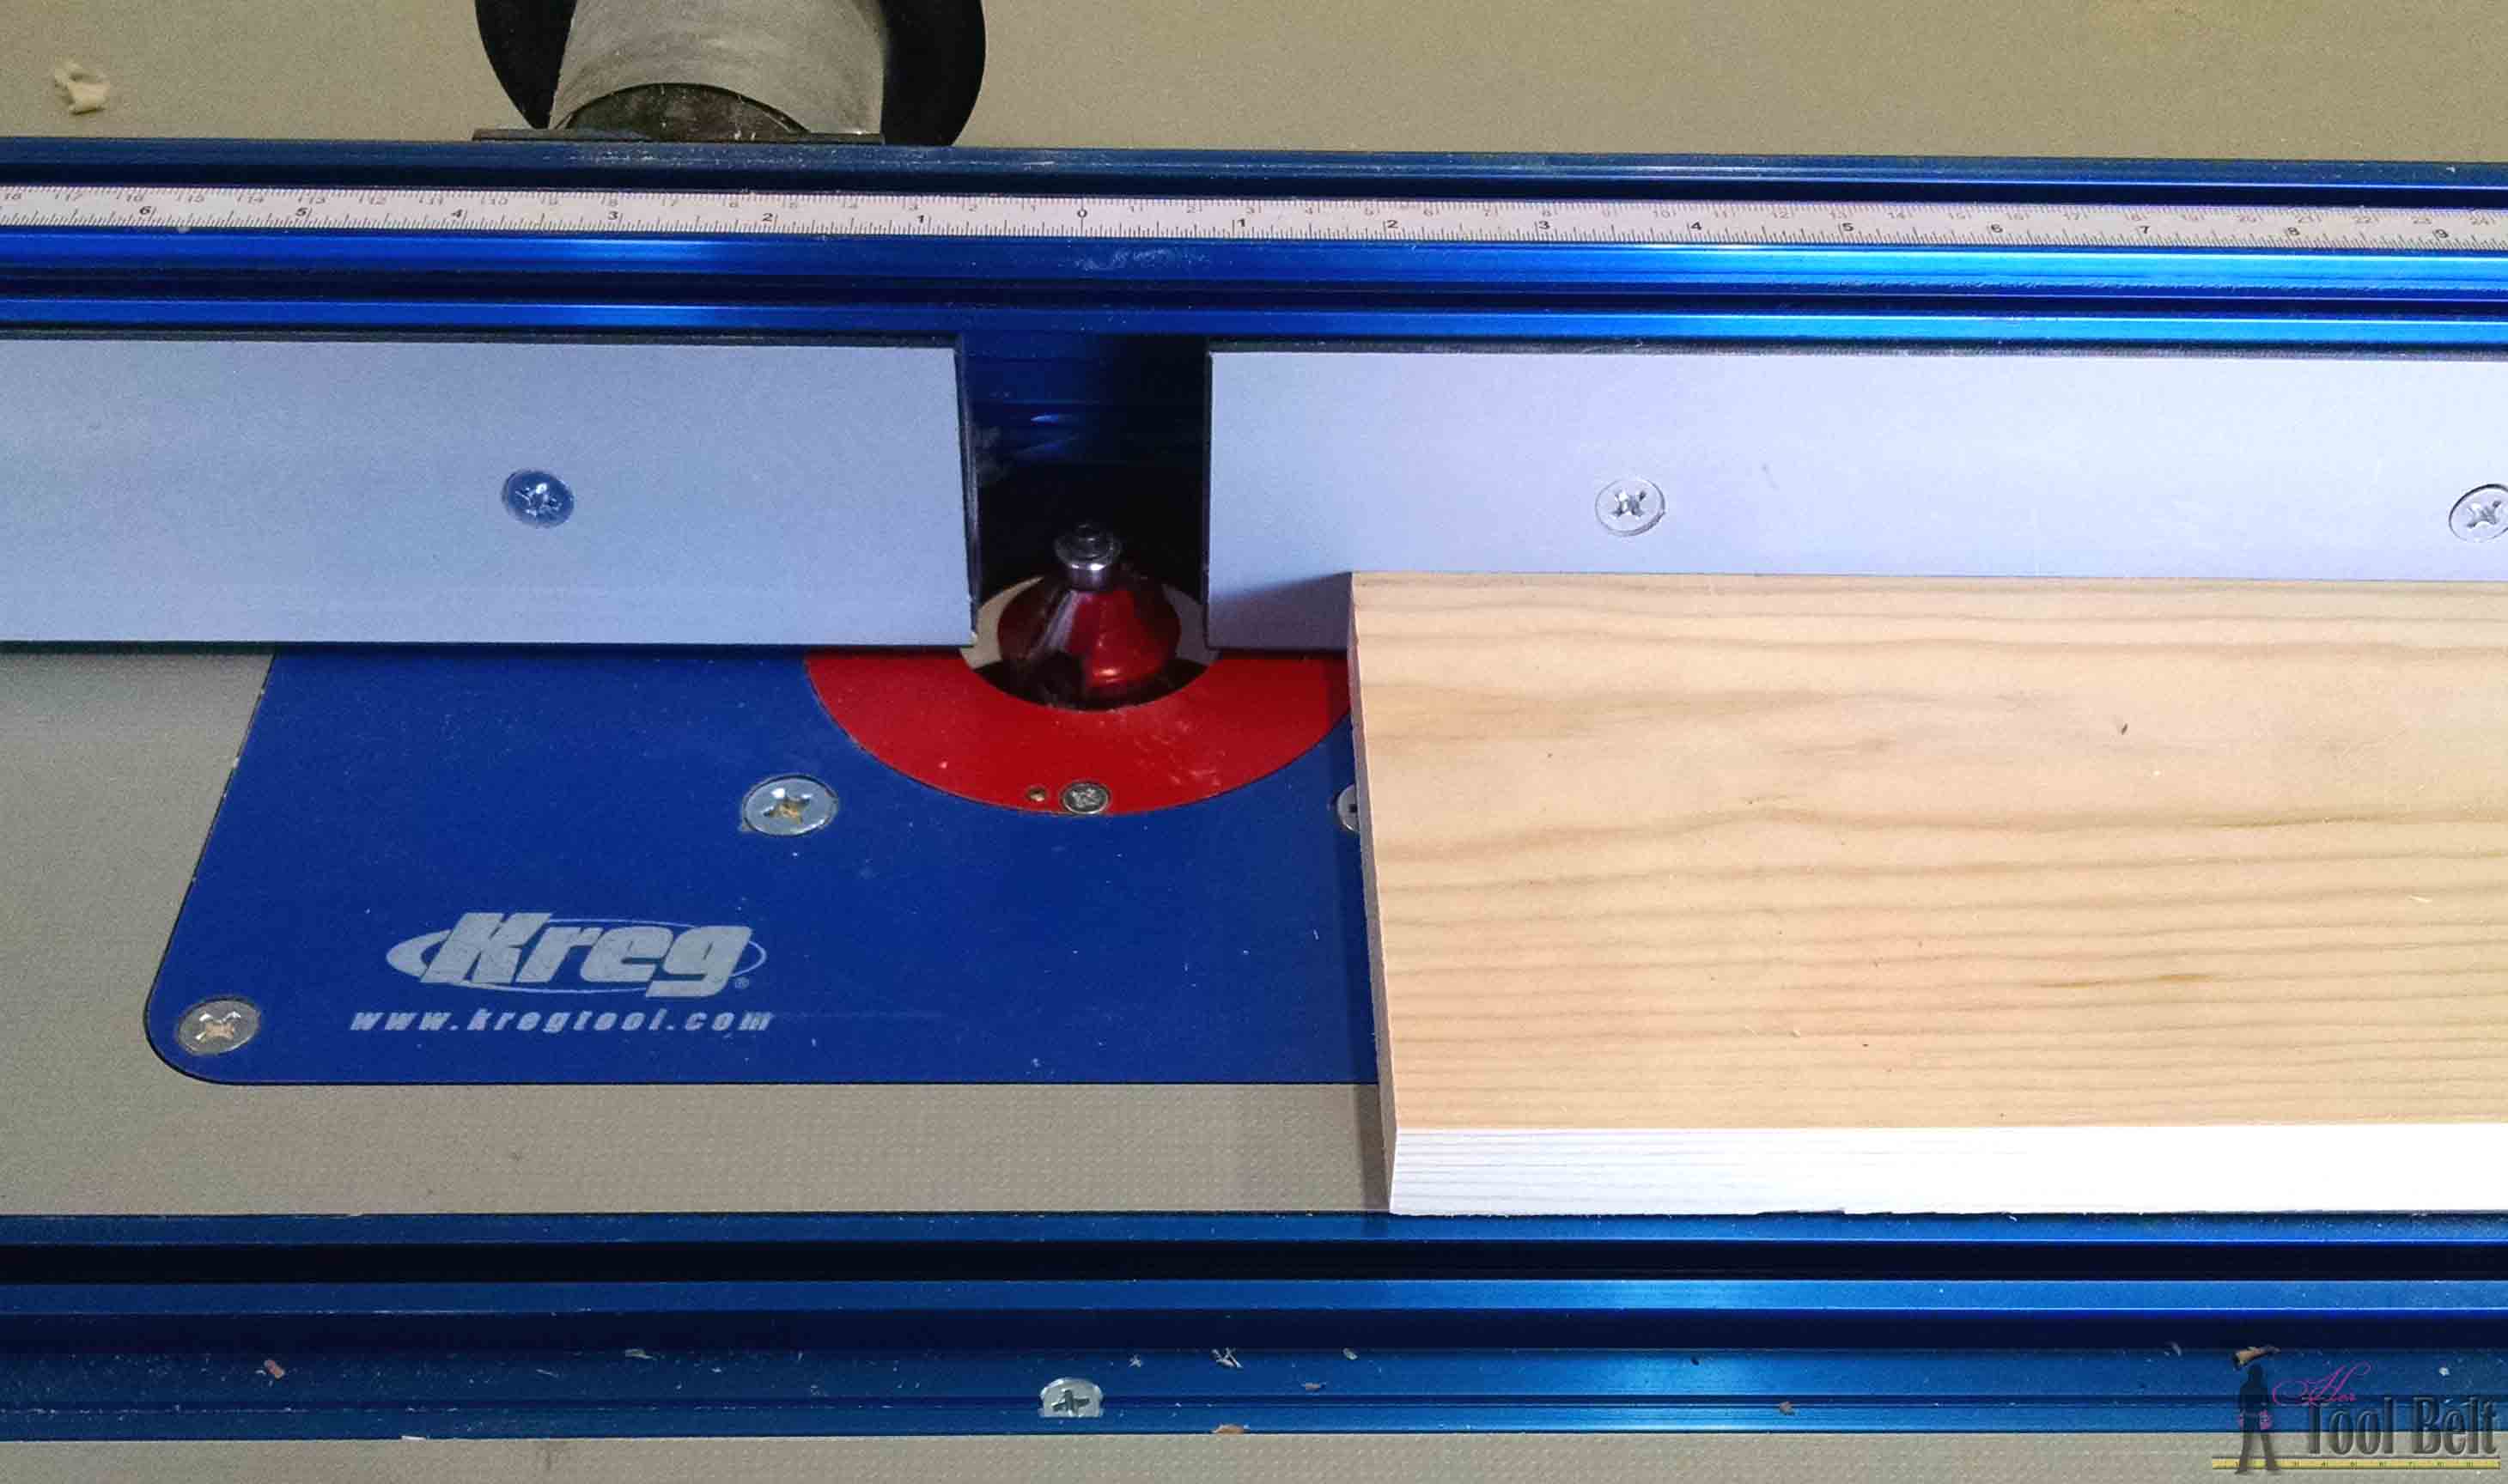
Optional: I routed a 1/4″ round over profile on the top edges of the drawers.
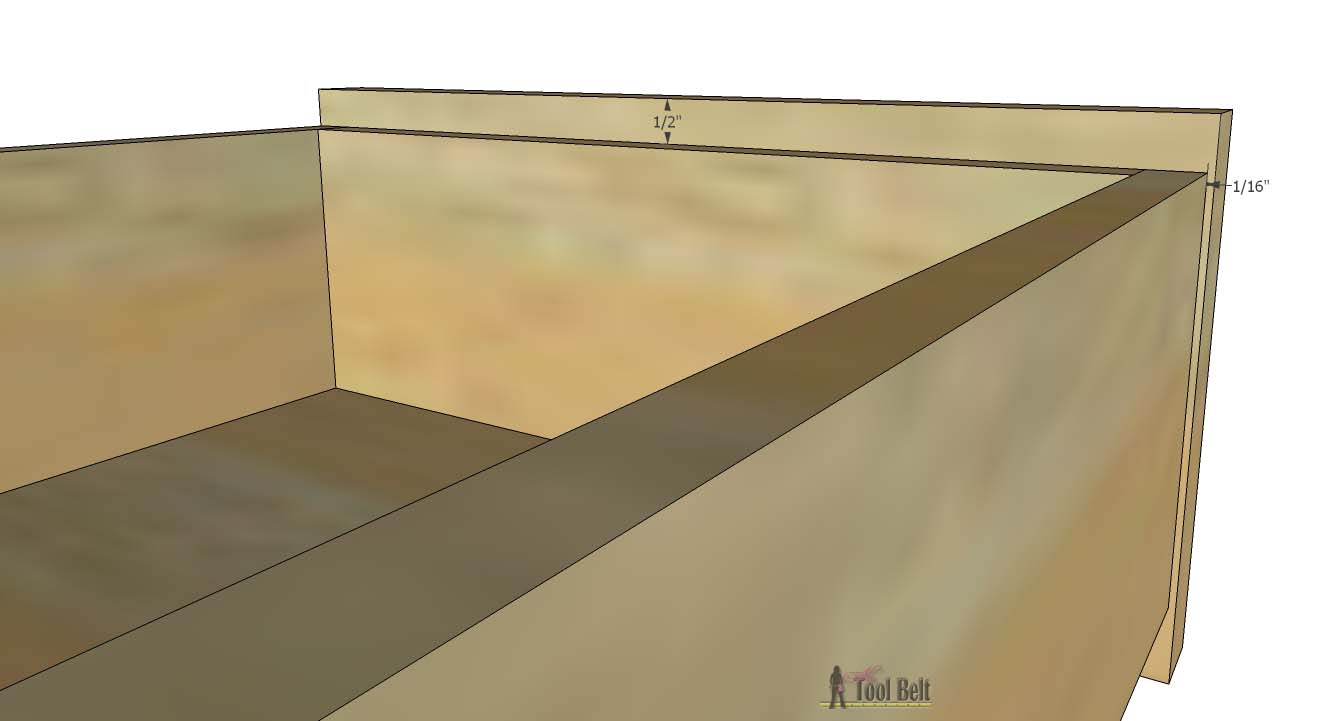
Attach the drawer fronts to the drawers by using 1 1/4″ screws through the drawer into the drawer front.
Step 6
To cover up the plywood edges that show, you can use edge banding, molding or make your own molding. A cheap way to do this is route a profile on the edges of a 1×3, use a table saw to cut off the molding 1/4″ thick and repeat. Cut the molding to length and use wood glue and 3/4″ brad nails to secure in place.
Add molding or trim to the bottom.
Optional: Add a back to the cabinet from 3/16″ plywood.
Step 7
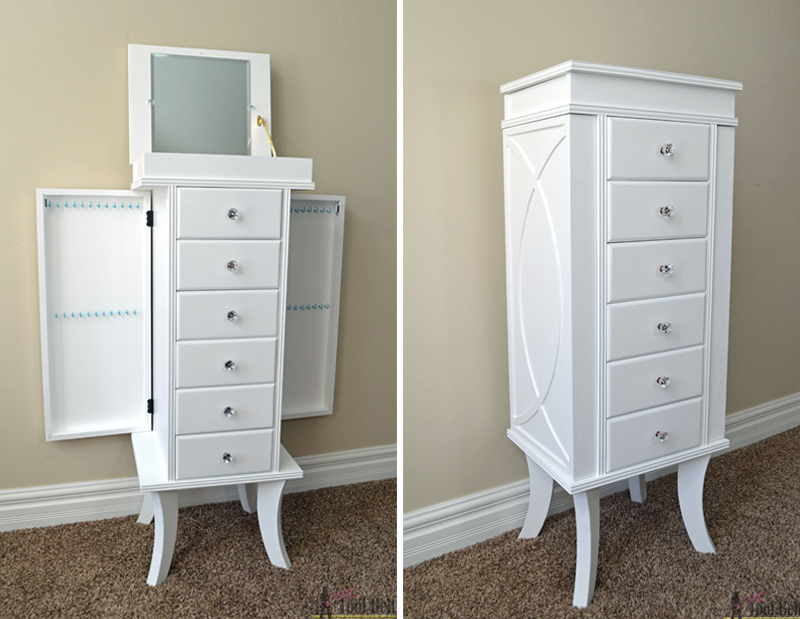
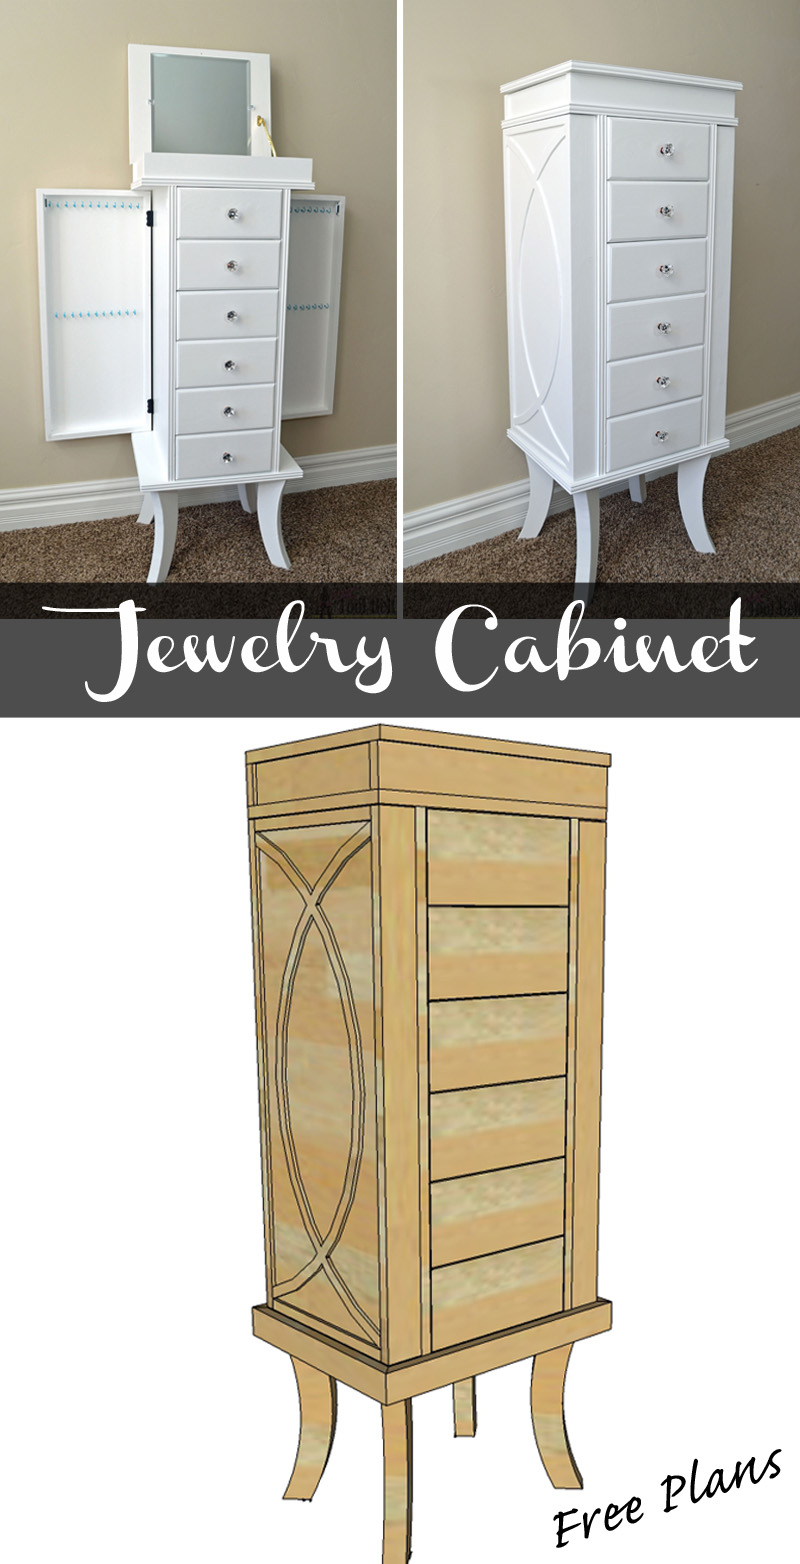
Apply wood filler to any cracks, blemishes and pocket holes as necessary, allow to dry. Sand the wood filler and the cabinet smooth, ending with 120-150 grit sand paper. If staining, start with wood conditioner, then stain according to the manufacturers directions and allow to dry. If painting, use paint primer and allow to dry, then paint with your favorite paint. Once the paint is dry add drawer pulls, magnet catches, mirror, lid support and 1″ cup hooks to the cabinet.
Now for the giveaway fun. Enter to win this jewelry cabinet as a gift for your Mom (or any special Mom in your life). Follow the Rafflecopter instructions below. The giveaway will end at midnight MST on April 30, 2015. This giveaway is open to residents of the USA, void in Alaska and Hawaii. The winner will be notified by email and will have 48 hours to respond to claim the prize.
DISCLOSURE: This giveaway is sponsored by Kreg Tool Company. I received compensation and/or product for this post and giveaway. All opinions and ideas are 100% my own.
Check out the rest of the Mother’s Day projects here.
Original article and pictures take http://www.hertoolbelt.com/jewelry-cabinet/ site


Комментариев нет:
Отправить комментарий